So there has been a delay on the Oxygen OS and the CM12s releases and multiple times too. And it is such a nightmare and also distress when other OEMs are going about releasing the latest version of Android 5.0 Lollipop for their phones while your OnePlus One has to sit there stuck with the CM11! Worry no more, we were doing some groundwork about alternate options and here we are with the Exodus ROM which is based on CM and AOSP (5.0.2 Lollipop) and for a few months now, it has been very stable. It has been a very smooth ROM with great battery life! Wanna know how to get this on your OnePlus One? Ready to unlock your bootloader and allow for an awesome wicked custom ROM to be flashed on your device? Let’s roll and note that if you were to follow each and every step listed below carefully as instructed, you will not face an issue!

What You Need:
- ADB Drivers – so your phone gets detected on the PC/Laptop
- Android SDK Slim – a tool to unlock the bootloader and flash custom recovery
- TWRP Custom Recovery – custom recovery to flash the ROM!
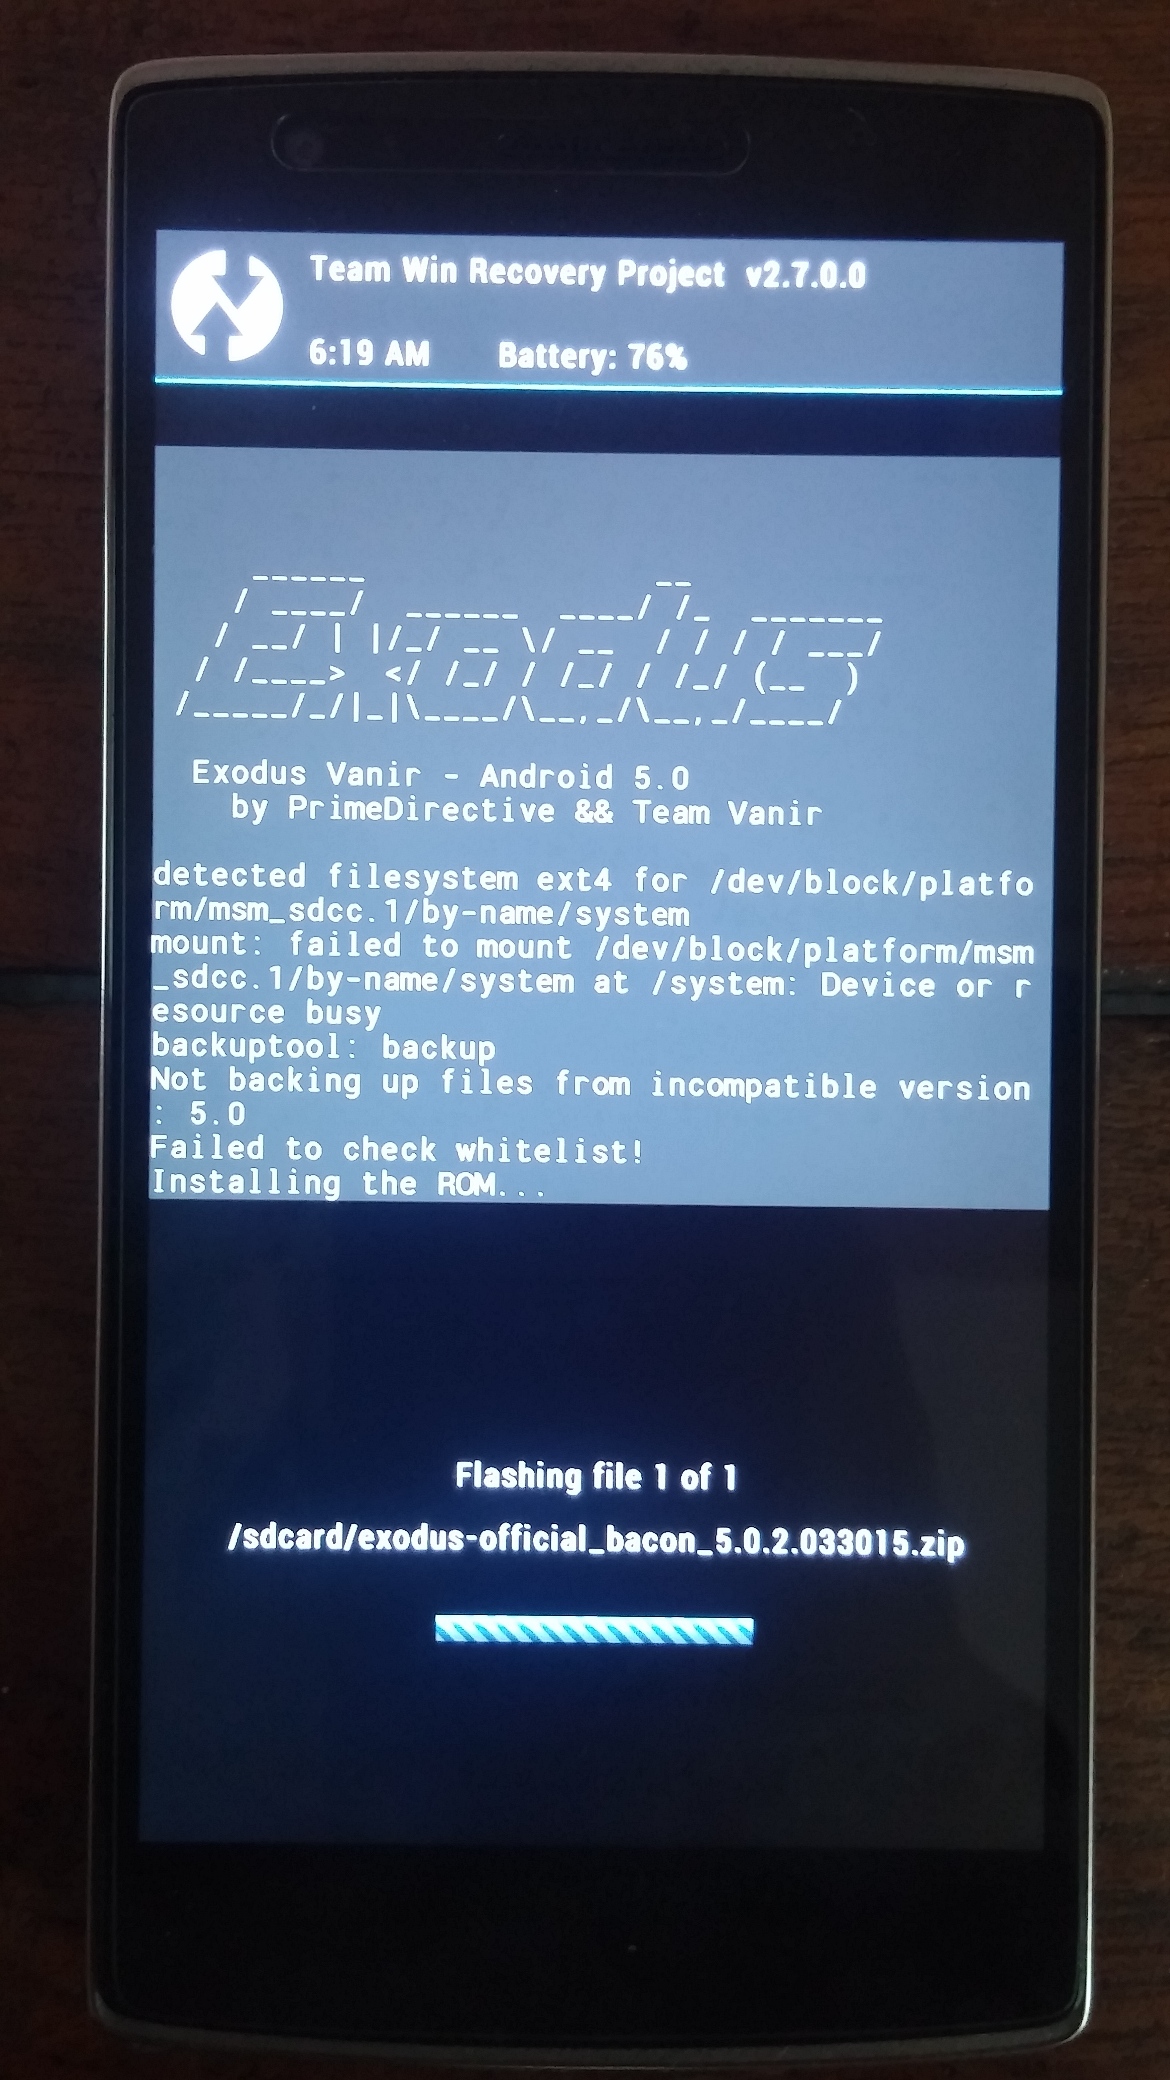
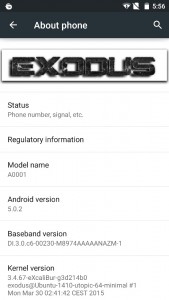
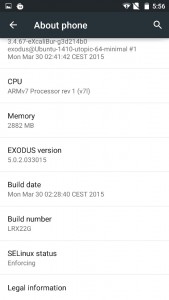
- The ROM exodus-official_bacon_5.0.2.033015.zip – We found the build on 23rd and 30th to be the best ones, so pick either of them. Also, note that SuperSU is a part of the ROM and you do not have to flash it separately.
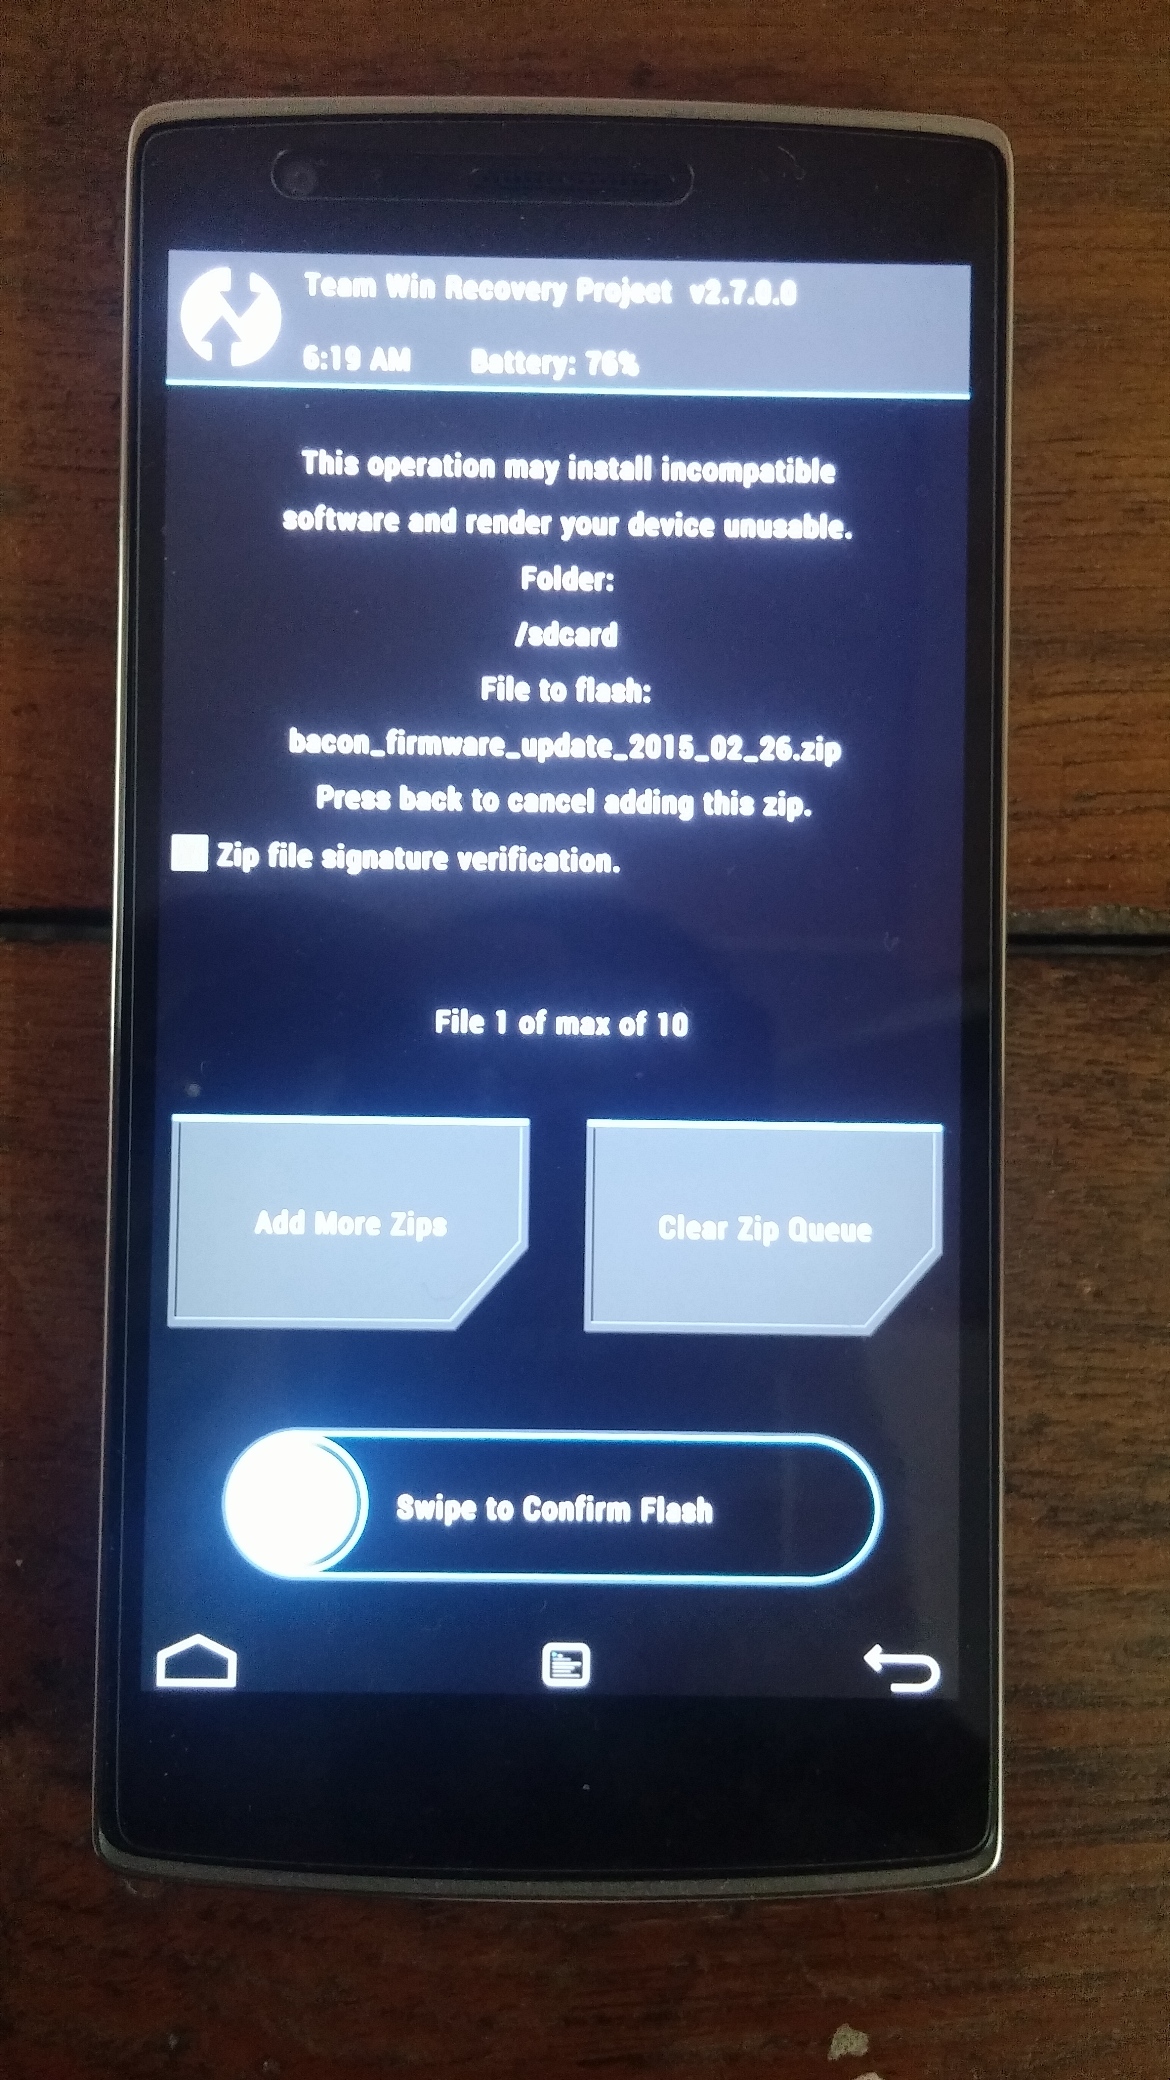
- The Firmware – bacon_firmware_update_2015_02_26.zip
- The gapps package – B16-DHO-GAPPs.zip – you can use PAGapps also but this is what we used
Setting up the OnePlus One:
- Back up everything you’d need from the phone as the following process will ERASE all the information
- Enable Developer Options on OnePlus One – Navigate to Settings > About Phone > Build Number. Tap on it about 7 times till you get notified that the Developer Options have been enabled.
- Enable USB Debugging Mode on OnePlus One – Navigate to Settings > Developer Options > Android Debugging – select the check box
- Update CM Recovery – Uncheck the option
Setting up your PC/Laptop, Unlocking bootloader, and Installing TWRP custom recovery on OnePlus One –
- Install the ADB drivers that you’ve downloaded and ensure the phone is getting detected when connected via USB
- Unzip the Android SDK Slim into a folder
- Copy the TWRP file into the folder you’ve created in point 2
- Connect the phone to the PC/Laptop via the USB cable
- Hold SHIFT and Right Click and select “Open Command Window“
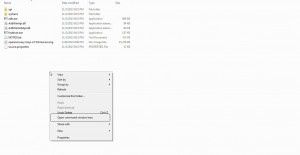
- Type adb devices – you will get a confirmation prompt on the phone, tap OK
- Now Type adb devices – this shows a device number
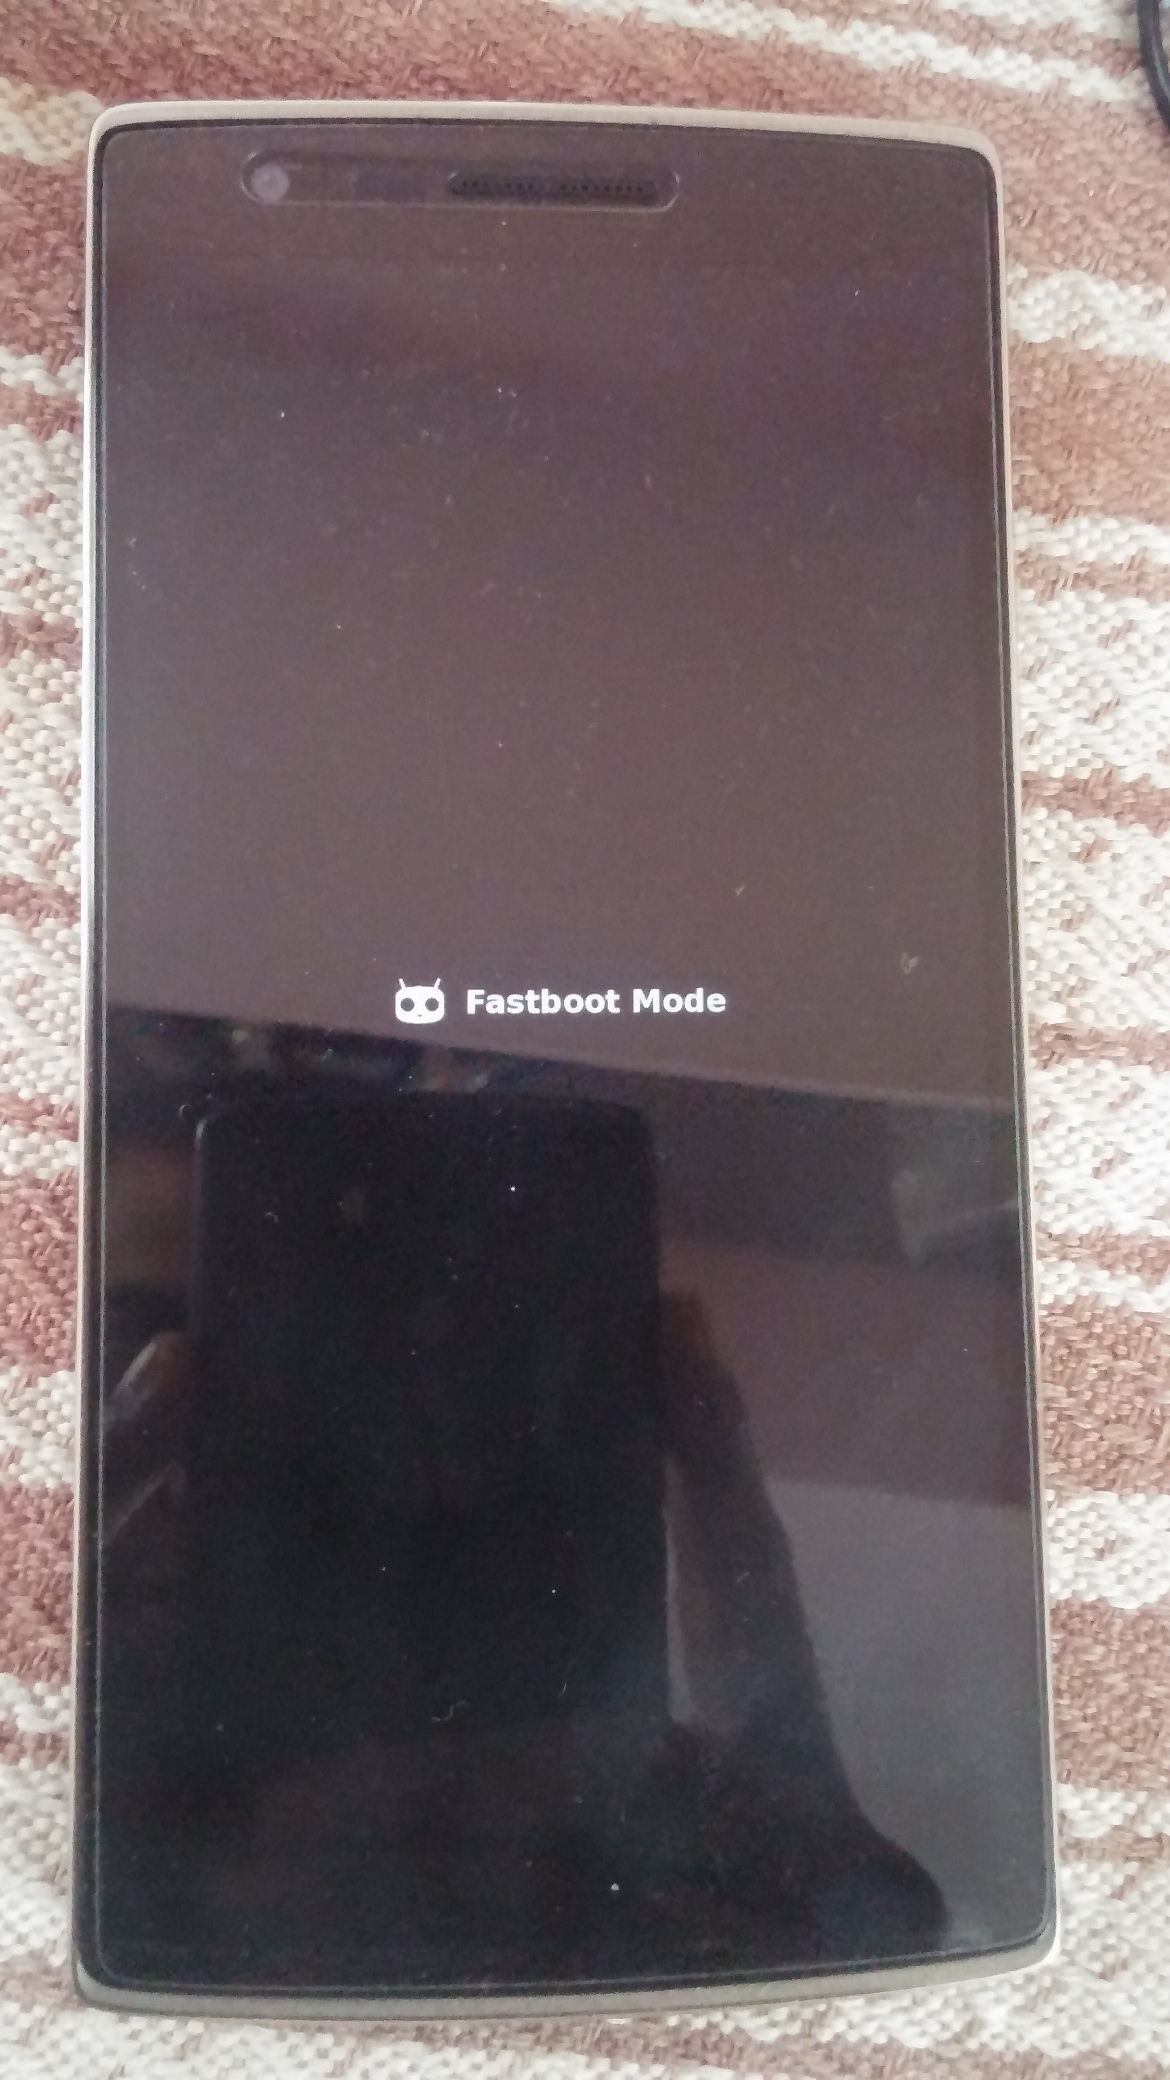
- Then Type adb reboot bootloader and hit enter – Your phone will now enter the fastboot mode
- Type fastboot devices

- Now Type fastboot oem unlock – your phone is wiped, bootloader is unlocked and would reboot
- Now on the phone, Navigate to Settings > About Phone > Build Number. Tap on it about 7 times till you get notified that the Developer Options have been enabled
- Navigate to Settings>> Developer Options >> Android Debugging – select the check box
- Update CM Recovery – Uncheck the option
- Come back to the command window and Type adb reboot bootloader – phone goes into the fastboot mode again
- Now Type fastboot flash recovery openrecovery-twrp-2.7.0.0-bacon.img‘ – and hit enter [or you can just type fastboot flash recover op and hit SPACE and the system will do the rest]
- Then Type fastboot reboot – the phone would boot

Your OnePlus One bootloader is unlocked now and TWRP custom recovery is flashed. Let’s move over to the phone for the rest of the session
Flashing Firmware, ROM, and Gapps on OnePlus One –
1. Copy the firmware, ROM, and gapps files you had downloaded earlier, into the phone’s internal memory
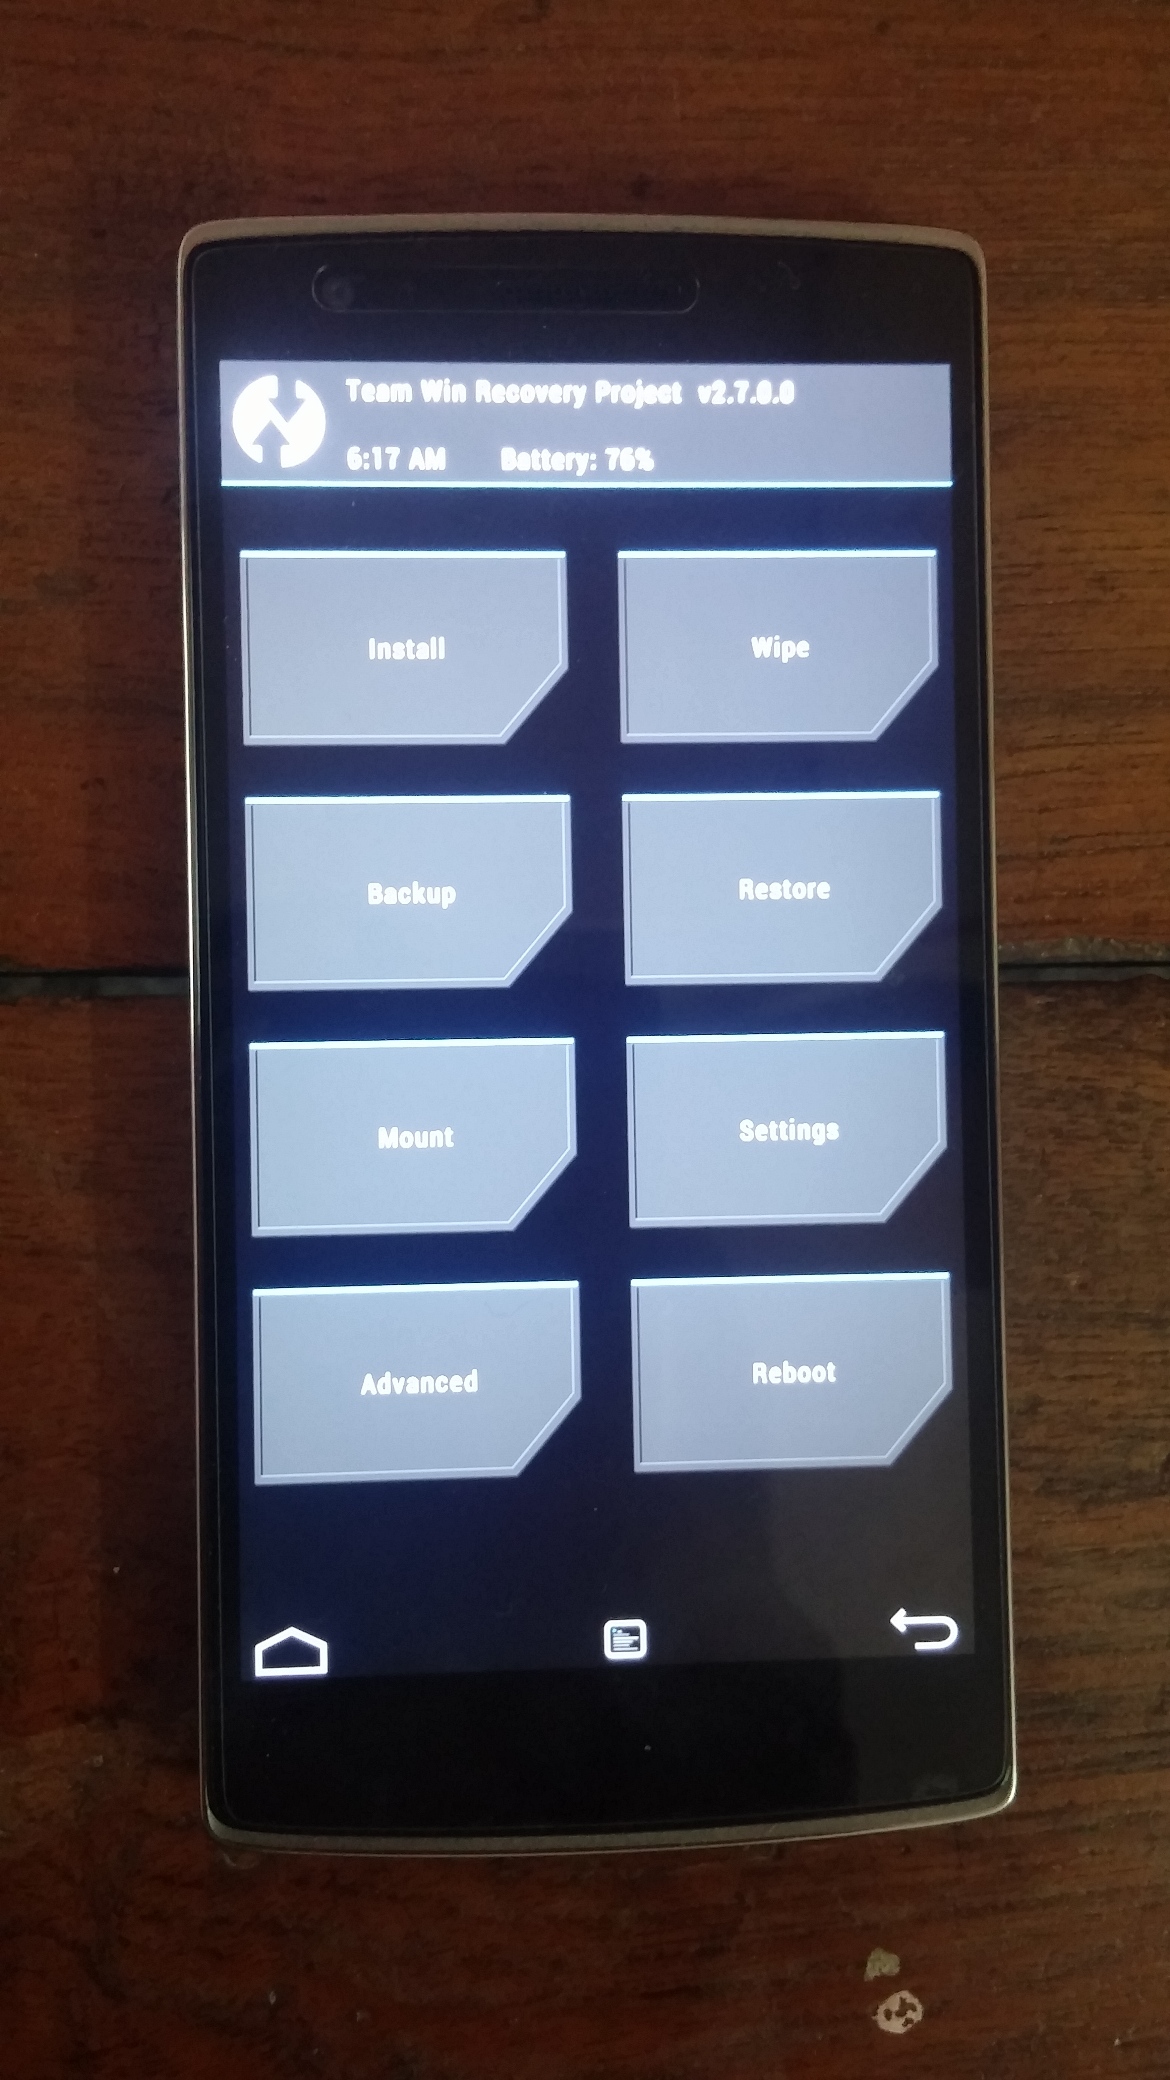
2. Now boot into custom recovery – Press and hold the POWER + Volume Down button. Once you see the 1+ and Android logos, let go and wait
3. The TWRP screen comes up
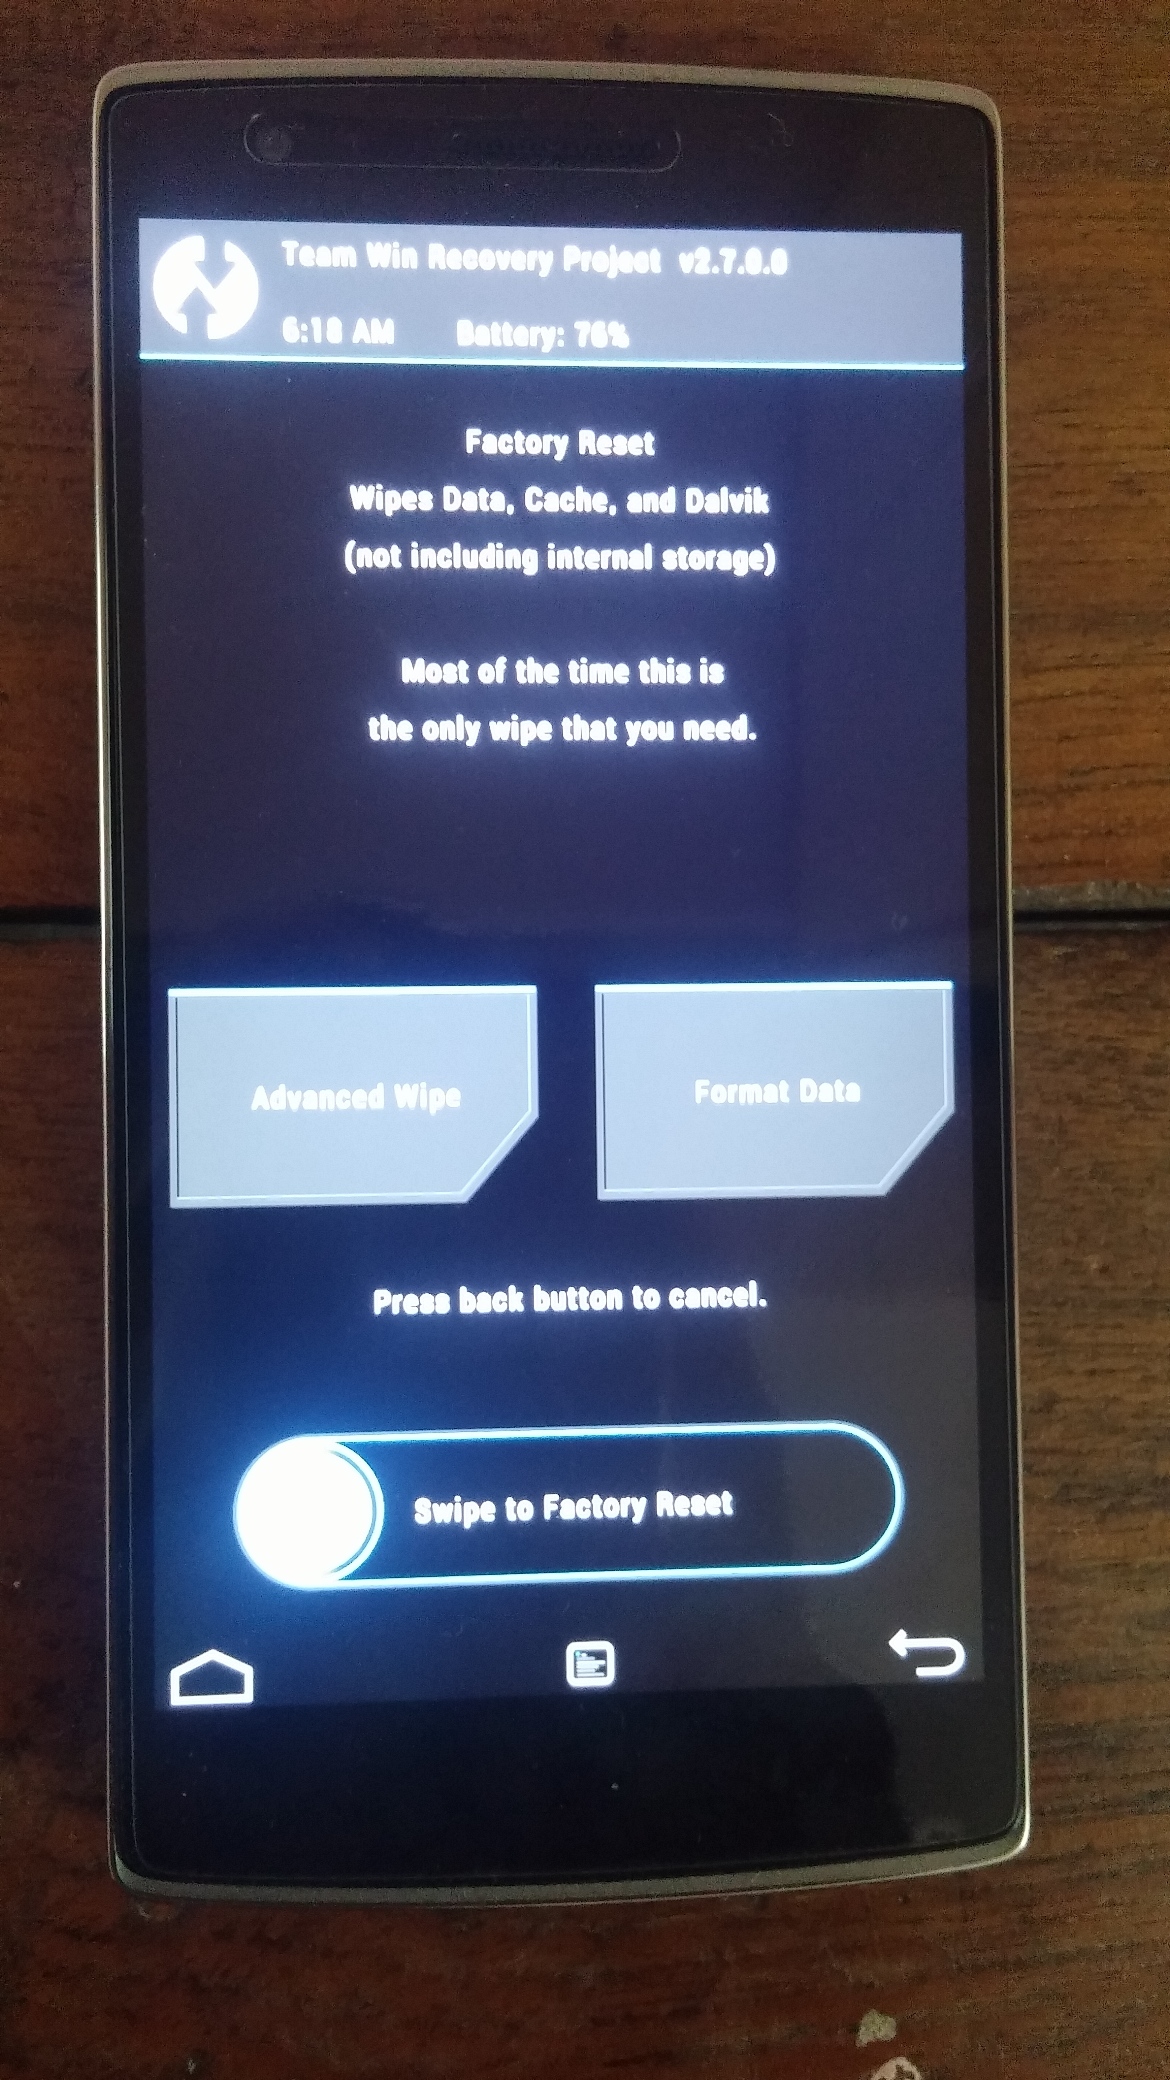
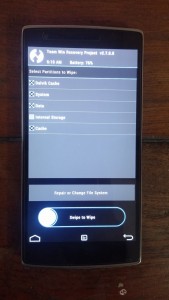
4. Advanced Wipe – Select Wipe > Advanced > select everything apart from Internal Memory and swipe to wipe
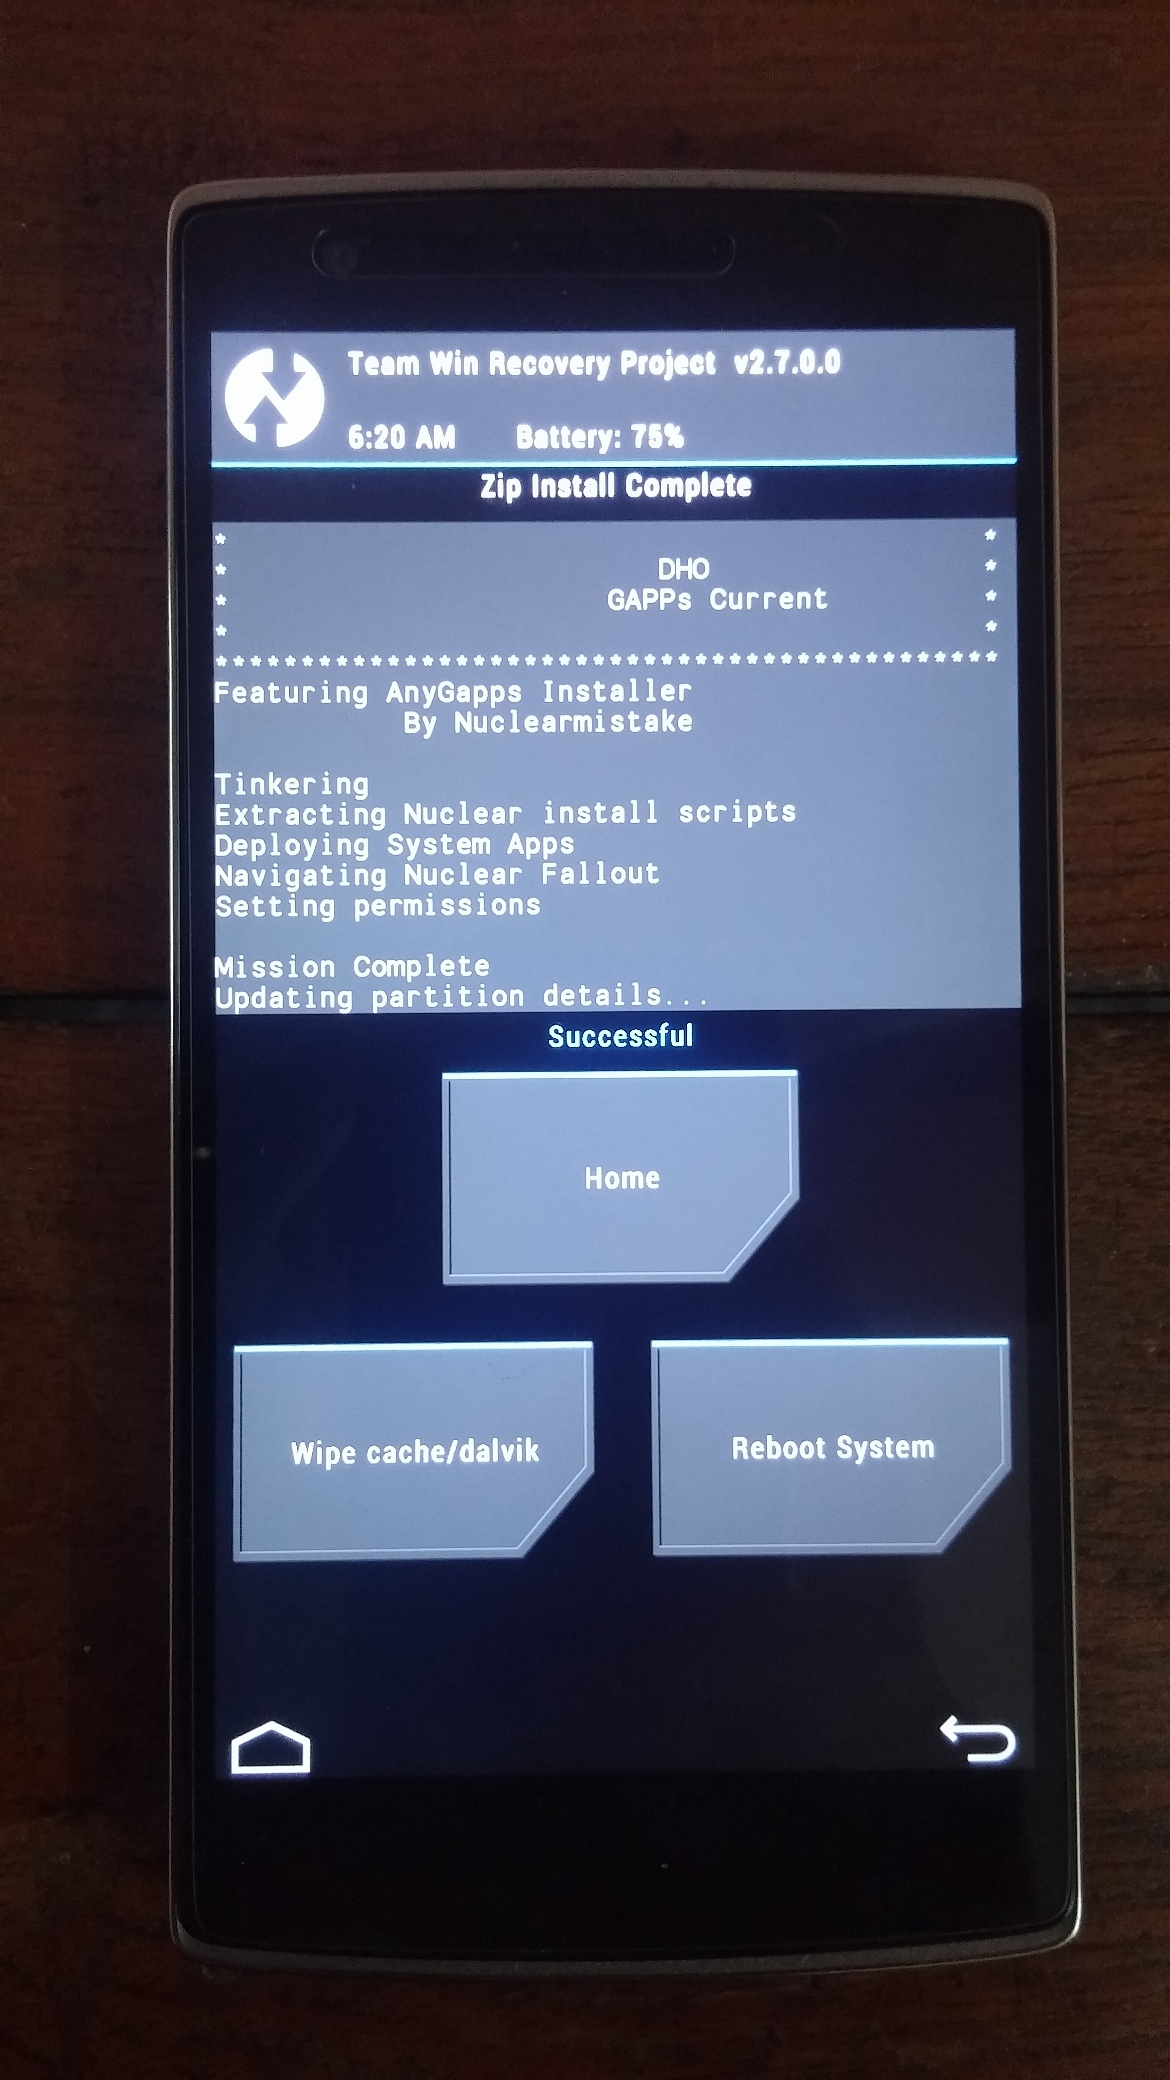
5. Flash Firmware – Select Install > Select the firmware file and swipe/flash. Then select Wipe cache/dalvik

6. Flash ROM – Select Install > Select the ROM file and swipe/flash. Then perform Wipe Dalvik Cache
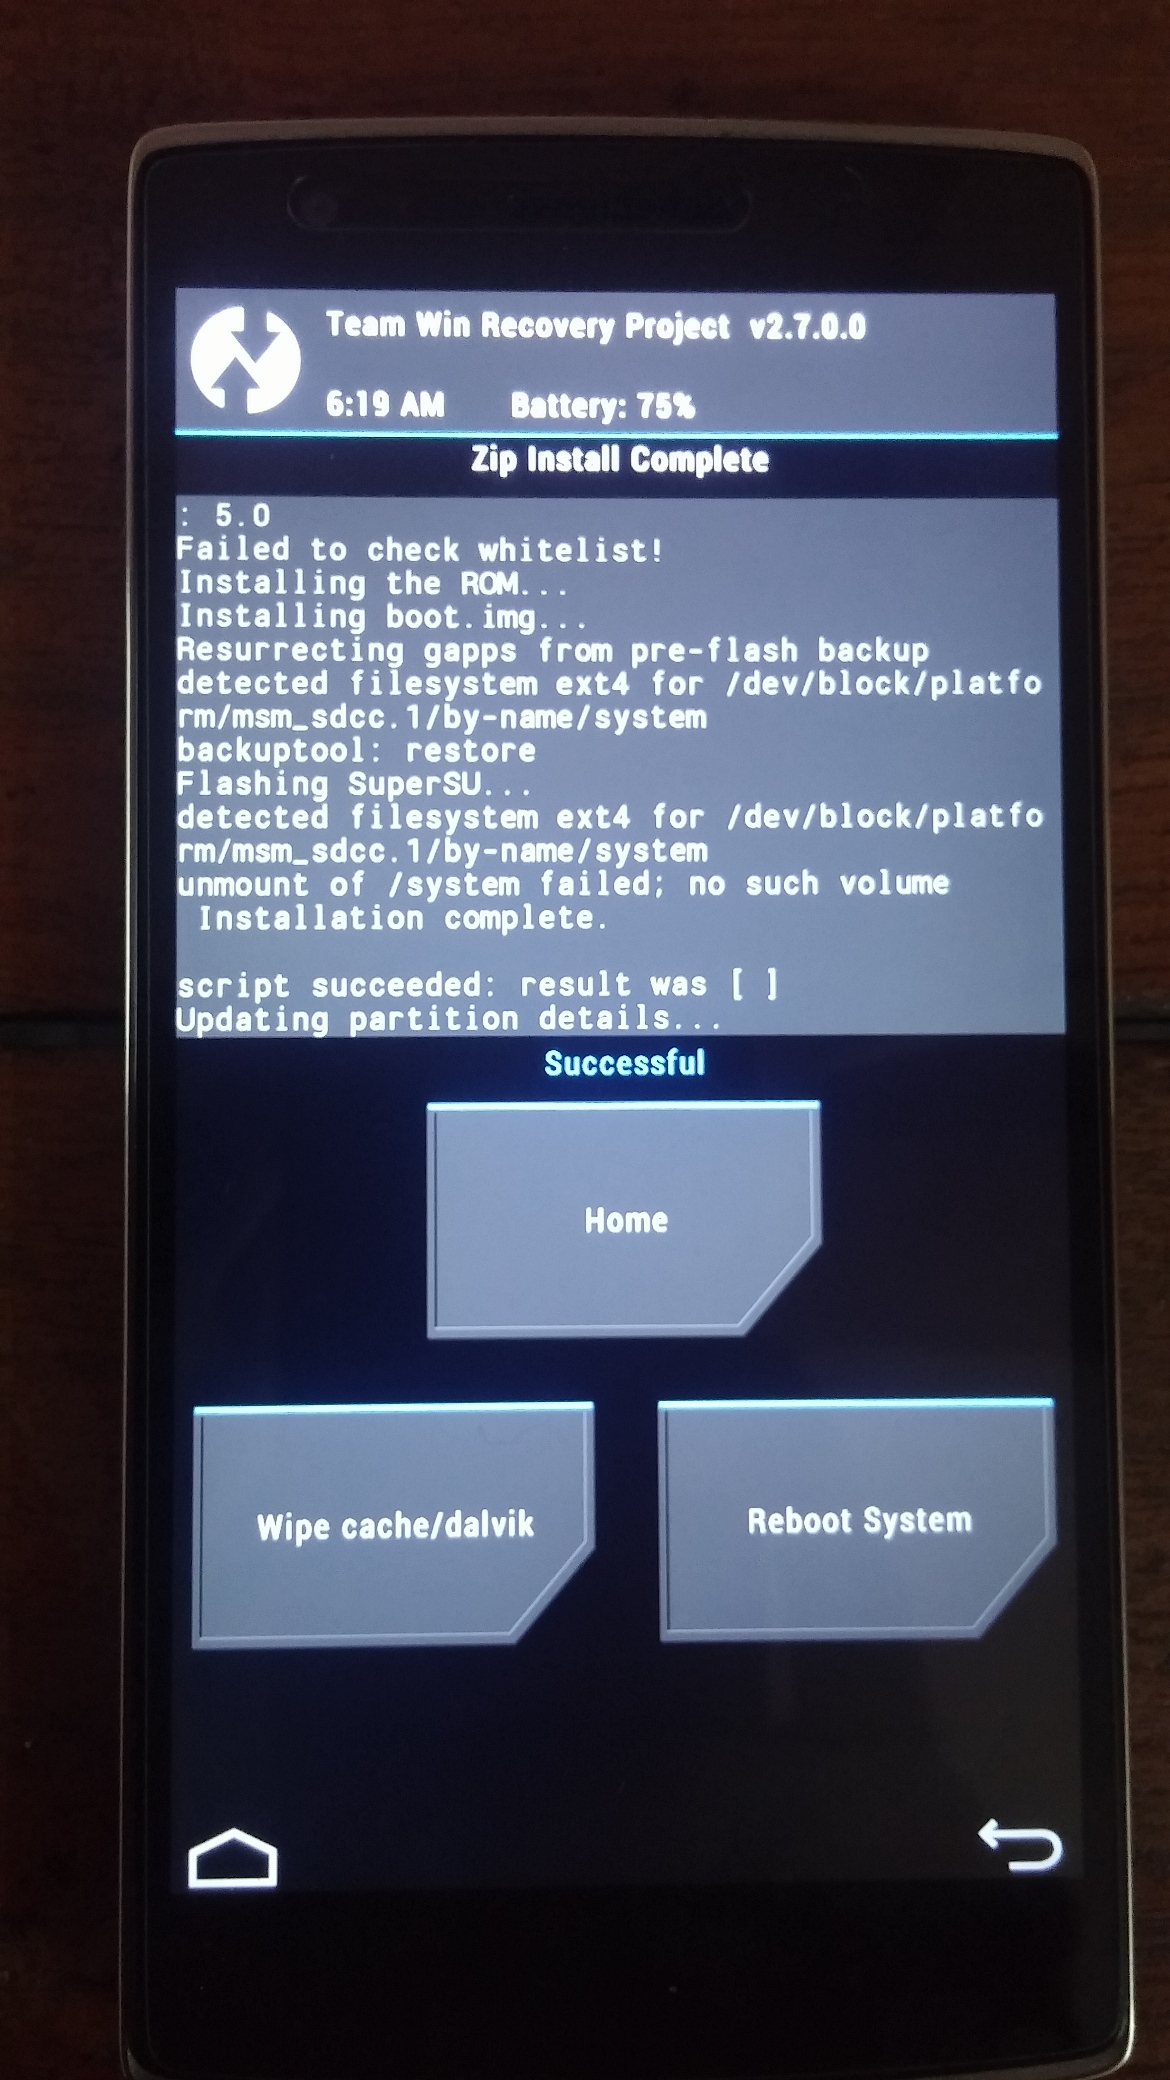
7. Flash GAPPS – Select Install > Select the gapps file and swipe/flash. Reboot

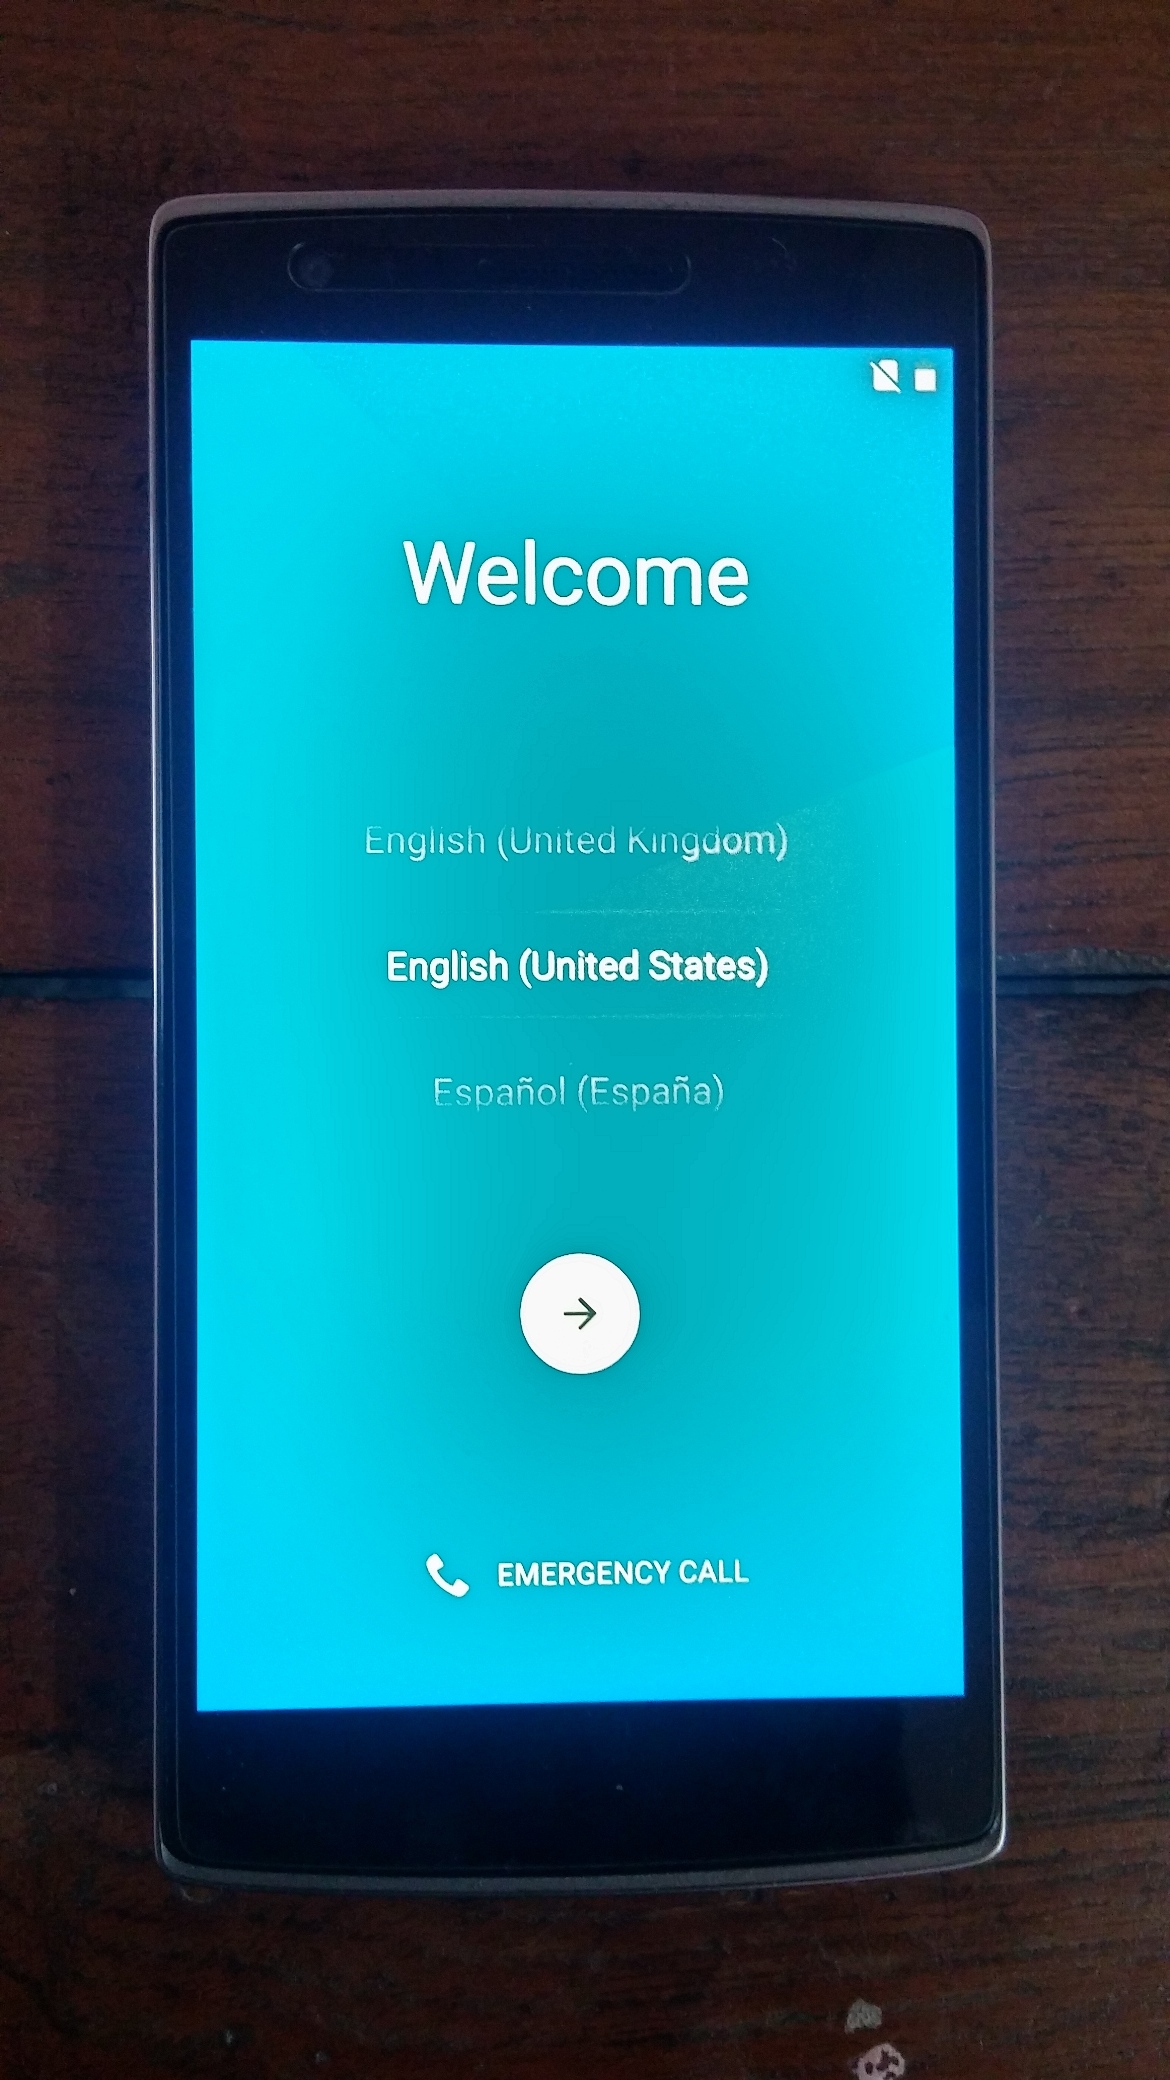
Presto! Your phone will now have its first boot on the Exodus ROM – you should see the colors of Android going in circles as they boot up. Here is a preview!
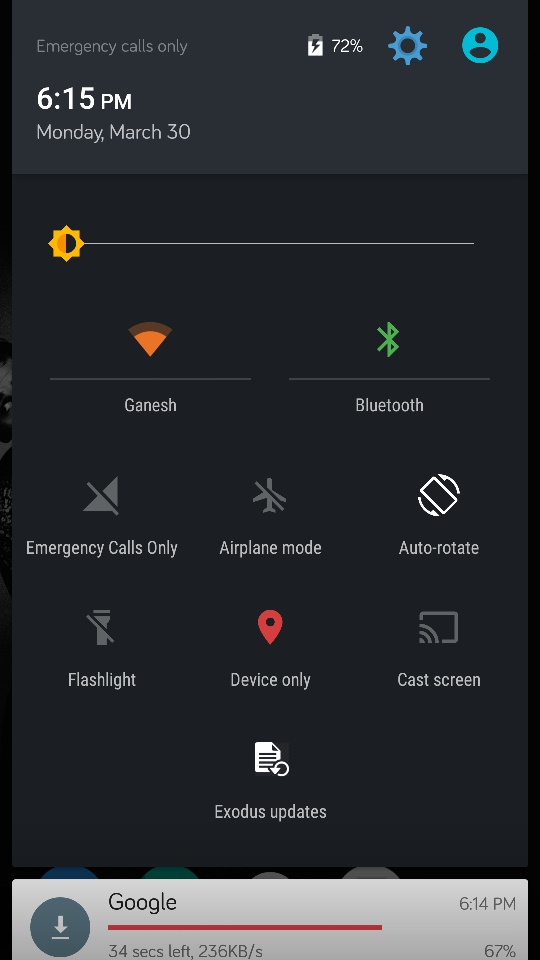
The colorful toggle menu
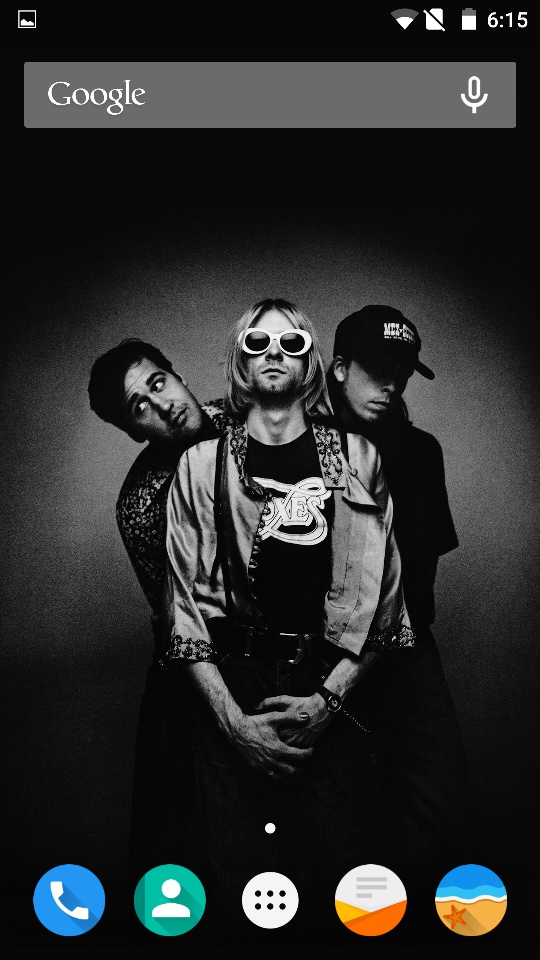
The Home Screen – Froto Icons pack
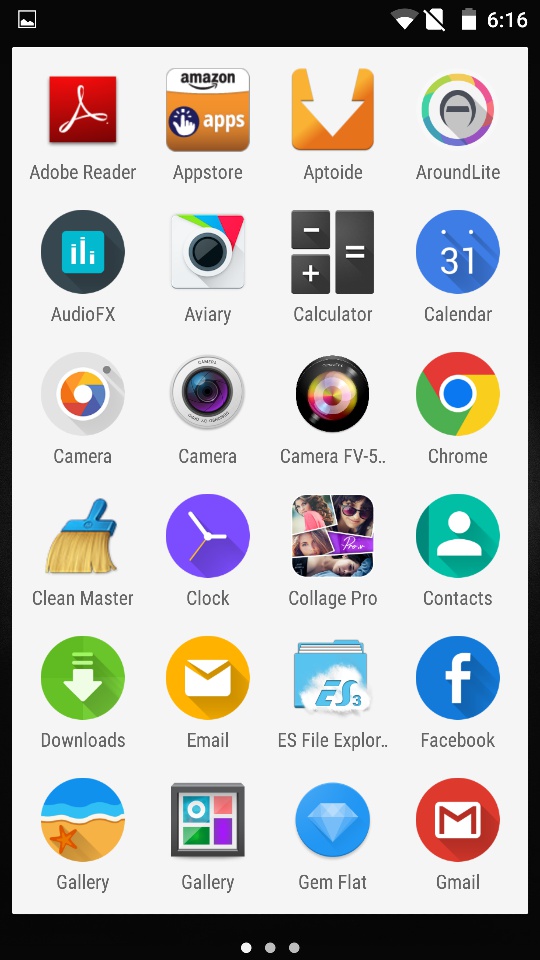
The App Drawers
Advantages of the Exodus ROM:
- The build comes almost every day and hence expect issues to be resolved fast.
- Overall UI is smooth, buttery, and lag-free.
- At the start, you have to install the Camera app and such as the ROM is basic in terms of apps.
- On 3G data, expect a battery life of around 4.5-5 hours of SOT.
- On WiFi usage, expect a battery life of as much as 7-8 hours of SOT – we are not kidding! give it a try.
Do let us know of any questions or such and we will try to answer them. Hope you love this ROM and roll on your OnePlus One 🙂


Does the fact that I am on CM12S change anything to the process? 🙂
Hi there and thank you for publishing this step by step tutorial. I managed to flash Exodus 5.1-20150618 Nightly, however I faced two issues while flashing Exodus on my OPO :
1- The Windows USB drivers doesn\’t allow the phone to be detected through the ADB command, to do so you must install the latest samsung USB drivers (found the information on google 😉 )
2- Once the TWRP custom recovery is install I wasn\’t able to recovery boot on it. To do so I had to reflash te recovery and when I enter the \”fastboot reboot\” command I had to hold down the Power + Vol Down buttons to get on the TWRP screen.
Again thnak you for this tutorial!