It is impossible to import OLM files from Outlook for Mac to Windows Outlook without conversion. That’s because both platforms store Outlook mailbox data in different file formats that are not compatible with each other. In this article, we are providing different methods to convert OLM to PST, guiding you on every step to secure easy conversion, and then transfer to Outlook for Windows.
Microsoft Outlook for Windows stores the email data in either an OST or PST file. However, on Outlook for Mac, the content of your data is saved in a file with an OLM extension. It should be noted that information for each mailbox, whatever the platform, is saved in its distinctive format – a Microsoft Outlook data file.
Outlook for Windows does not support .olm data files. Therefore, you cannot directly transfer – import or export, files from each other. However, to import (.olm) files from Outlook for Mac to Outlook for Windows, you need to convert OLM files to PST format. There are different methods to export data to Outlook for Windows from Outlook for Mac.
Method 1: Import OLM files to Windows Outlook using IMAP
This is a manual method to import OLM files to Windows Outlook, wherein the IMAP server act as a mediator between Mac and Windows Outlook. The IMAP server, in this case, receives remote files between two email clients. Here are 5 steps to follow to import files to Windows from Outlook.
Step 1: Create IMAP Account with Gmail Account
- It is not important to create a new account to begin the process. You can use your old account for the task.
- However, you need to make sure that all IMAP settings are activated for this account. If not, you might face issues later.
Step 2: Configure IMAP Account in Mac Outlook
- Launch Outlook for Mac, and then click on ‘Tools’. From ‘Tools,’ click on the ‘Accounts’ tab.
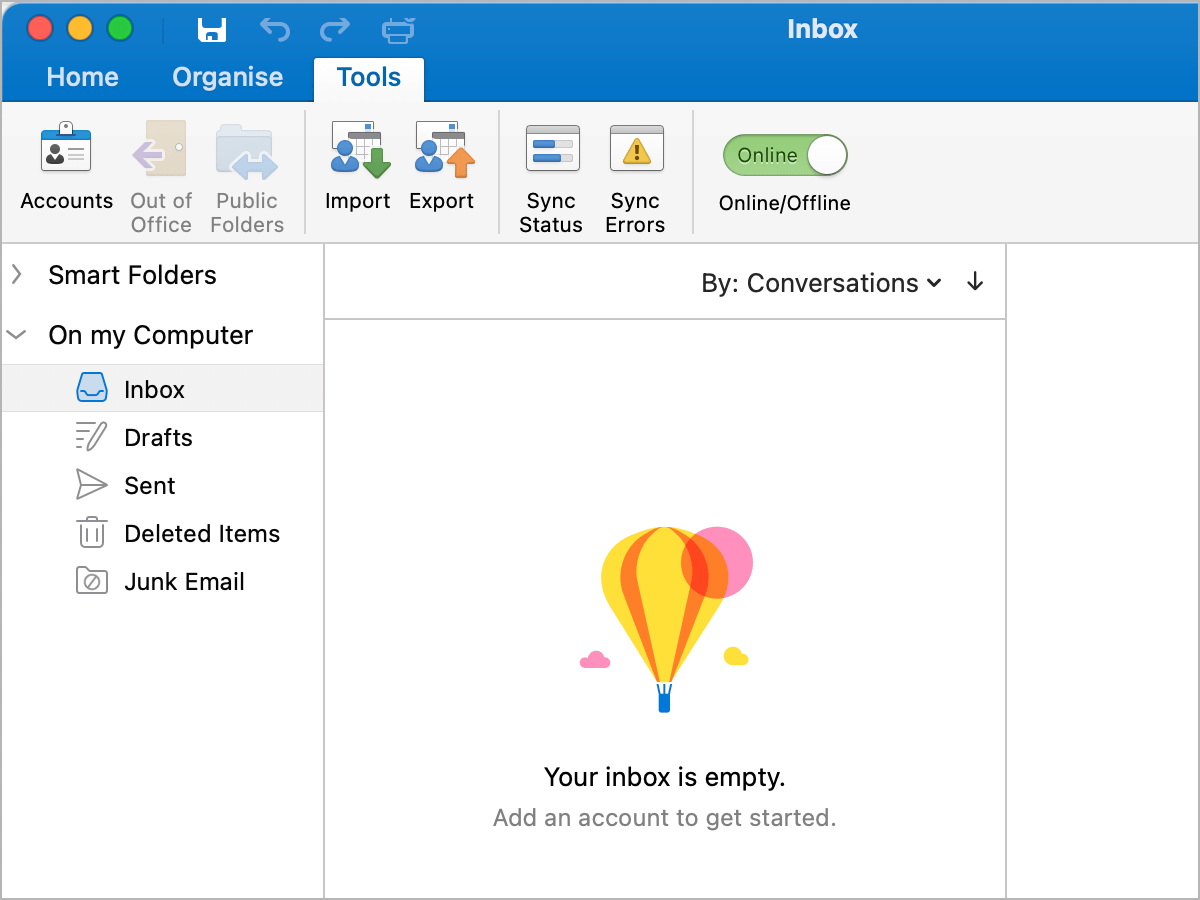
- Select “+” option to add a new account in the Accounts tab.
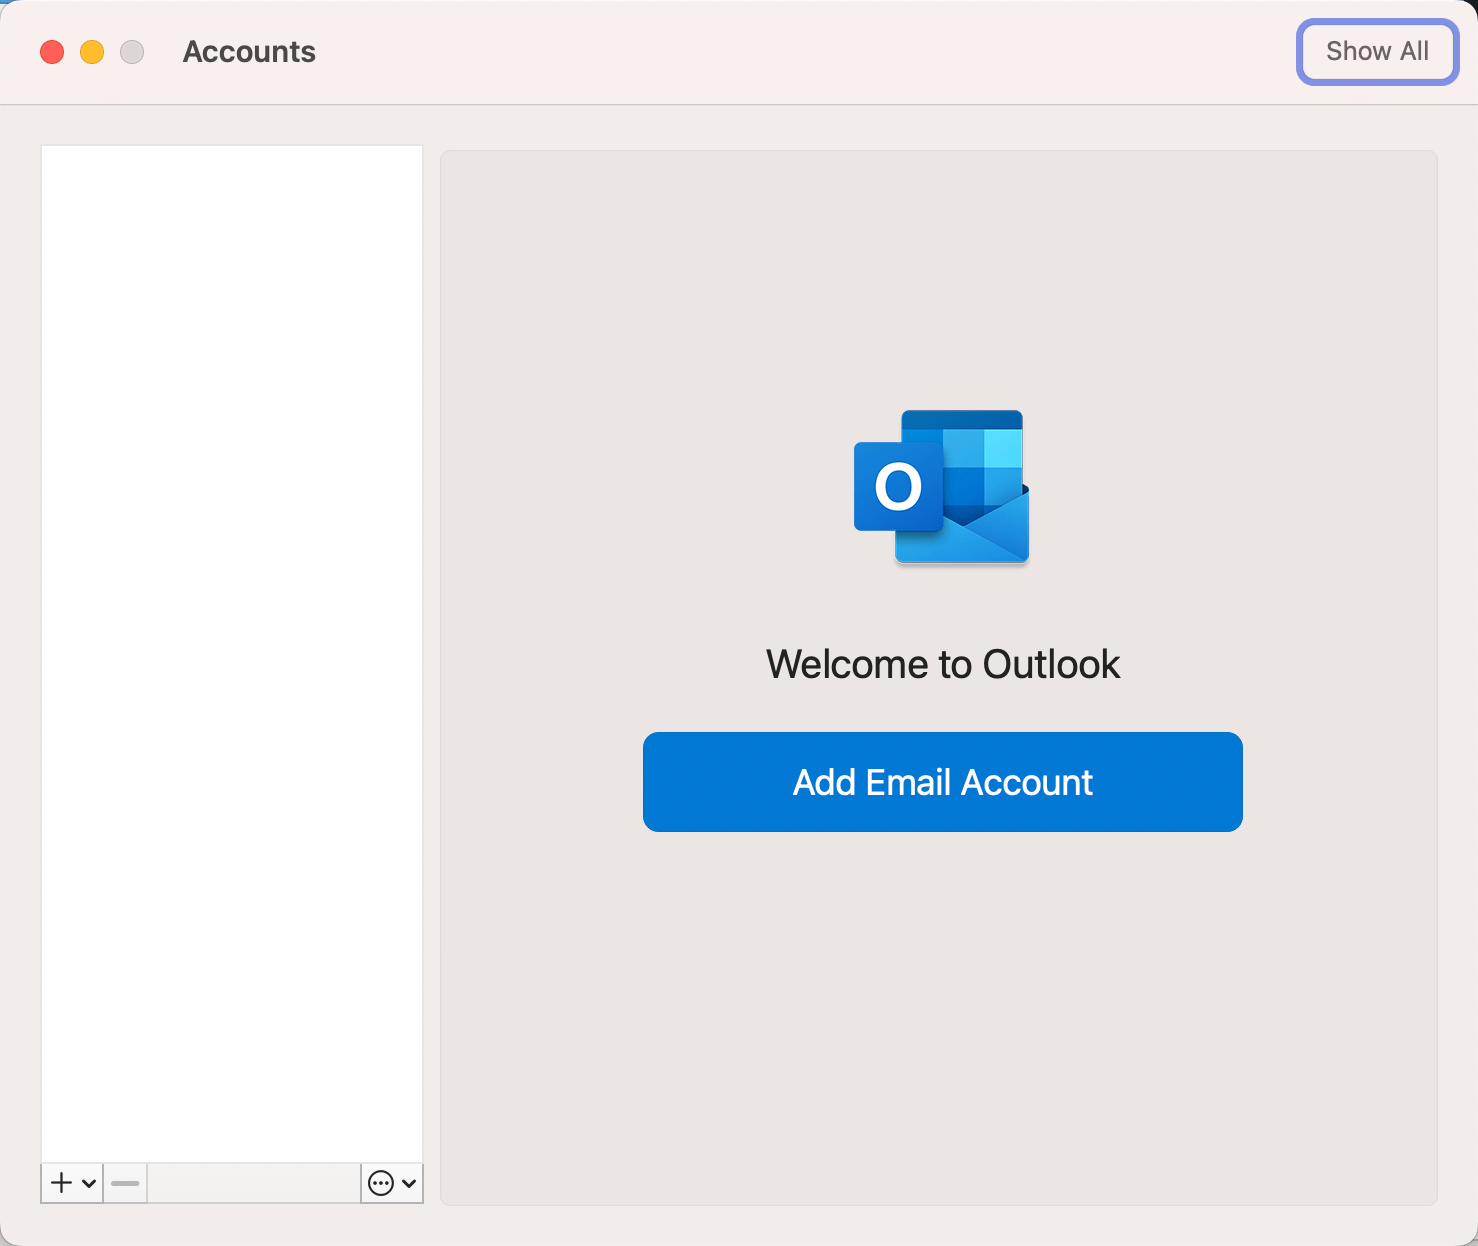
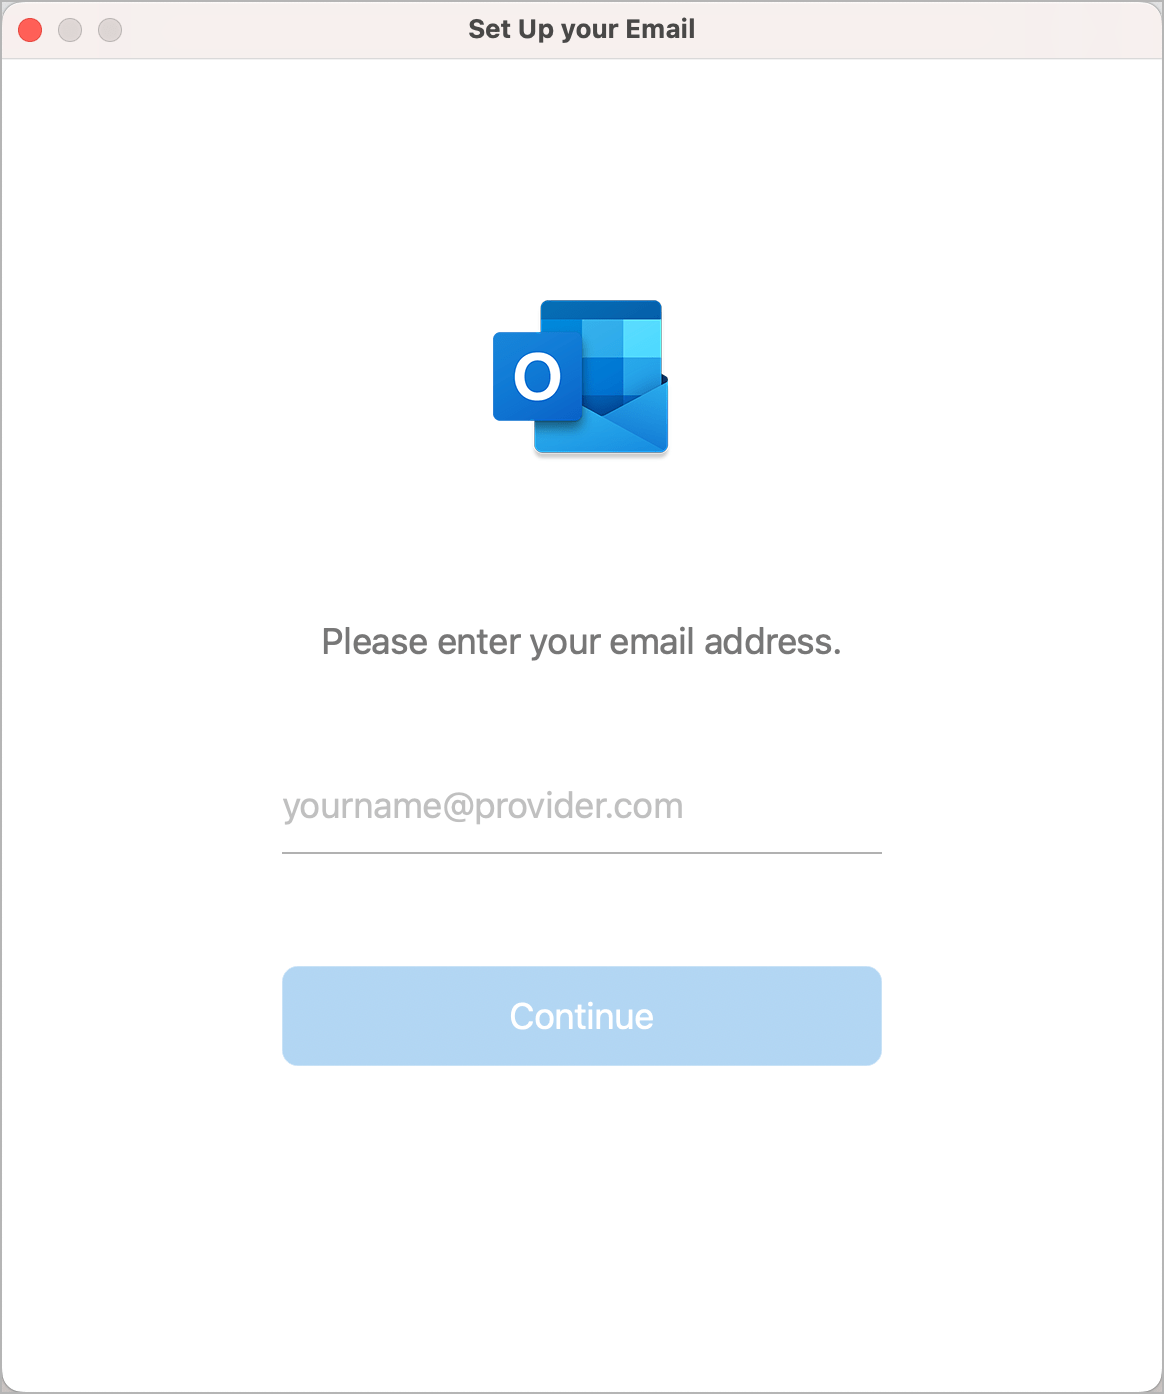
- Select the email option and enter your credentials – email address and password.
- Then enter “imap.gmail.com” as ‘Incoming Server’.
- Choose ‘Use SSL connect’ and then enter ‘smtp.gmail.com’ as your outgoing server.
- Click on 465 in the ‘Outgoing port’, and select Add account option.
- This will prompt you with a yellow button on the left side of the window, enter the password. The correct password will turn the button green, confirming the completion of the connection.
Step 3: Import OLM File to Windows Outlook
- Select the Folder to transfer to Windows Outlook from OLM. Then, select the ‘Copy’ option.
- Now, select a folder in your Gmail to transfer all the data you need.
- After files are uploaded, refresh your Gmail account.
Step 4: Configure the same Gmail account to Windows Outlook
- Open the File menu in your Outlook.
- Click ‘Account Settings’ in the right pane.
- From the current Window, click on the New tab.
- Now, check the ‘Manually Setup or Additional server type’ prompts.
- Check for the ‘Internet email’ option and fill in the login details.
- Then, select ‘Account type’ as IMAP.
- Enter the incoming server as ‘imap.gmail.com’.
- Enter the outgoing server as ‘smtp.gmail.com’.
- Click on the ‘More Settings‘ option.
- Under ‘Outgoing Server’, select the tab “My outgoing server requires authentication”.
- Under the “Advance” tab, enter the value of the incoming service port as 993.
- Select the SSL as encryption type.
- Enter 465 as the port number in the “Outgoing server port” tab.
- Select the “test account settings” option.
- Click the “Finish” tab and you are done.
Step 5: Transfer the entire data into the mailbox of Windows Outlook from your email account.
- Since you have already configured the email account in your Windows Outlook, you can now transfer the OLM data directly to Outlook for Windows application.
Method 2: Use a Professional and Safe method to Import OLM files to Windows Outlook
The software-based conversion of OLM file to PST format is ridiculously easy and it can be done effectively with 100% success. With the help of Stellar Converter for OLM users can migrate Mac OLM data to Office 365 account in a few simple steps.
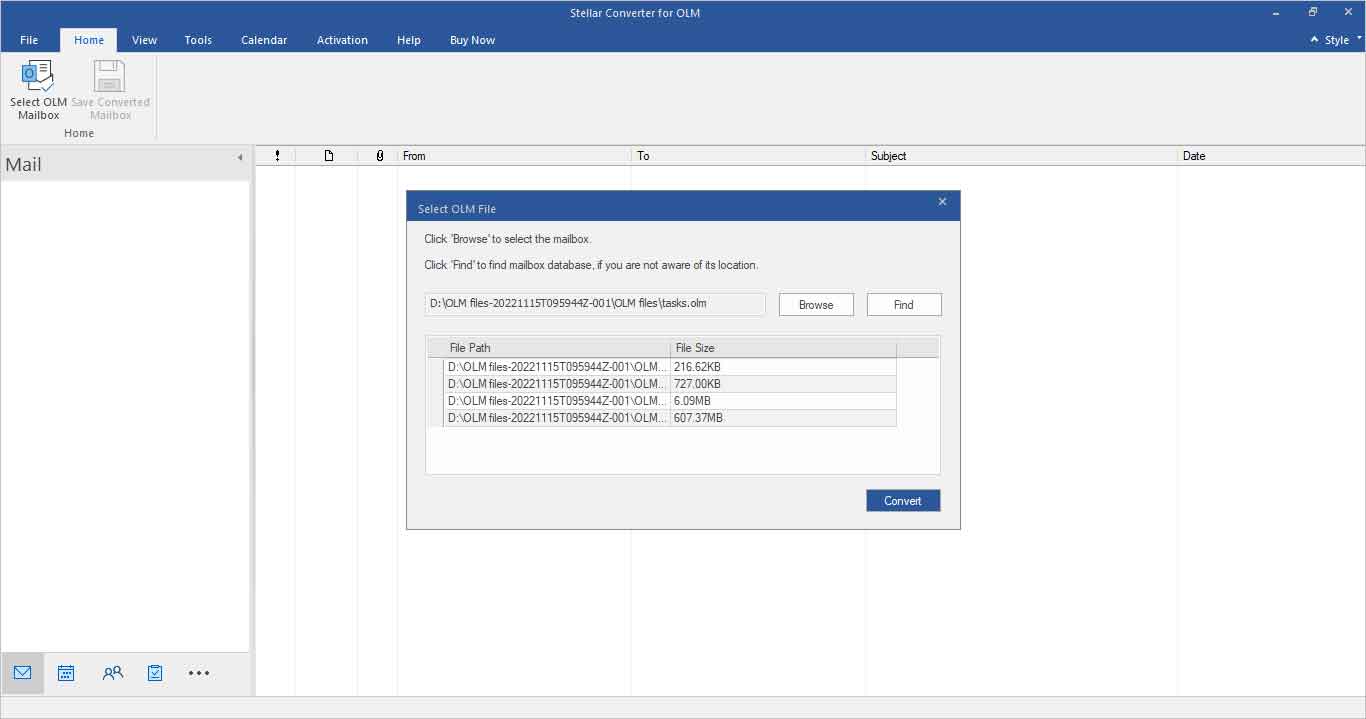
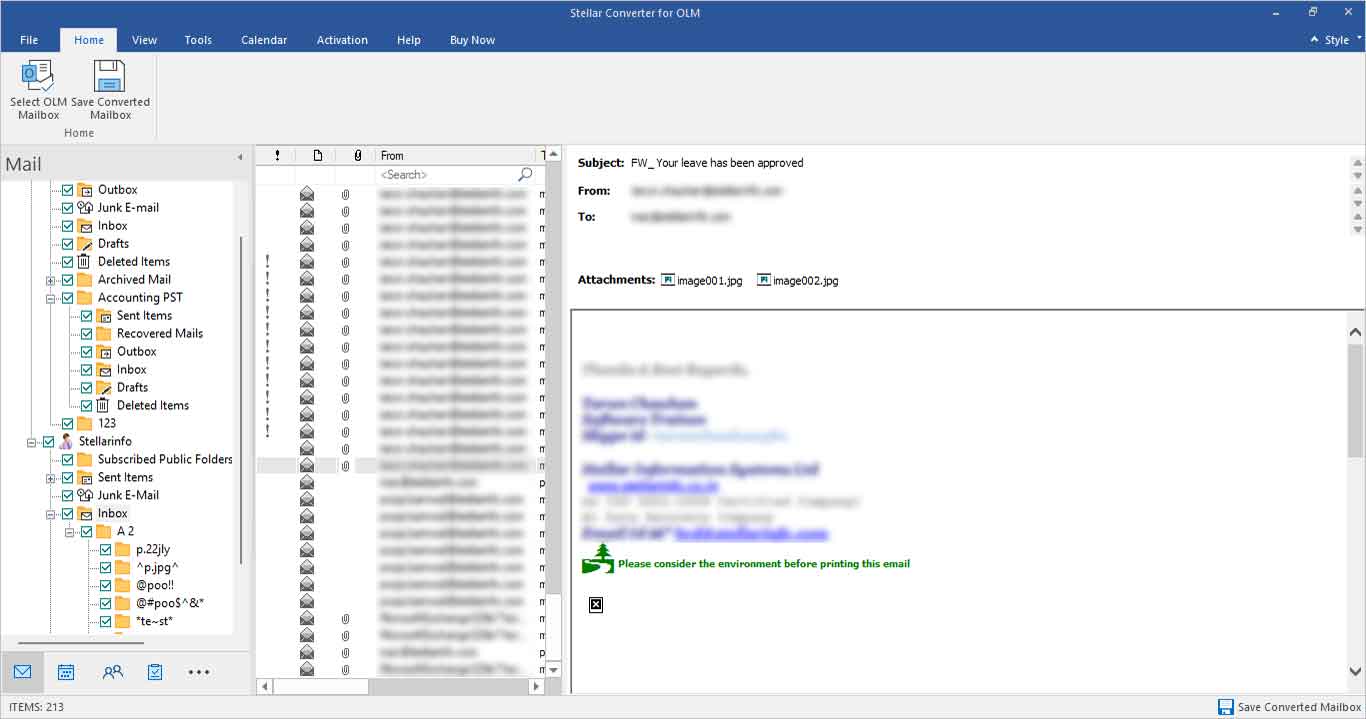
Stellar Converter for OLM is one of the popular tools available. It allows the users to convert files without encountering issues or losing any information. The software helps you create a Unicode Personal Storage Table (PST) file from any OLM file.
You can install Stellar Converter for OLM on any recent Windows OS (Windows 11, Windows 10, 8.1, and 7) without any issues. It will convert an OLM file carrying emails, contacts, calendars, notes, tasks, and journals to an Outlook-compatible format seamlessly.
To convert OLM files using Stellar Converter for OLM, follow the steps below.
- Download and install Stellar Converter for OLM on your Windows device.
- Now, open the program and select the OLM file that you want to convert.
- Once the file is converted, you can use the tool to preview the converted files. You can view emails, attachments, calendars, and other items.
- Select the PST file from the list of options and save it.

Conclusion
There are a few different methods when it comes to importing OLM files from Outlook for Mac to Windows Outlook. There are a few manual methods available, like using IMAP or Exchange Server, to convert OLM files into PST files and then migrate them to Windows Outlook. However, manual methods have their own downsides, with various complexities that can really put the user into a tedious situation. The safest and smartest way to convert the files is to use Stellar Converter for OLM, as an alternative to a manual method for OLM to PST conversion.
RELATED TIPS:


