Are you planning to establish an online store on a budget? Fortunately, there’s a way to reduce your cost to zero, and the name of this method is Instagram. Following this step-by-step guide, you can create your own online store on this popular image-sharing network pro bono.
According to Mention, over 70% of US-based businesses use Instagram, while over 200 million users visit at least one selling profile daily. Read on, and you will learn what an Instagram Shop is, how it can influence your eCommerce project, and how to create it for free.
What is an Instagram Online Shop?
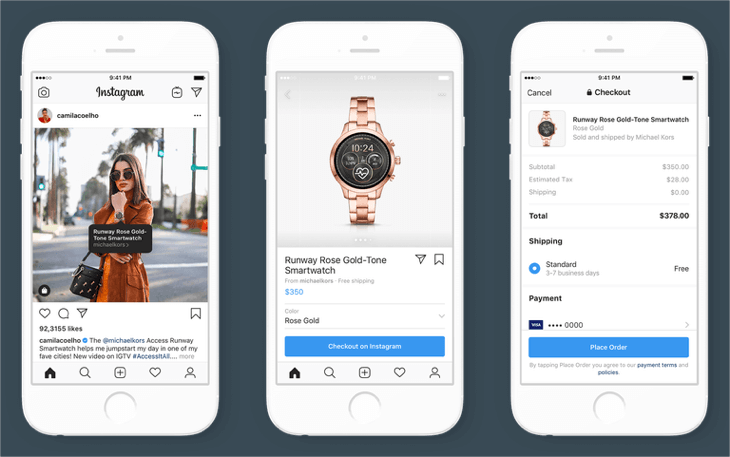
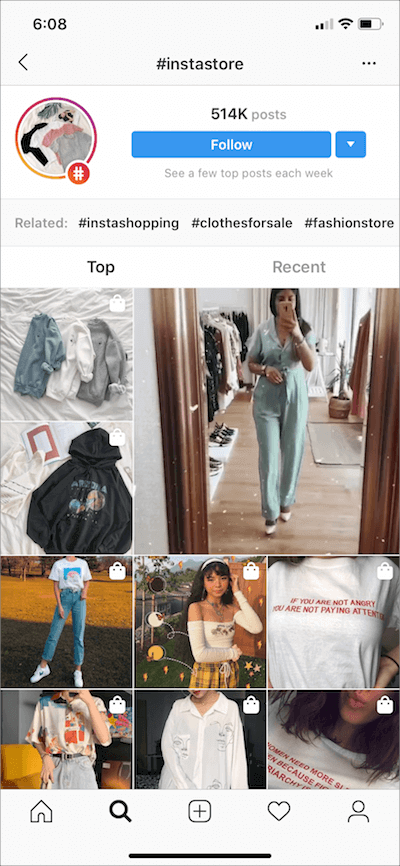
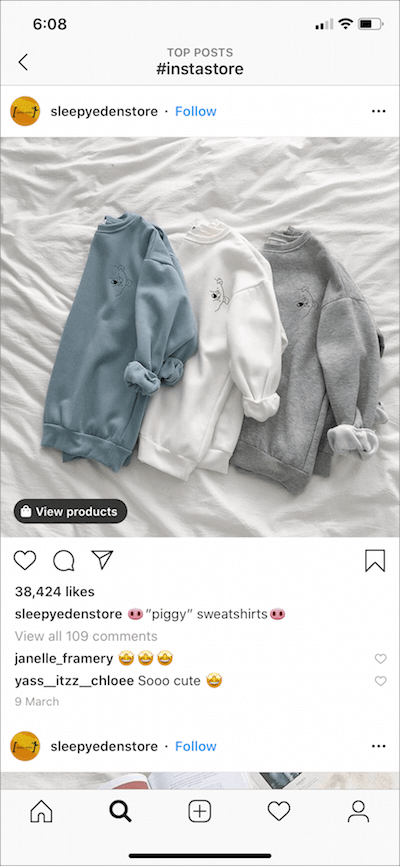
Instagram Shop is a feature that lets you sync your Insta profile with an external catalog of products. Next, you can use it to promote items through Instagram Explore, Stories, Shop tab, and regular posts. It’s also an excellent field for cross-promotion.
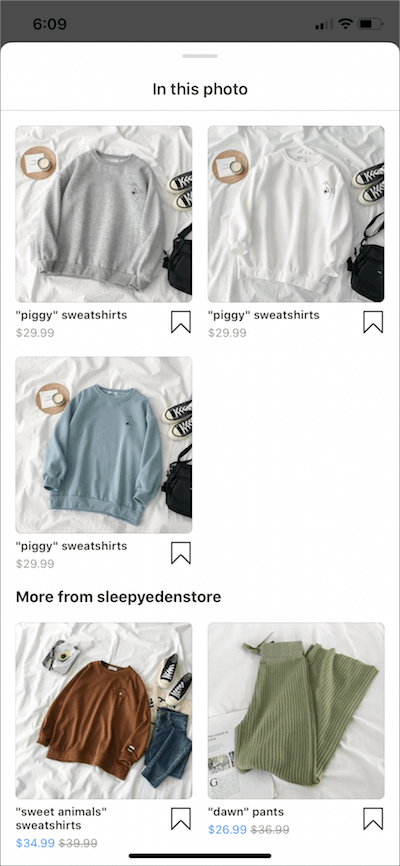
A product page on Instagram can provide users with comprehensive info about each item, including:
- Real images;
- Actual product name;
- Detailed or brief description;
- Price tag;
- Similar items;
- Links to your store’s website or other resources.
Instagram Shop Benefits
So what makes Instagram an eCommerce powerhouse? First of all, it’s a way to reduce the level of “online noise” and to let users reach your store without the need to leave the social network. By reducing such friction, you can enhance conversion rates and establish closer relations with customers. Finally, your tagged posts will be exposed to target audiences in the Shopping Explore section. This will result in higher engagement rates and seize customers with high purchase intent.
Steps to Start an Instagram Shop
Step 1 – Shop Options
To start an Instagram Shop, you have to set up a Facebook Shop account to sync your product info with the Instagram Shop. There are 2 ways to do it:
- Standalone Facebook Shop – You can create a product listing with item descriptions on your Facebook business page. Besides, it lets you manage orders and process payments directly. This option is a way out if you don’t have an eCommerce website yet.
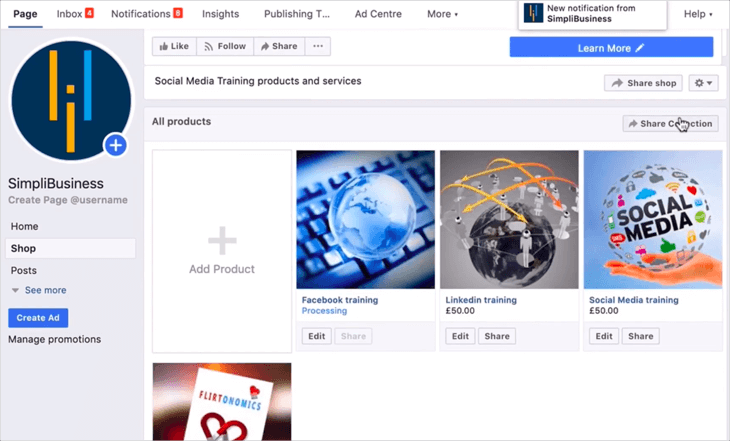
Facebook Shop admin panel front page example. - Synced eCommerce website – Using Shopify, you can link a catalog from your website with a Facebook account and avoid the manual creation of listings. Create a Shopify store (for free), sync it with your Facebook Shop or business account, and link it to your Instagram business account. Now you’re ready to set your new Instagram Shop up!
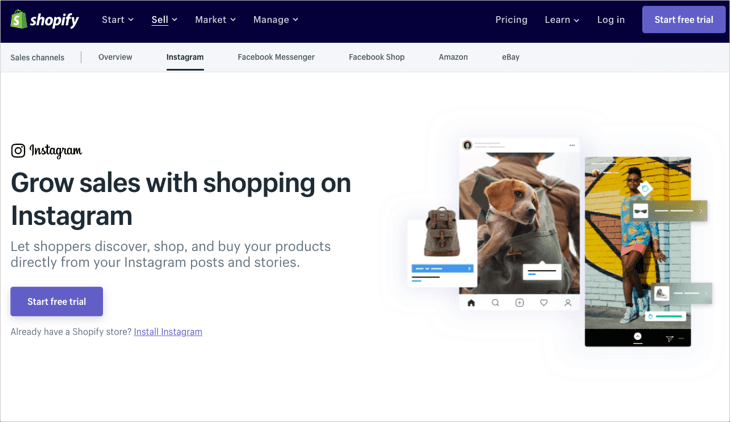
Shopify Sales Channels starting page.
Step 2 – Meet Requirements
You have to make sure that the goods you sell are eligible, and that your business meets Instagram Commerce Policy requirements. Next, make sure that the feature is available in your country and update it to the latest version of the app. If you see shop bag icons on posts, keep going.
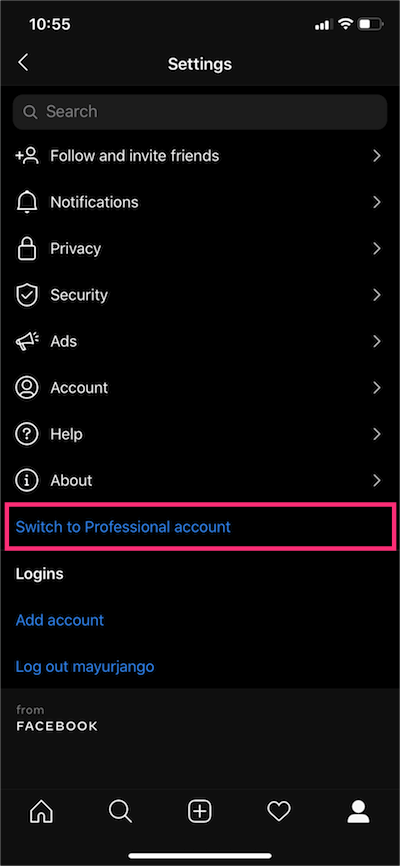
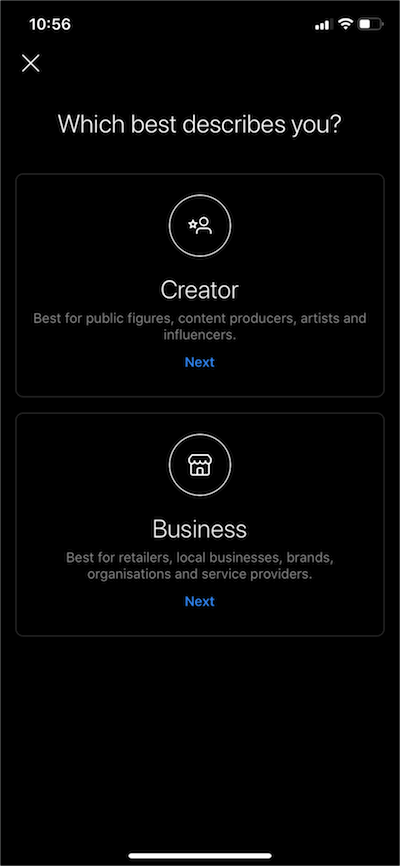
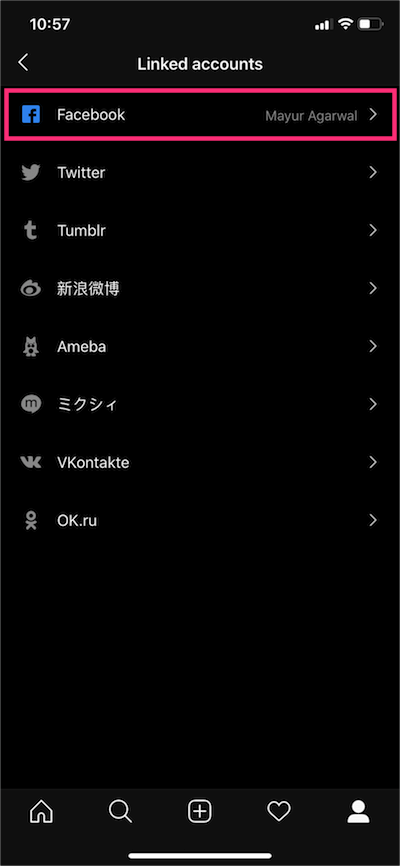
You also must have an Instagram business account to continue. You can create it from the ground up or convert your current account into a business account. To do so, go to Instagram app Settings, tap ‘Switch to Professional Account’ and tap Business. Then go to the Account settings menu and link your Facebook page via the Linked Accounts option.
Step 3 – Create Catalog
Now add products to your Shopify website, link it with your Facebook page, and add the catalog to Facebook by making products available on Shopify. Go to Products, tick all the items on the list, click Actions, and Make Products Available. This stage is rather simple, but you can watch tutorials on YouTube if you have difficulties.
Step 4 – Set Up Sales Channel
Next, you have to make your Instagram Shop page visible for your Shopify account. Click the plus icon near Sales Channels on the dashboard, and choose Instagram in the pop-up menu. Sync platforms using your credentials, and move on.
Step 5 – Account Verification
You have to take a pause at this stage because account verification can take up to several working days. Make sure that you’ve done everything, using this checklist:
- You have an Instagram business profile (step 2);
- You synced it with your Facebook business page (step 2);
- You linked Facebook account to the Shopify shop page (step 3);
- You synced Shopify product list with your Facebook account (step 3);
- You synced the Shopify store with the Instagram business account (step 4).
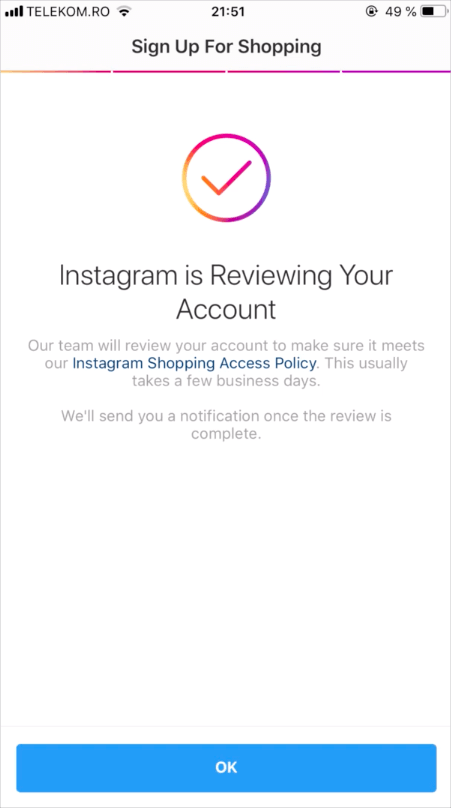
If everything is done, you have to wait until the app shows you a notification that says, “Start Tagging Products on Instagram.” As soon as you receive it, you can add product tags to all photos and stories in your profile. They will also become visible on the Explore feed. However, there are 2 final steps left to be done.
Step 6 – Choose the Right Facebook Shop
When you receive the notification, you have to confirm the Facebook page to connect it to Instagram properly. Go to your Instagram Shop Options, find Business Settings, and tap Shopping. Select the Facebook Shop from the list (if you have several), and you’ll see that all your Shopify products are synced across all 3 platforms.
Step 7 – Tag Products
Now that all the preparatory stages are complete, you can unleash the true potential of the Instagram Shop feature. Follow the easy steps below to start tagging your products on posts and stories.
- Start creating a new post;
- Tap ‘Tag Products’ under the caption field, and choose the product that matches the post;
- Now you can add hashtags and captions and post them. The product tag with a price will be displayed to users.
You are free to add up to 5 tags to a single post/story, or up to 20 tags on posts that include several images. Create at least one post for your Shop’s feed to unlock the Shop tab in your profile. Congratulations! Now you have a full-fledged Instagram Shop with all its features available for free.
Time to Grow!
Although it takes a while to set up the store properly, the final result is definitely worth your time. Now you can set up an effective eCommerce store for free and start generating income right away. However, we recommend you study popular online marketing strategies to drive your Instagram business account to success faster. Instagram is a platform for everyone, so the best advice to you, for now, is “start using it!”


