WebTrickz
TRENDING
  • How to Turn Off and Restart iPhone 15
No Result
View All Result
  • Reviews
  • Editorials
  • Social Media
    • Facebook
    • Twitter
    • YouTube
    • Messenger
    • Instagram
    • Snapchat
    • WhatsApp
    • TikTok
  • Apps
  • How To’s
  • Apple
  • iPhone
  • Google
  • Android
  • Mac
  • Security
  • About Us
    • About Us
    • Contact Us
    • Privacy Policy
No Result
View All Result
WebTrickz
No Result
View All Result
Home Android

How to Manually Install Official 11.0-XNPH05Q OTA Update on YU Yureka

Mayur Agarwal by Mayur Agarwal
May 16, 2020
in Android, How To's

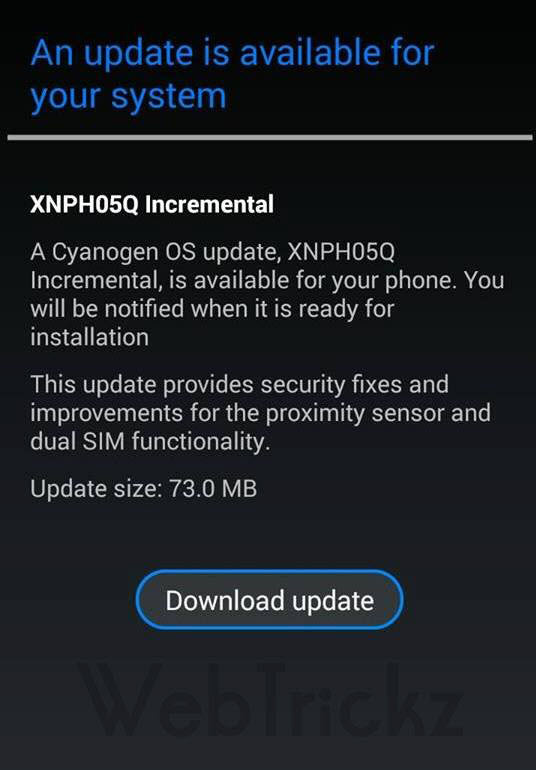
[dropcap]C[/dropcap]yanogen OS has started rolling out the first Over-the-air (OTA) update for Micromax Yureka, that updates Yureka running Cyanogen OS version 11.0-XNPH52O to 11.0-XNPH05Q. The latest XNPH05Q incremental update sized 70MB includes security fixes and improvements for the proximity sensor and dual SIM functionality. Some Yureka users have already got this new update while others are still waiting. If you can’t wait anymore, then you can choose to install the official OTA update manually on Yureka following the below procedure. In order to flash the OTA, your device must be running an unrooted Stock ROM and Stock recovery. This process should not effect the data on your device.

Requirements – Yureka with stock recovery and completely non-rooted stock ROM

Note: Applicable only when updating from XNPH52O to XNPH05Q.

Guide to Manually Update Yureka to Cyanogen OS v11.0-XNPH05Q –

1. Make sure your device is running stock recovery and is not rooted.

2. Download XNPH05Q Incremental OTA update [Official Link | Mirror]

3. Place the downloaded zip file in the ‘download’ folder on phone’s internal storage.

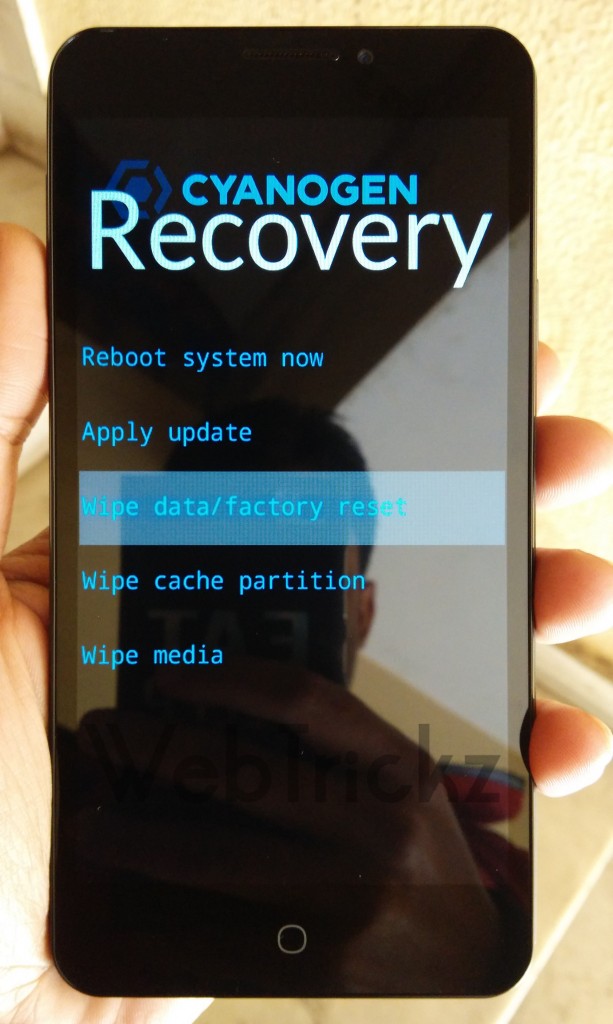
4. Boot Yureka into recovery – To do so, power off the phone. Then press Volume Up + Volume Down and Power button simultaneously.
IMG_20150129_140103

5. In Cyanogen Recovery, select the ‘wipe cache partition’ by tapping on it. Then go to ‘Apply update’ > ‘choose from internal storage’ > /0 > Download > and select “cm-tomato-efbb5514a1-to-9828f8e9cc-signed.zip” file.

Sit back patiently while the update is installing. Once installed, select ‘Reboot system now’. That’s it! Wait for a while as the device boots for the first time.

Confirm the update installation by checking the ‘OS version’ and ‘Build date’ from About phone. The build date of this update is Jan 28, 2015.

Credits: Omkar Sathe | YU Forum

Tags: AndroidGuideNewsRecoverySoftwareTutorialsUpdate
ShareTweetSend
Previous Post

How to Unbrick and Restore YU Yureka to Cyanogen OS 11 Stock Firmware

Next Post

Guide to Manually Install Android 5.0.2 Lollipop on Indian Moto E (Soak Test OTA Update)

Mayur Agarwal

Mayur Agarwal

Mayur Agarwal, the founder and editor of WebTrickz, is a tech enthusiast with a Bachelor's degree in Computer Applications and over a decade of writing experience. His passion for technology and gadgets inspires him to create insightful How To's and troubleshooting guides.

Next Post

Guide to Manually Install Android 5.0.2 Lollipop on Indian Moto E (Soak Test OTA Update)

Comments 3

  1. Dilip says:
    10 years ago

    What about rooted phones?installation of ota update through philz recovery throws error.Any help regarding this.Do I have to uproot and change to default recovery to install the update?Then Will I loose all the phone memory data by doing this?

    Reply
  2. sachin says:
    10 years ago

    I m unable to install manually updates plz help me 7206390381

    Reply
  3. niraj says:
    10 years ago

    I have rooted my yureka and now I am on stock recovery and stock ROM but my phone is still rooted .
    Pls tell I m able to update manually or not.

    Reply

Leave a Reply Cancel reply

Your email address will not be published. Required fields are marked *

Latest Stories

ios 18

iOS 18: How to Add Screen Record to Control Center on iPhone

March 30, 2025
ios photos logo

iOS 18: How to Clear Recently Viewed Photos on iPhone

December 27, 2024
ios photos logo

How to Find Your Favorite Photos in iOS 18 on iPhone

December 30, 2024
ios 18

How to Reset Control Center to Default in iOS 18.1 on iPhone

April 2, 2025
iphone 16 pro max always-on display

How to Turn Off Always-On Display on iPhone 16 Pro & 16 Pro Max

November 11, 2024
ios 18

How to Find Recently Deleted Photos in iOS 18 on iPhone

December 30, 2024
apple iphone 16 pro

How to Close Apps on iPhone 16, 16 Pro, and 16 Pro Max

October 22, 2024

Trending Stories

  • Apple iphone 16

    How to Turn Off and Restart iPhone 16, 16 Pro, and 16 Pro Max

  • How to Put Your iPhone 16 on Vibrate or Silent Mode

  • How to Turn Off & Restart iPhone 15, 15 Pro, and 15 Pro Max

  • How to Turn Off Most Relevant Comments on Facebook

  • 4 Ways to Remove the Floating Home Button on iPhone

  • About Us
  • Contact Us
  • Privacy Policy
  • Advertise

© 2025 WebTrickz. All Rights Reserved.

No Result
View All Result
  • Reviews
  • Apps
  • How To’s
  • Android
  • Google
  • iPhone
  • Mac
  • About Us
  • Contact Us
  • Privacy Policy

© 2025 WebTrickz. All Rights Reserved.