To upgrade your laptop to SSD or not to upgrade? This is a basic query. Solid-state drives (SSD) possess an array of significant advantages. They offer better longevity, faster boot times, less weight, and almost no noise. Moreover, SSD is energy-efficient and works much faster than traditional HDD.
If you decide to upgrade your Mac to SSD, there is one issue you have to deal with. You have to manage the data transferring process. Although you can go ahead with a clean install of the operating system, that isn’t the best way out. Computers store gigabytes of data such as documents, files, memorable photos, and music collections that one can’t live without.
Upgrading Mac with an SSD Drive
In case you want to save all the information, there are two possible ways out. The first one involves copying all the files which can be rather exhausting and time-consuming. The best solution is to clone your Mac hard drive to SSD. To perform this task, you need to go through the following steps:
Step 1 – Back up all your data
You can do so with the help of Time Machine Backup. It’s necessary to arrange an appropriate external hard drive of the corresponding capacity. This process may take up to several hours.
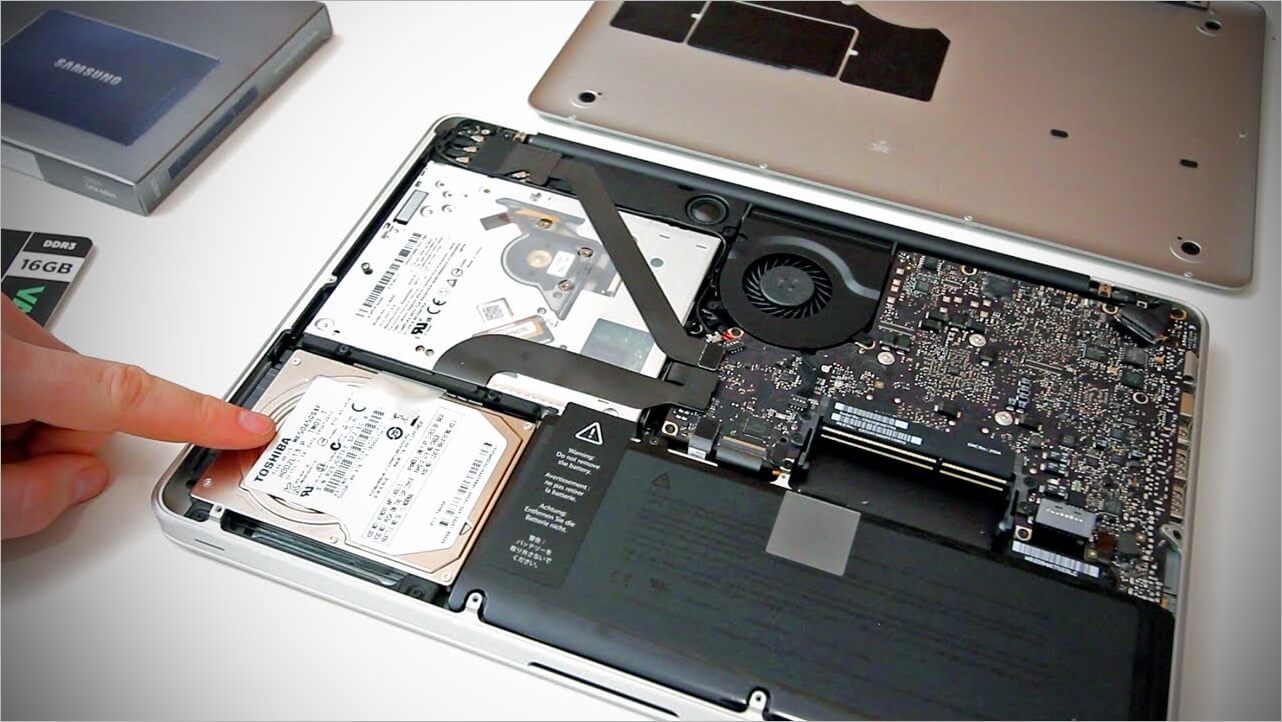
Step 2 – Replace the old HDD with a new SSD
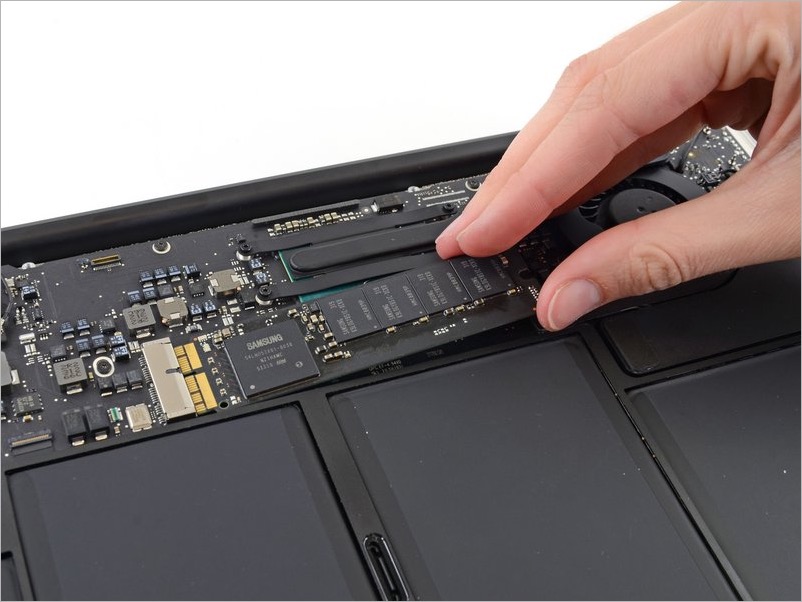
For this procedure, you need to arrange a new SSD, an appropriate screwdriver, some additional screws, a spudger, and cleaning supplies.
Step 3 – Restart your Mac
In order to open the Apple Recovery Menu, you have to use the combination of keys Command+R.
Step 4 – Format your new SSD
After the procedure is finished, you should return to the utility startup screen. Now,
- Affix the external drive containing all the necessary data to your computer.
- Select SSD from the sidebar.
- Apply the “Restore” (Restore from Time Machine) option.
- Restart your Mac.
After doing all the procedures, make sure to check whether all the files are cloned successfully.
Possible difficulties and ways to cope with them
There are some difficulties that you may face while migrating data from your Mac to SSD. The first one is the possibility of data loss or damage. Even if you are an IT professional and have transferred different sorts of data, mistakes can still occur.
One of the most common problems users face while cloning OS is data loss. Nobody wants to lose their important files. Unfortunately, if that happens, there is no reason for despair. With the assistance of special utilities, it’s possible to recover data from SSD or HDD.
Disk Drill Data Recovery is one of the most effective apps that allows retrieving files of any type. The program has a simple and intuitive interface. In order to get your lost data back, it’s necessary to download and install an app on your device. You should keep in mind that the free version allows you to restore only 500 MB of data.
To retrieve lost data, launch Disk Drill and select the ‘Data Recovery’ option. Then select the drive you want to retrieve the data from and the types of files you are searching for. After the scanning is over, go ahead and choose the files you want to restore.
Besides, it’s a good idea to create copies of the most important files and store them in cloud storage or USB drives.
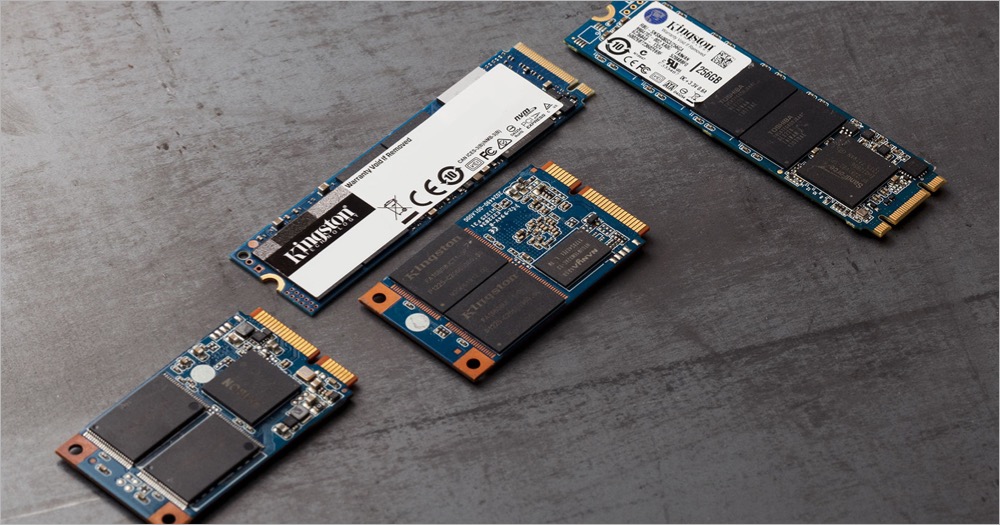
Choosing the right SSD for your computer is also a challenge itself as various types of SSDs are available in the market. Note that you shouldn’t blindly buy a model you like or one that meets your budget. The compatibility of an SSD with your system is most crucial. One should also consider things such as the storage capacity, kind of work involved, noise level, and upgrade cost when buying an SSD. Basically, the reason for upgrading is to eventually enhance the overall speed and performance of the computer.
Having said that, anyone should be able to clone data from HDD to SSD without much effort. Just make sure to use a reliable data recovery tool and follow the instructions carefully to avoid any chance of data loss.


