Starting with iOS 11, photos captured on iPhone are saved by default in HEIC or HEIF format, which offers better image quality than JPG despite having a much smaller file size. While HEIC files are ideal for people using Apple’s ecosystem, including iPhone and Mac, there can be compatibility issues when sharing or using software like Photoshop that doesn’t support HEIC yet.
To avoid these issues with Windows and older versions of macOS, one can convert HEIC files to JPG. While many programs and online services let you convert photos for free, Mac users can easily save HEIC as JPG without using third-party tools.
Surprisingly, macOS Monterey 12 offers a built-in ‘Convert Image’ Quick Action in Finder, allowing you to quickly convert HEIC images to JPG, without using Preview. You can even convert multiple images at once. Whereas on macOS Big Sur or earlier, users had to manually set up a Quick Action using Automator to perform the same task.
Now let’s see how to change multiple photos from HEIC to JPG on a Mac.
How to batch convert HEIC to JPG on macOS Monterey
- Go to Finder or Desktop and right-click the HEIC file you want to convert. For bulk conversion, hold down the Command key and select multiple HEIC files.
- In the right-click menu, go to ‘Quick Actions’ and select ‘Convert Image‘.
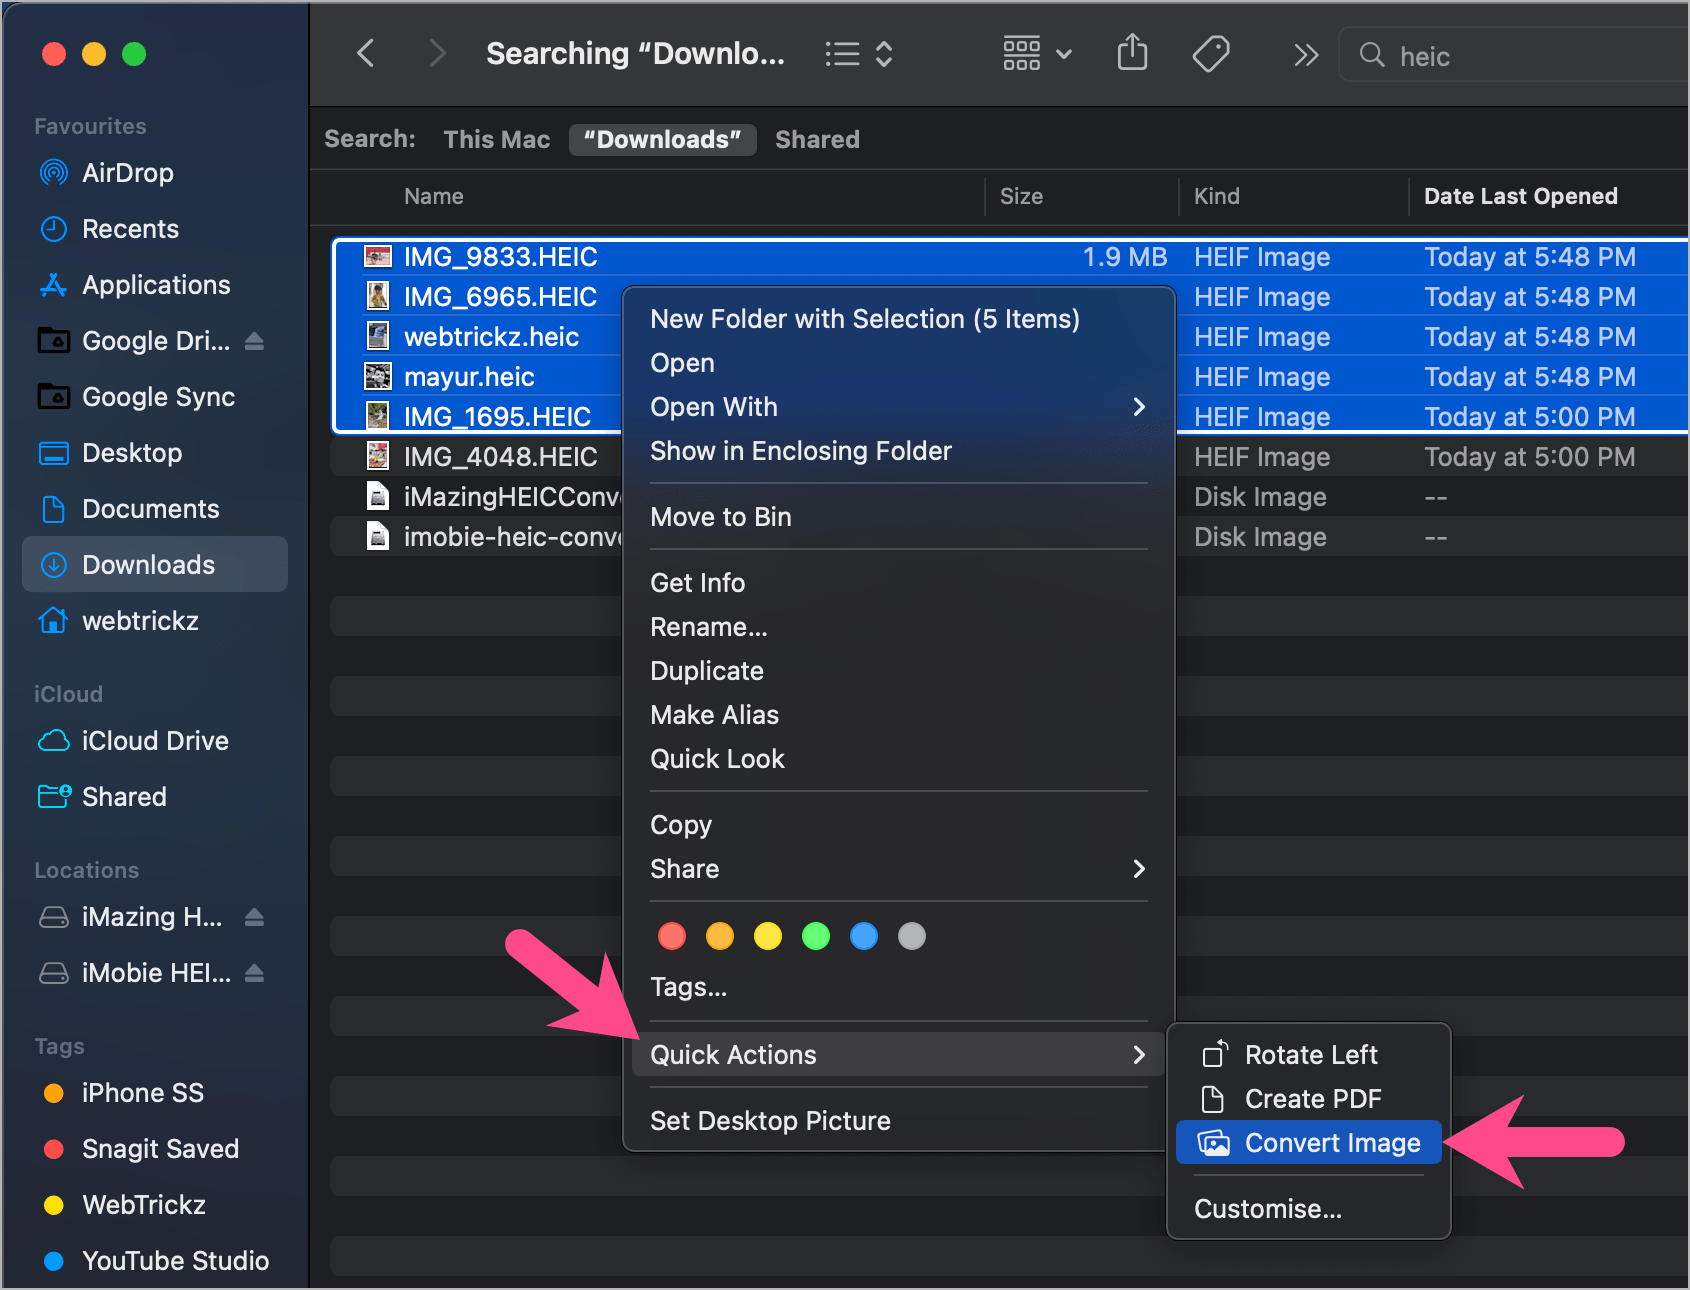
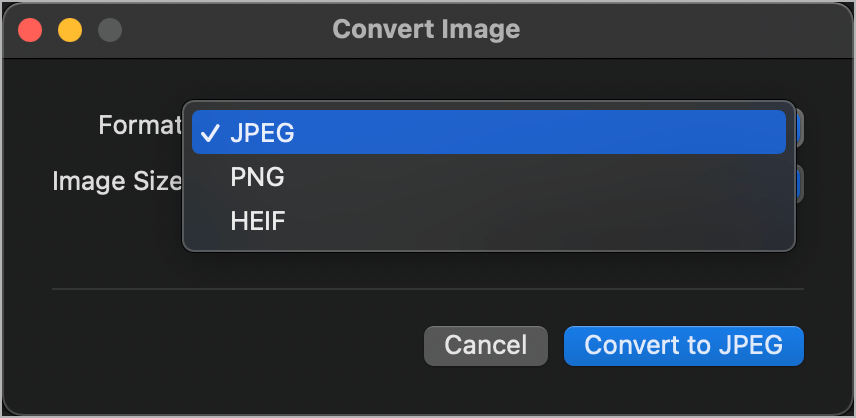
- Choose ‘JPEG’ as the output format, or select PNG to convert HEIC to PNG instead.
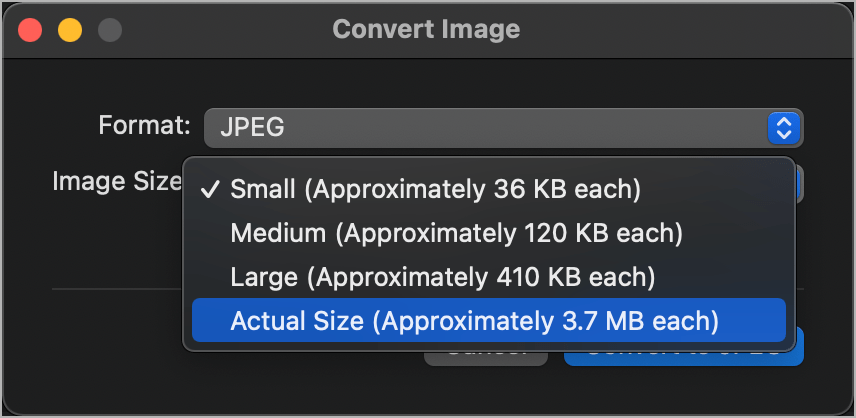
- Choose the Image Size – Small, Medium, Large, or Actual Size. Select Actual Size to export the image in its original resolution without losing quality. It also shows the approximate size of the output file.
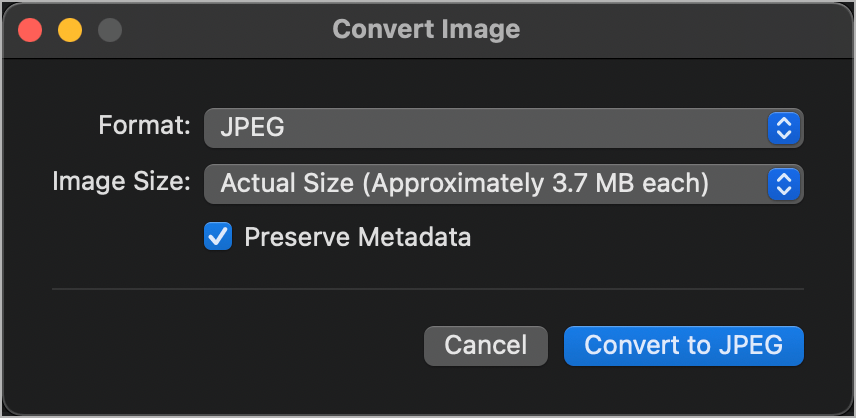
- Keep ‘Preserve Metadata’ enabled to retain the EXIF Metadata.
- Click the ‘Convert to JPEG‘ button.
The exported image(s) will be saved as a new file in the same directory or folder.
NOTE: Follow the below methods if you are on macOS Big Sur or older versions.
How to change multiple HEIC photos to JPG using Preview on Mac
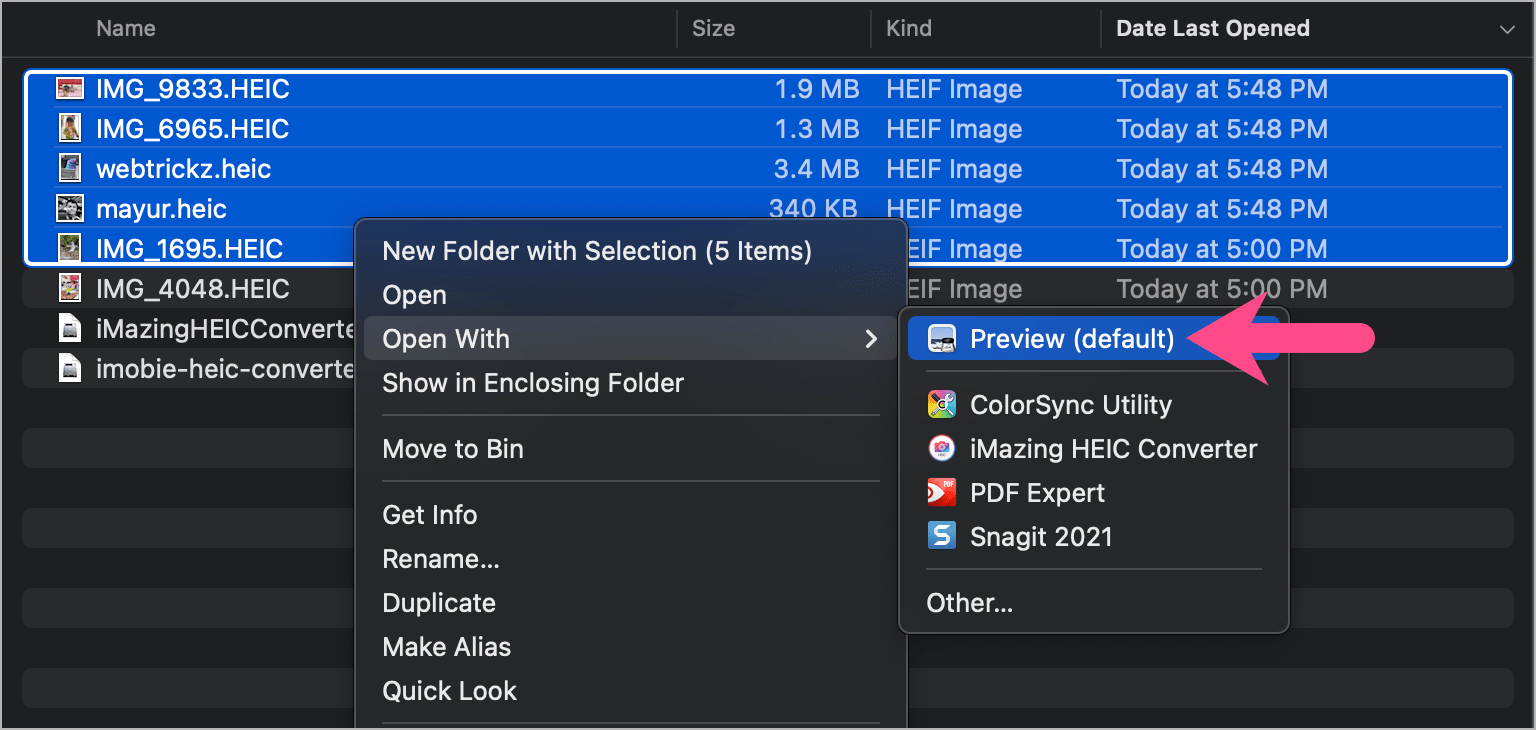
- Select a group of HEIC files in Finder. Then right-click the file, select ‘Open With’, and choose ‘Preview’.
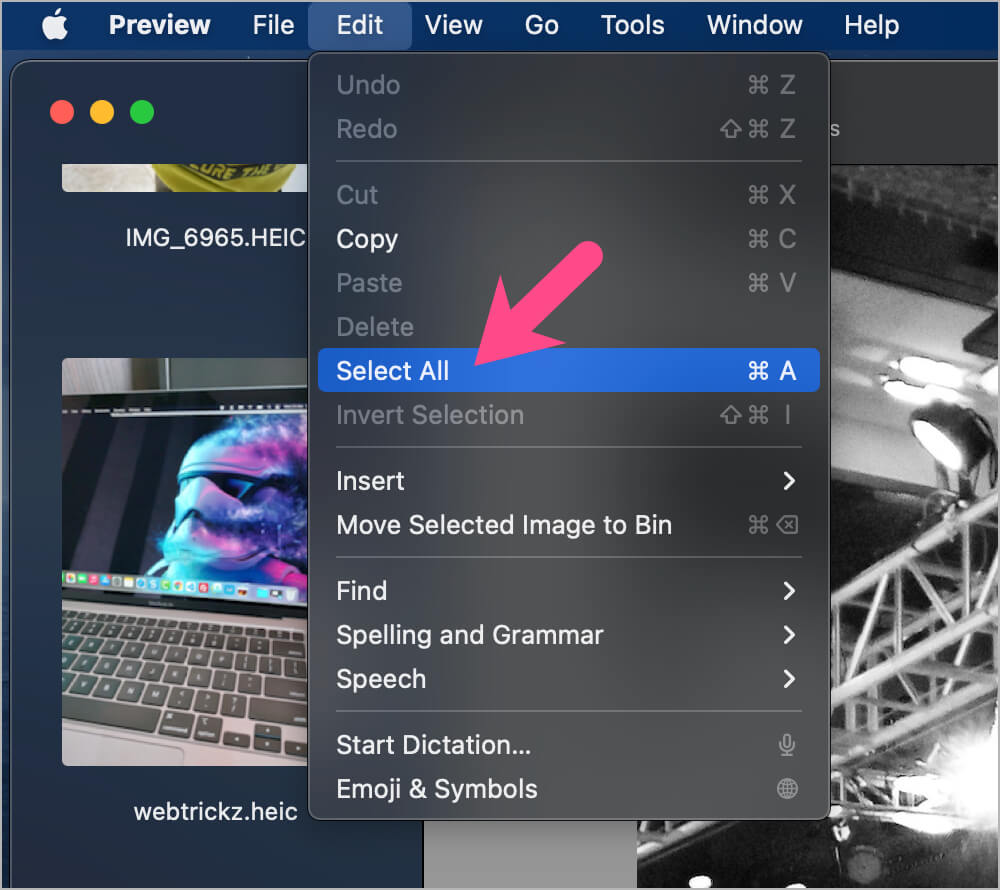
- When all the images open in Preview, go to Edit > Select All or use Command+A to select all the images.
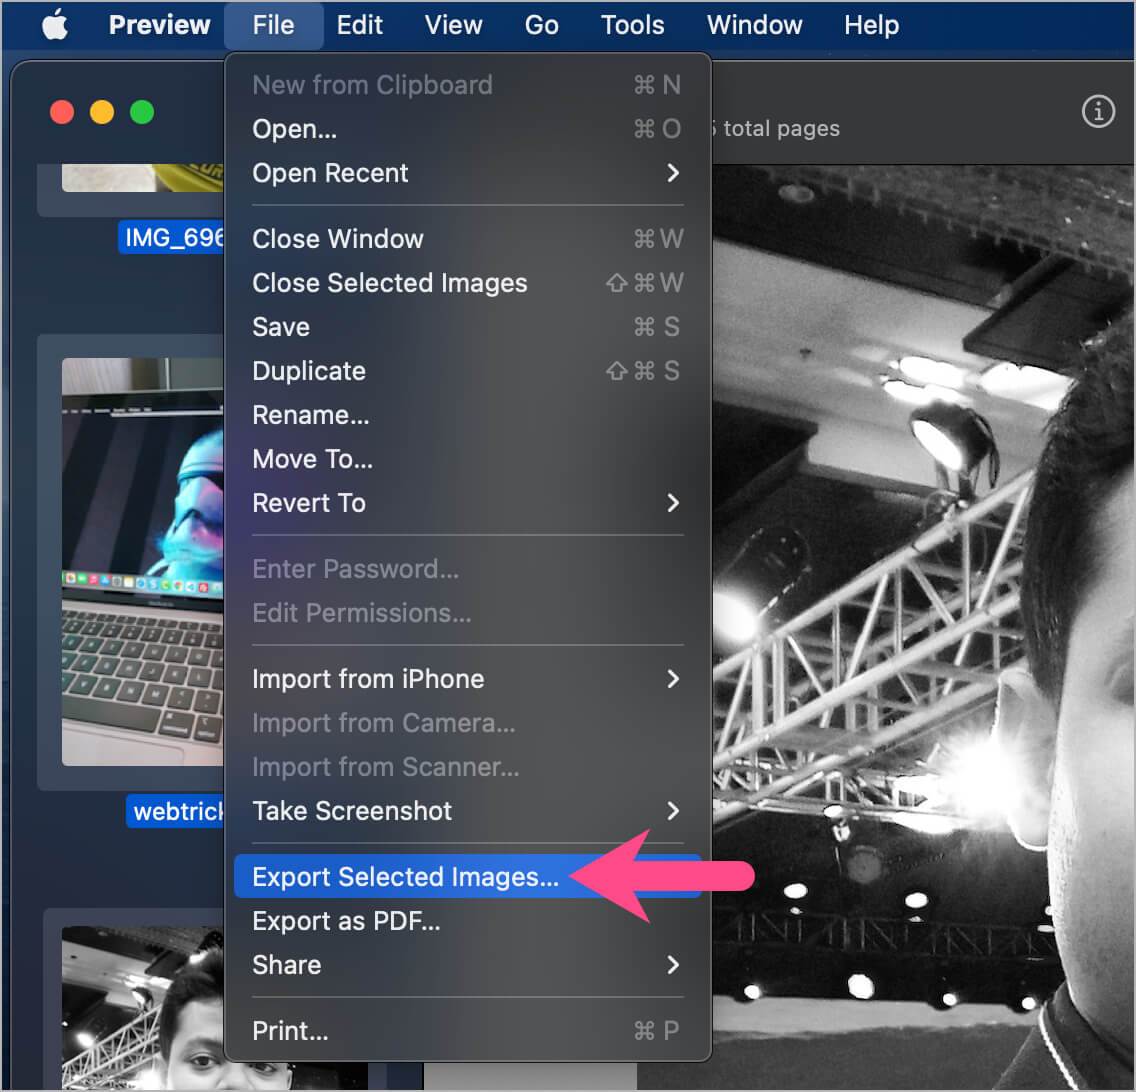
- Open the File menu and select “Export Selected Images“.
- Navigate to the directory when you want to save the converted images.
- Important – Click the ‘Options’ button, select format as JPEG, and choose the desired quality.
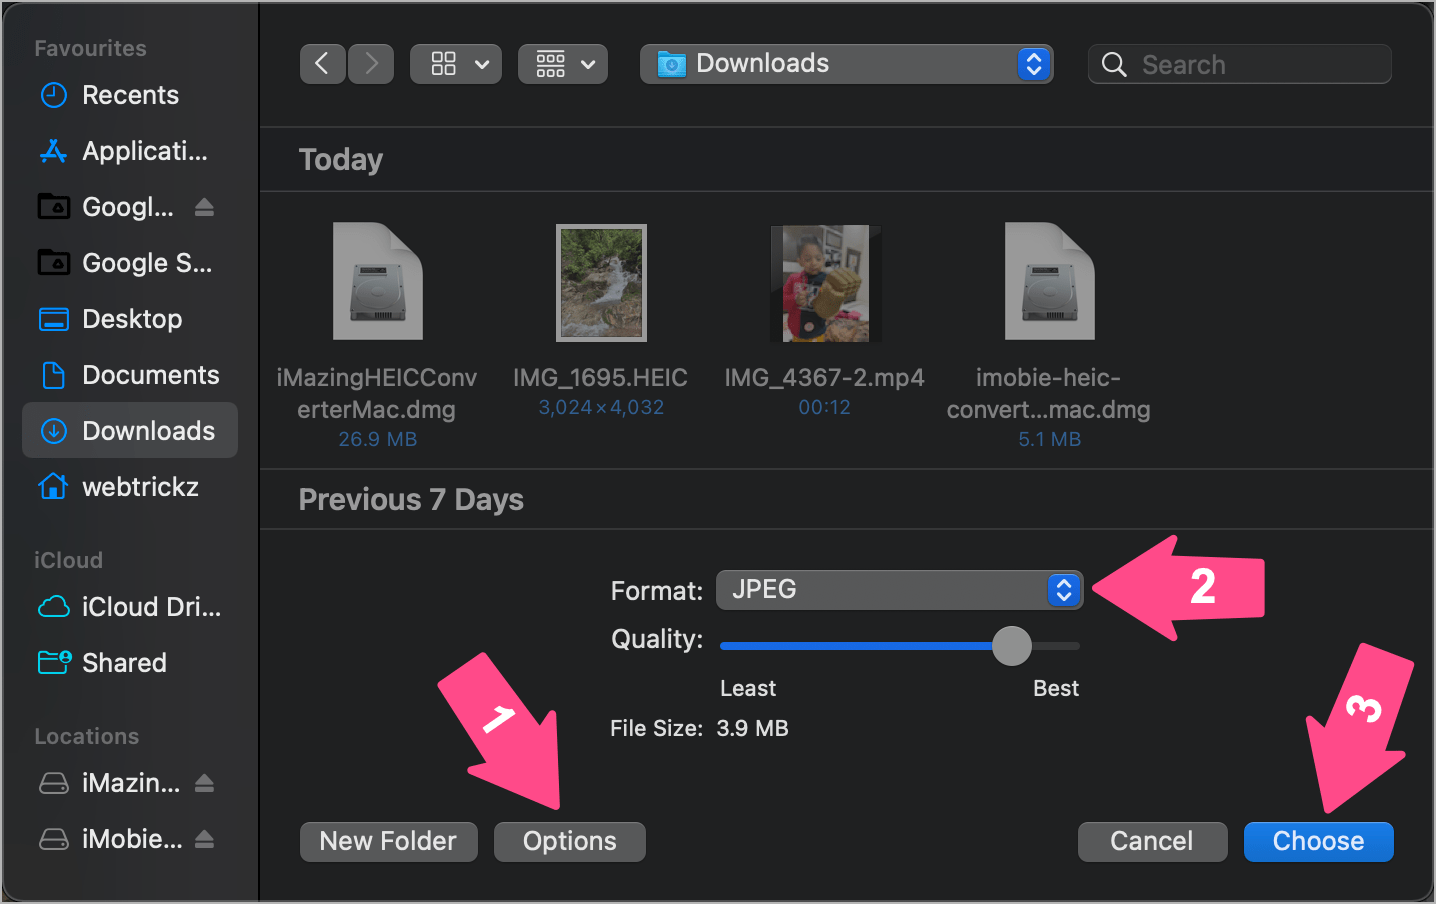
- Click ‘Choose’ to start the conversion.
To convert a single HEIC file to JPG using Preview:
- Double-click the HEIC or HEIF image to open it in the Preview app. If Preview isn’t the default app, then right-click the file and open it with Preview.
- Go to File > Export in the menu bar.
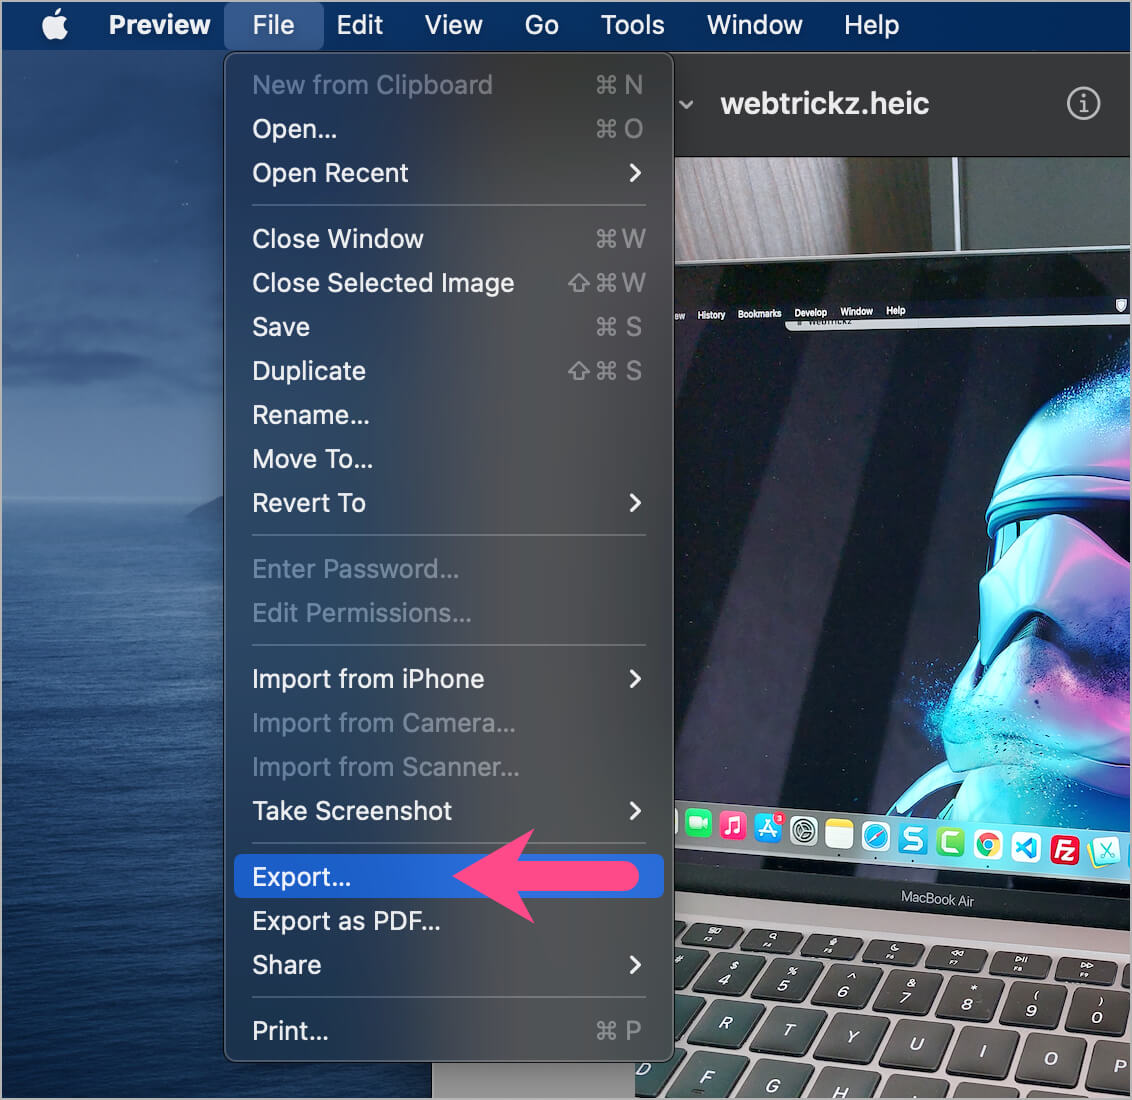
- Select the format as JPEG.
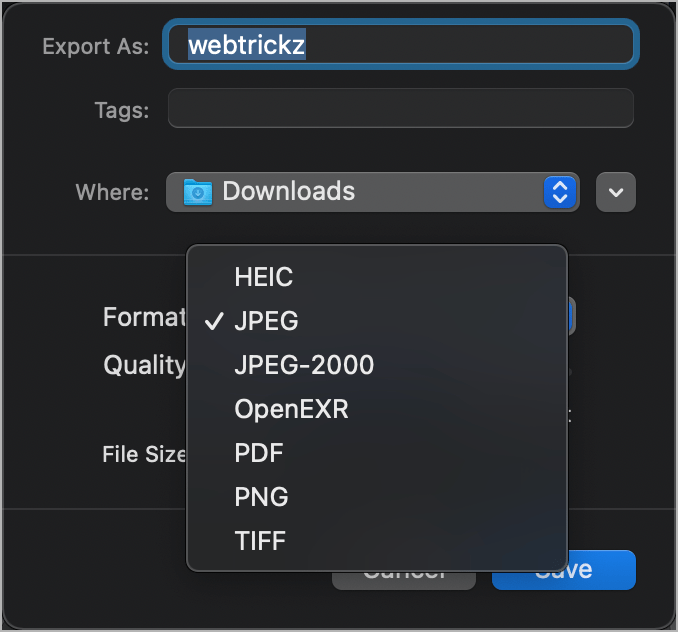
- Move the slider to set the output image quality.
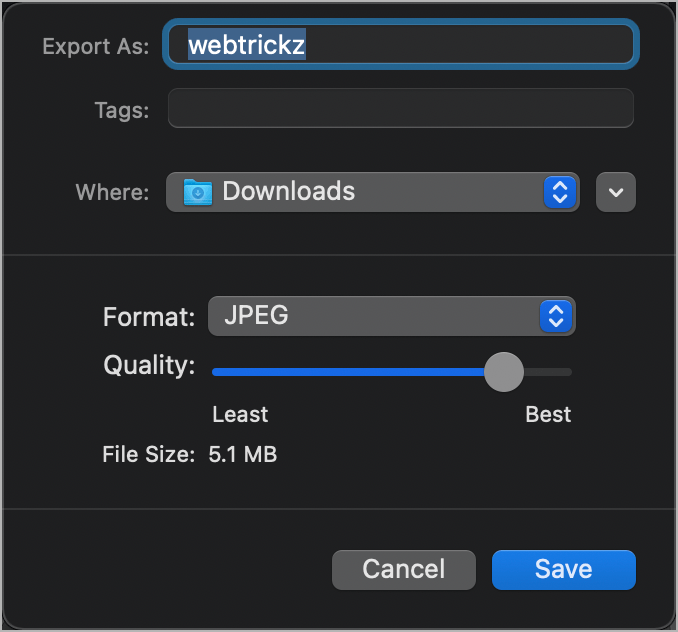
- Click ‘Save’ to convert.
How to convert HEIC to JPG on Mac without Preview
Those who can’t upgrade their Mac to macOS Monterey or facing issues with Preview can instead install a HEIC to JPG converter. Compared to online tools, a converter eliminates the need to upload and download the converted files. It is a feasible solution when you’re dealing with a large number of HEIC images.
Here are two 100% free and easy-to-use programs for batch converting iOS photos from HEIC to JPG or PNG.
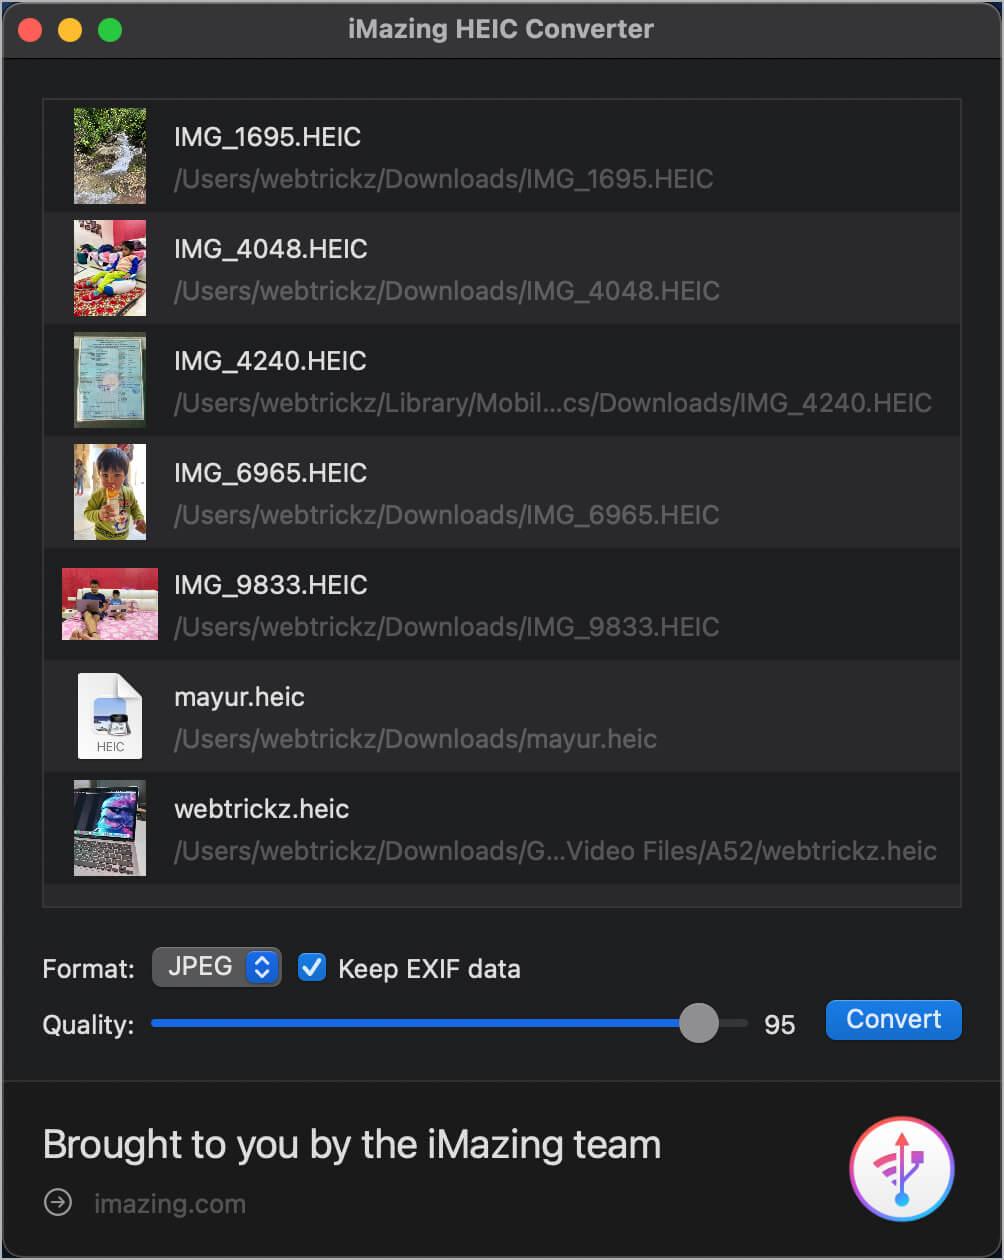
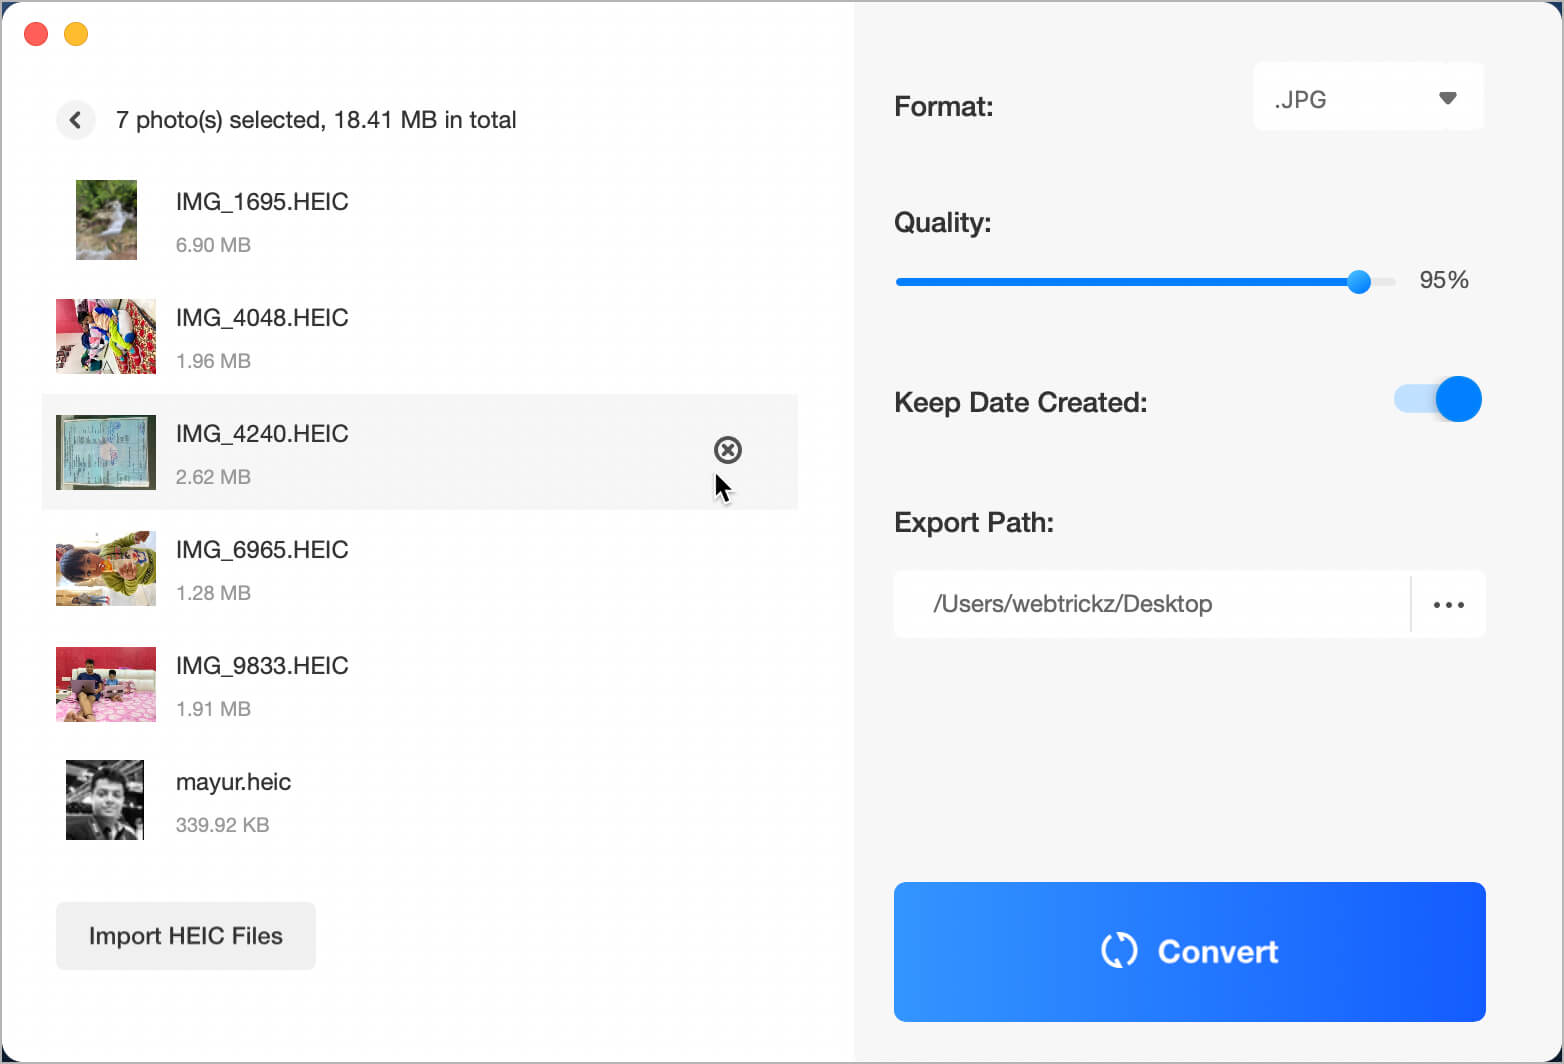
iMazing HEIC Converter
This tool offers a simple, fast, and effective way to bulk convert HEIC images. You can download it from the App Store or its DMG installer for Mac. It supports Drag & Drop, lets you choose between JPEG or PNG format, adjust output quality, and preserve EXIF data.
Download here (Compatible with macOS 10.10 or higher)
iMobie HEIC Converter
Besides an online tool, iMobie offers a dedicated program for converting HEIC files quickly and efficiently. It’s 100% free, without any ads, and supports unlimited conversion.
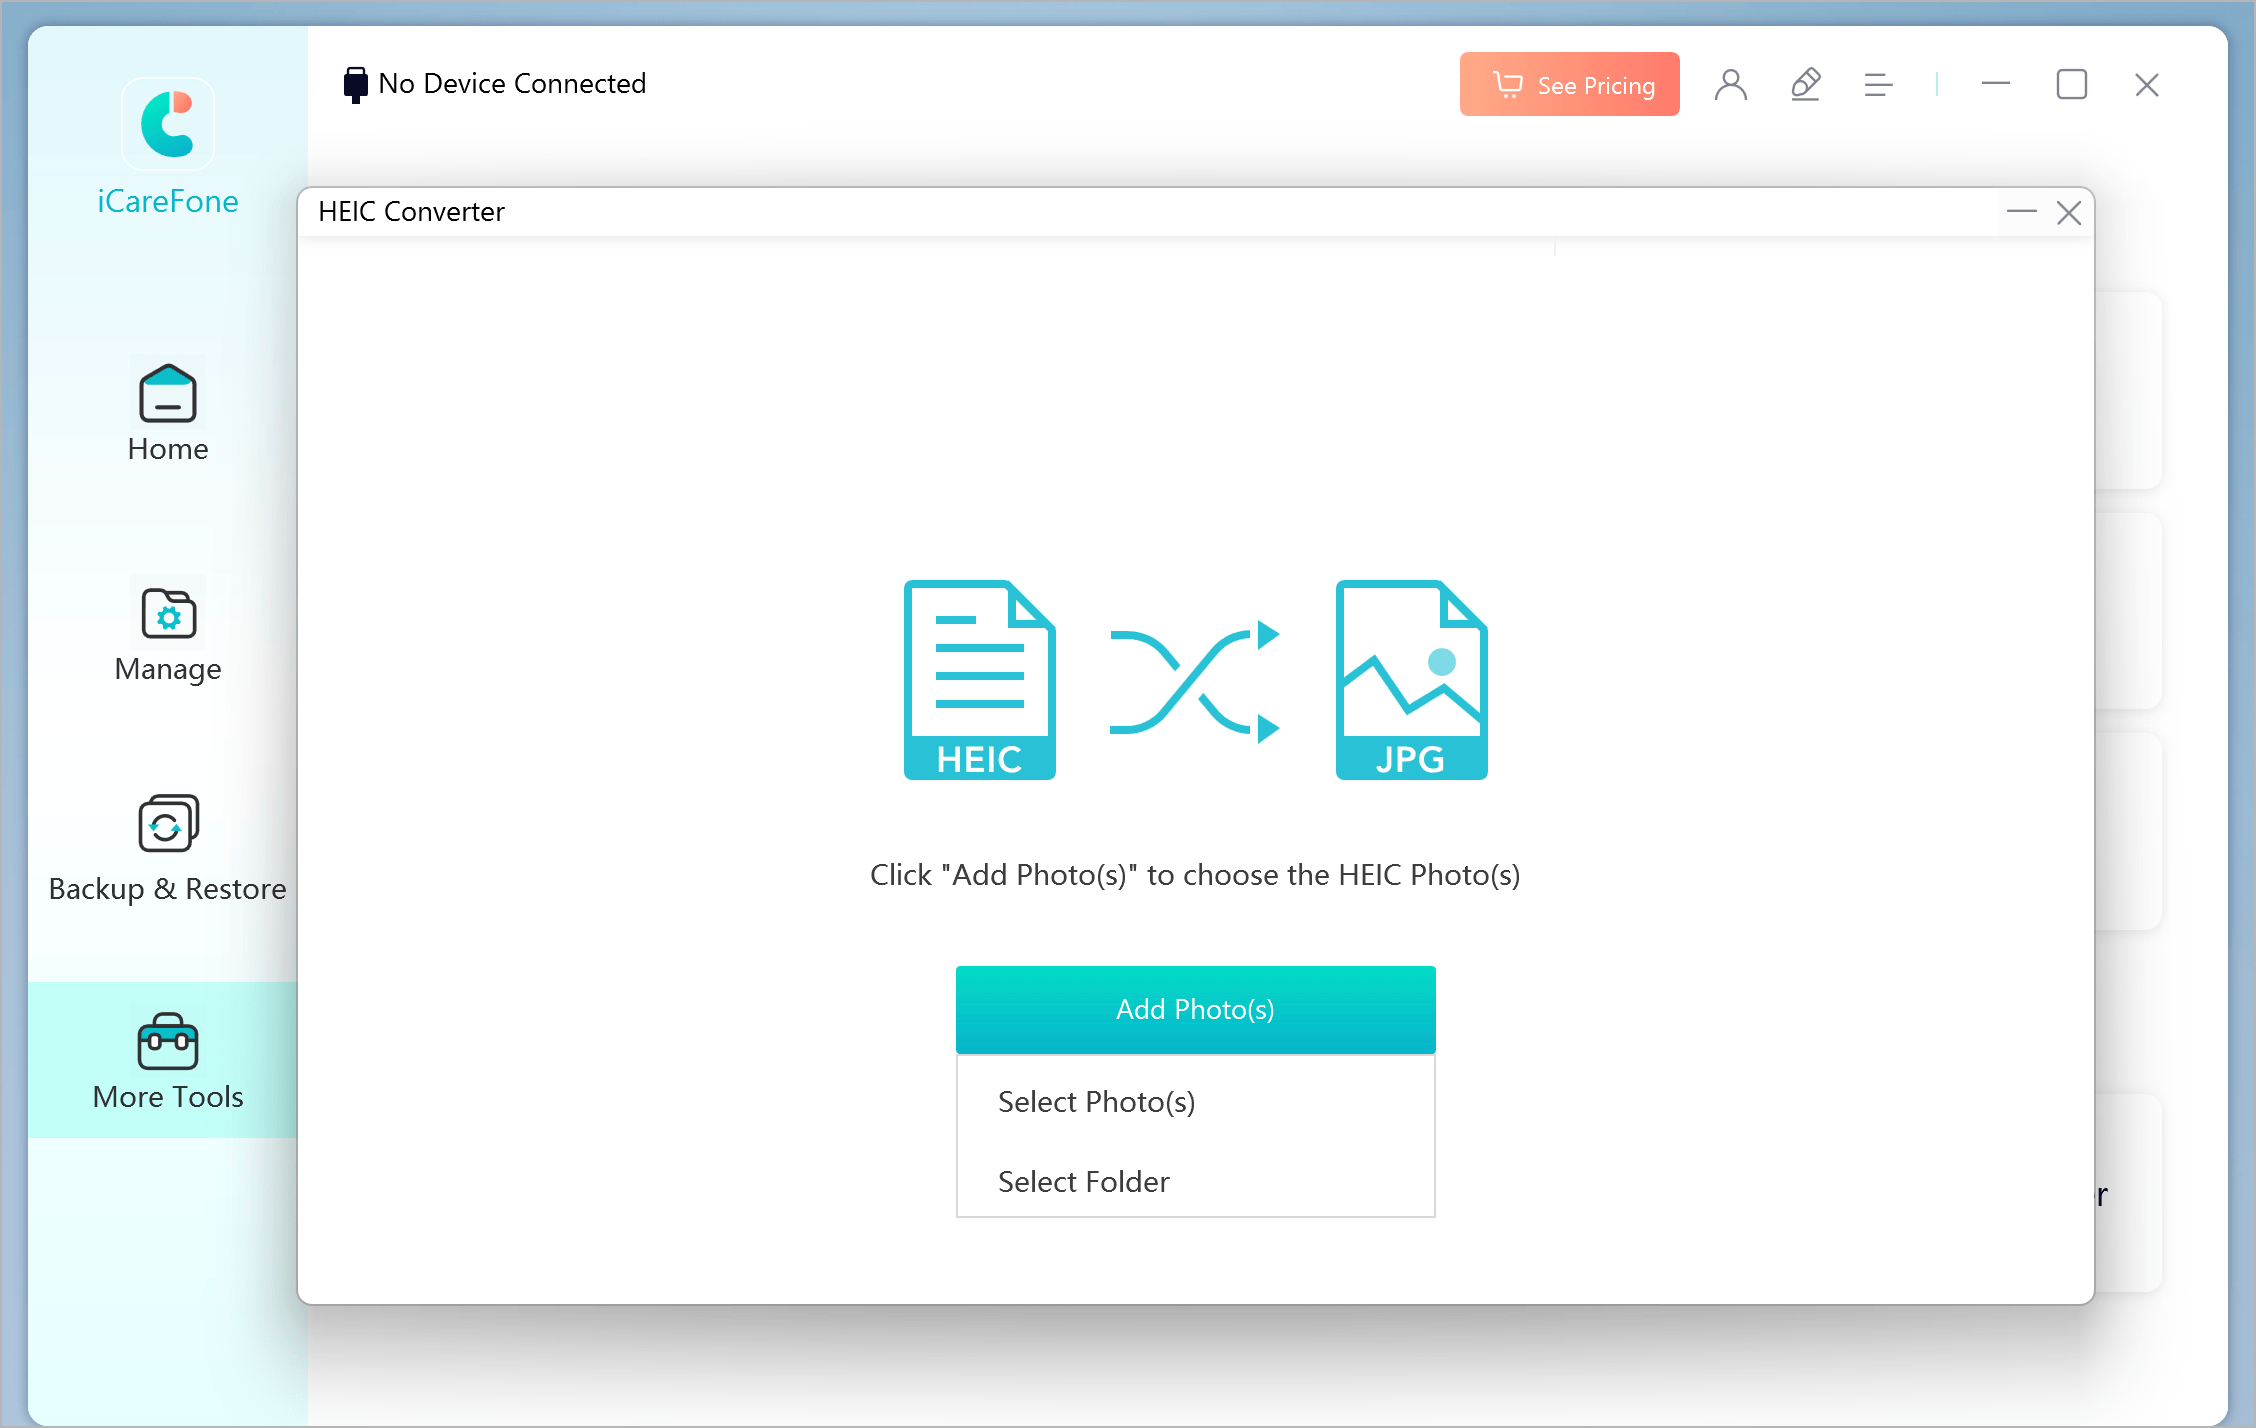
Tenorshare iCareFone
Windows users can try the Tenorshare iCareFone trial version for batch converting HEIC to JPG (up to 10 photos). The paid version allows conversion of up to 1000 photos at once, making batch conversion quick and easy on PC.
MORE TIPS for Mac:
- Shortcut to quickly toggle Low Power Mode on macOS Monterey
- Password protect a PDF using Preview on macOS Monterey
- How to change the sleep settings in Monterey on Mac


This was perfect!
I felt like a pro to have solved for this.
Thank You!