macOS Monterey packs a host of interesting features such as SharePlay for FaceTime, revamped Safari, Live Text, Focus, and Shortcuts app. The Preview app in Monterey has also seen a subtle yet useful upgrade that you might haven’t come across. Mac users (running Monterey) can now add a user password as well as an owner password to their PDFs using Preview. Whereas, in Big Sur and earlier releases of macOS, Preview only allowed users to set a user password, required to open a PDF file.
User Password vs Owner Password
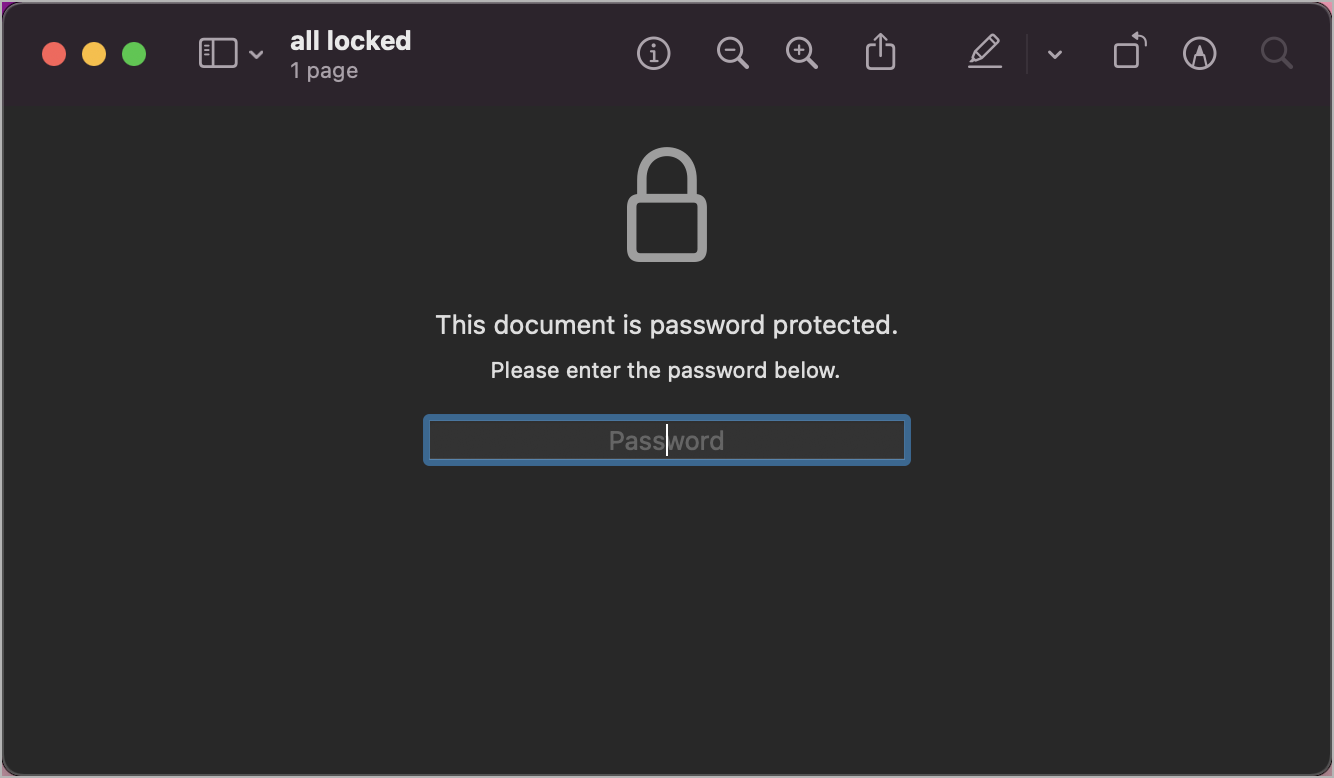
A user password (aka the open password) is set to secure and prevent a PDF from being accessed by an unauthorized person or organization. PDFs protected with a user password always require a valid password to open and view the contents of a PDF file.
On the other hand, an owner password is used to set certain permission-based restrictions to PDFs. Using this, the owner can restrict a PDF from editing, printing, copying text, modifying pages, and changing PDF properties such as form fields.
Can I lock a PDF with a password on Mac for free?
Besides opening PDF files, Preview on Mac allows users to password-protect their PDF documents with ease. The built-in Preview app further avoids the need to use any third-party programs like Adobe Acrobat. Though you can also use online services (like Acrobat which also shows the password strength) to add a password to a PDF. That said, using random cloud services to add password protection to a PDF can be risky. That’s because PDF documents such as bank statements and legal forms, often contain sensitive information such as your address, account details, SSN, etc.
Without further ado, let’s see how to password protect a PDF document and edit PDF permissions on Mac running macOS Monterey 12.1.
How to password-protect a PDF in Preview on macOS Monterey
Follow the steps below to simply encrypt a PDF in Monterey without applying any document restrictions.
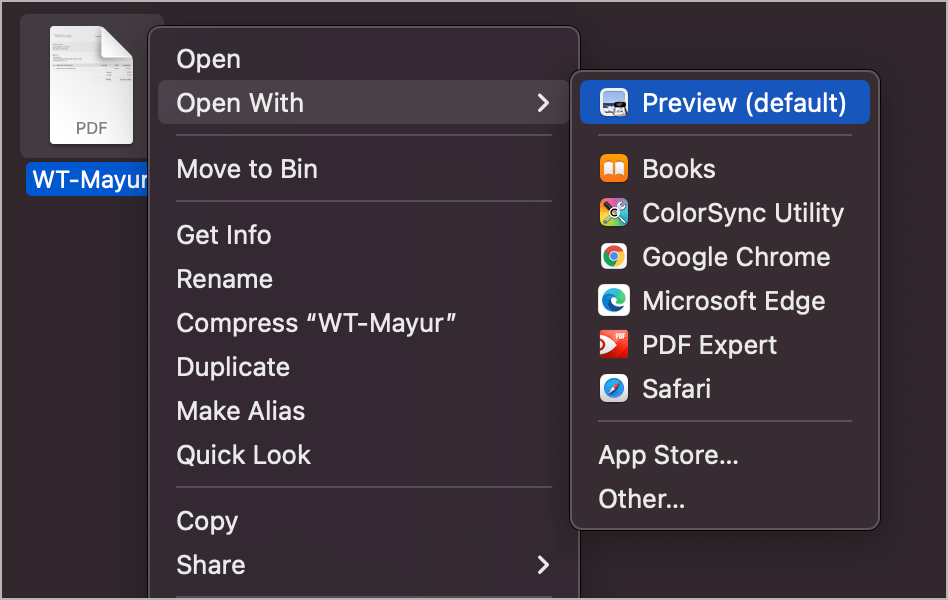
- Double-click a PDF to open it in the Preview app. If Preview isn’t the default app, then right-click the PDF file, select ‘Open With’, and choose ‘Preview’.
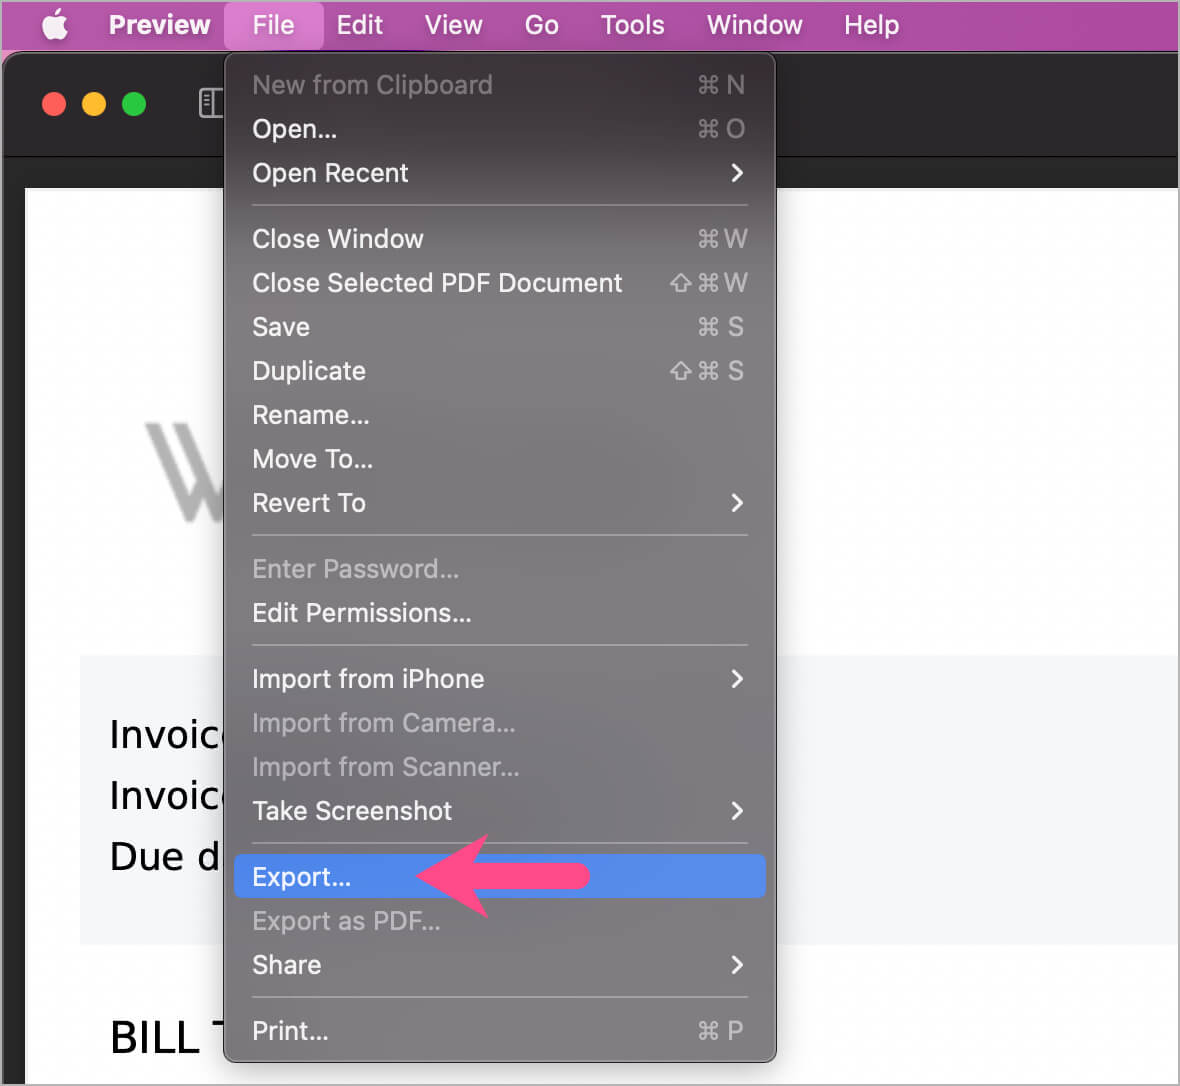
- Go to File > Export in the menu bar.
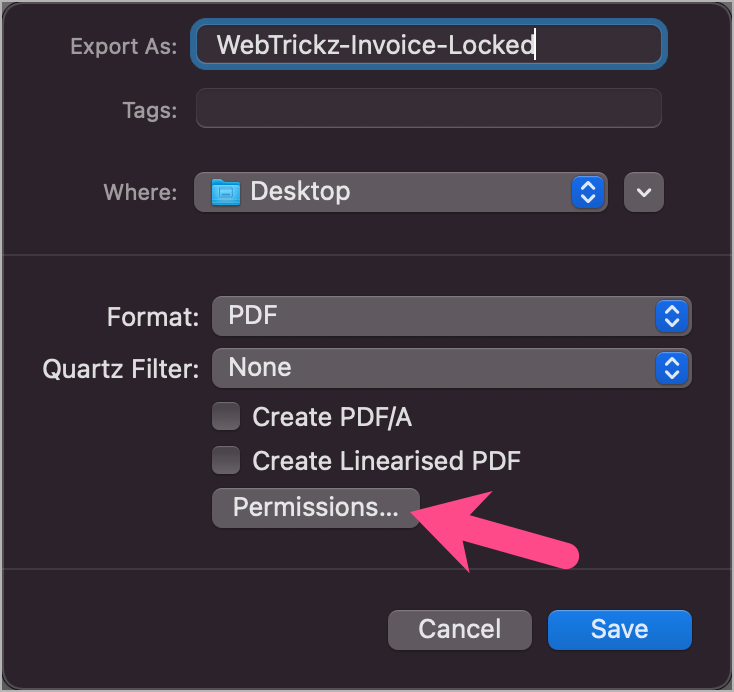
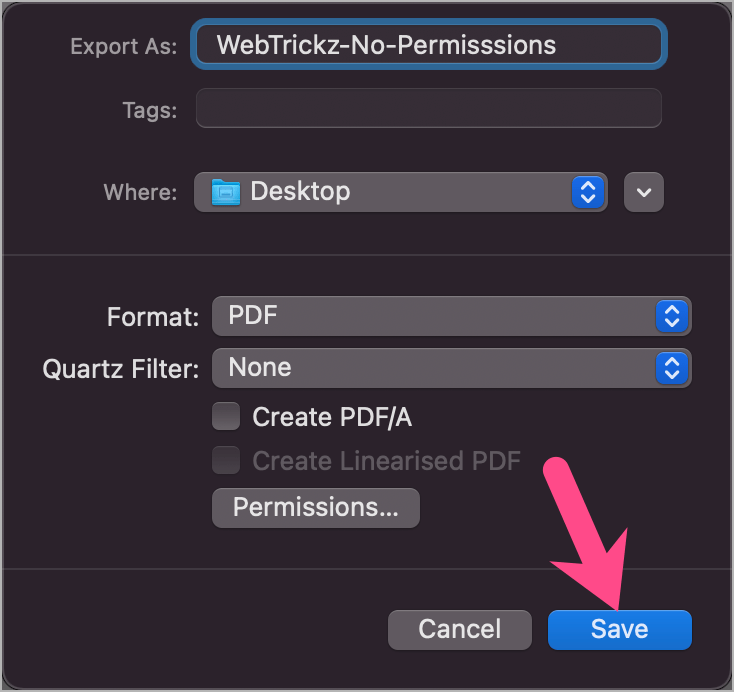
- In the ‘Export As’ box, enter a new file name if you don’t want the encrypted PDF to overwrite your existing unprotected PDF. You can also change the save location.
- Click the “Permissions” button in the Save dialog.
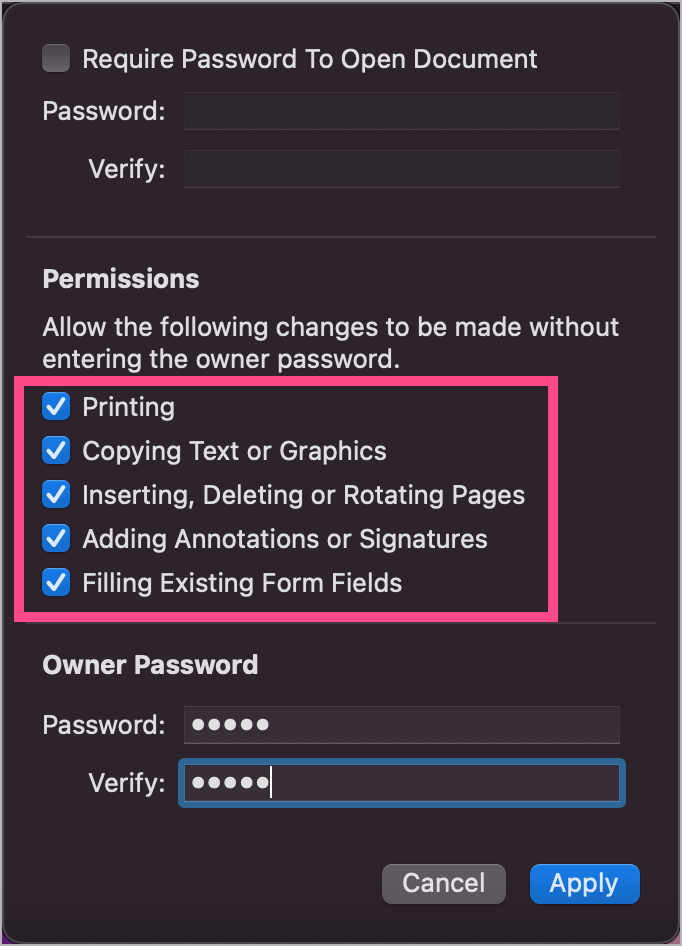
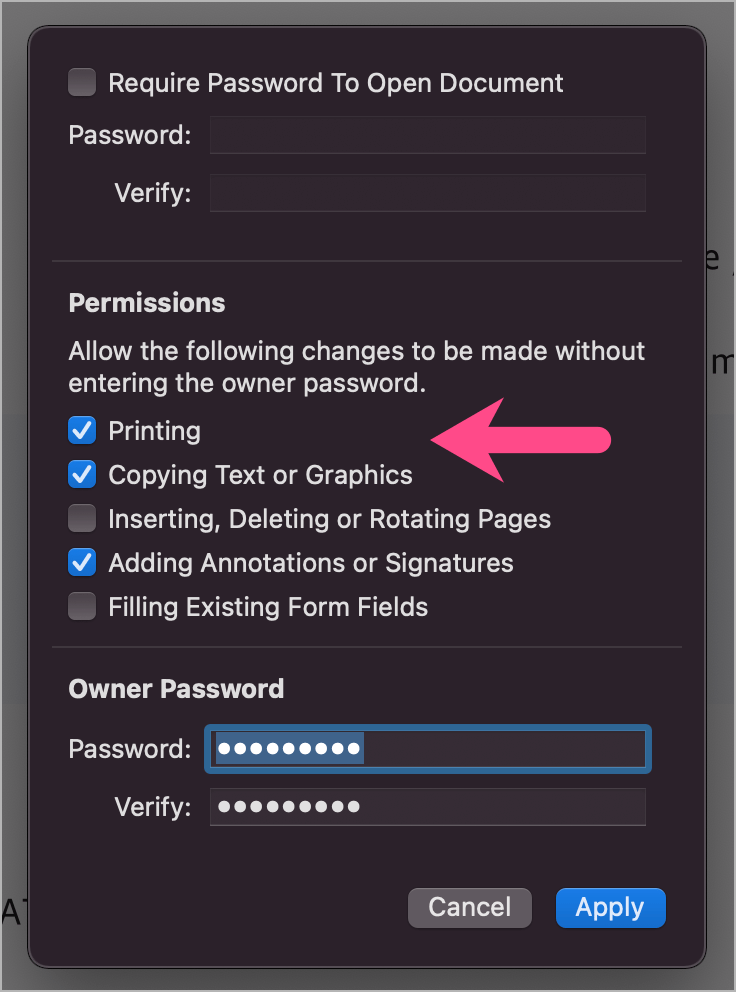
- Important: To add a user or open password to the PDF, tickmark the checkbox next to “Require Password To Open Document”. Then type a password in the ‘Password’ and ‘Verify’ fields right below it.
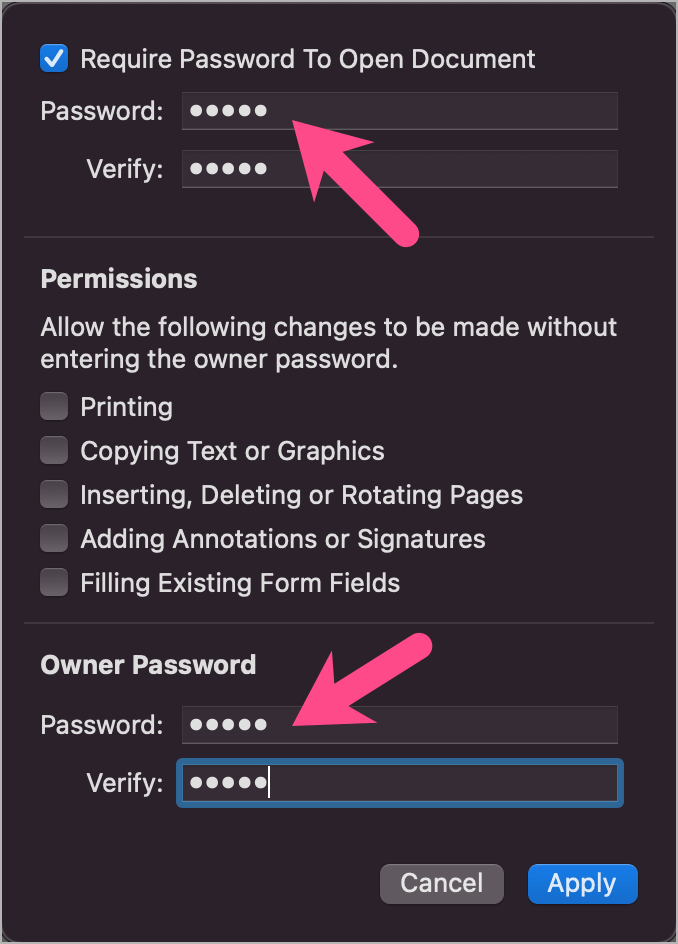
- In the ‘Owner Password’ section, type the exact same password in the ‘Password’ and ‘Verify’ fields. NOTE: Setting an owner password is necessary to set a user password, even if you enable all permissions.
- Click ‘Apply’ and then hit the ‘Save’ button.
That’s it. Anyone can now view and make desired changes to the encrypted PDF after entering the correct password.

How to remove password from a PDF on Mac
To decrypt and remove all the editing restrictions from a PDF,
- Open the PDF in the Preview app.
- Enter the user password to view the file and make changes.
- Go to File > Export.
- Click on ‘Permissions’ in the Save window.
- To remove all the restrictions, tick mark all the boxes under Permissions.
- Enter the user password in the ‘Owner Password” section.
- Hit ‘Apply’ and then ‘Save’.
NOTE: To only remove the user password (needed to open the file) whilst keeping the restrictions intact, just skip step #5 in the above-stated steps.
How to protect a PDF from editing on macOS Monterey
You need to add an owner password if you want to protect your PDF files from editing, copying text, printing, and adding annotations. Doing so will allow the receiver to only view the PDF, with or without the user password. While this wasn’t possible earlier, Preview on macOS Monterey lets you set permissions for PDFs.
Here’s how you can set an owner password for a PDF using Preview in Monterey on Mac.
- Open the PDF you want to add restrictions to in the Preview app.
- Click on File > Export in the menu bar.
- Optional: Enter a new name for the PDF if you don’t want it to replace your original PDF.
- Click on the “Permissions” button.
- Optional: Enable the “Require Password To Open Document” option and type a password if you also want to set a password for opening the PDF.
- Make sure all the checkboxes in the ‘Permissions’ section are unchecked.
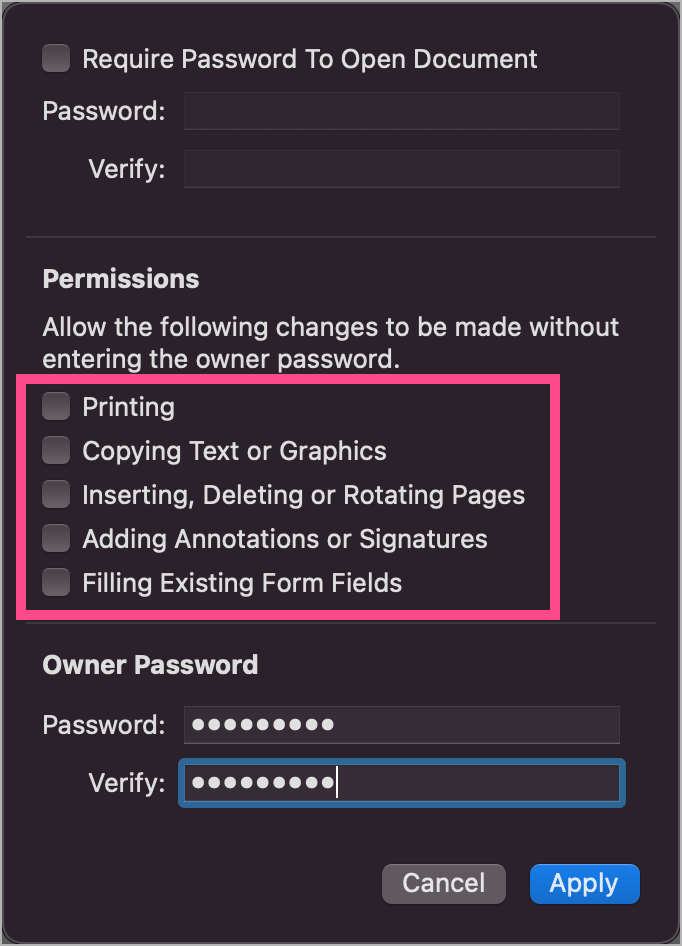
- Under ‘Owner Password’, type a secure password in the ‘Password’ and ‘Verify’ fields. Note that the owner password should be different than the one you added in step #5.
- Click on ‘Apply’ and then ‘Save’ to save the changes.
That’s it. With PDF restrictions enabled, viewers won’t be able to make any changes to your PDF. However, they can open the PDF freely as long as you haven’t set a user password.
How to edit PDF permissions in Preview on Mac
You can enable full permissions or edit the permissions for a PDF document as long as you know the owner password.
To edit and change PDF permissions using Preview on Mac,
- Open the restricted PDF in Preview.
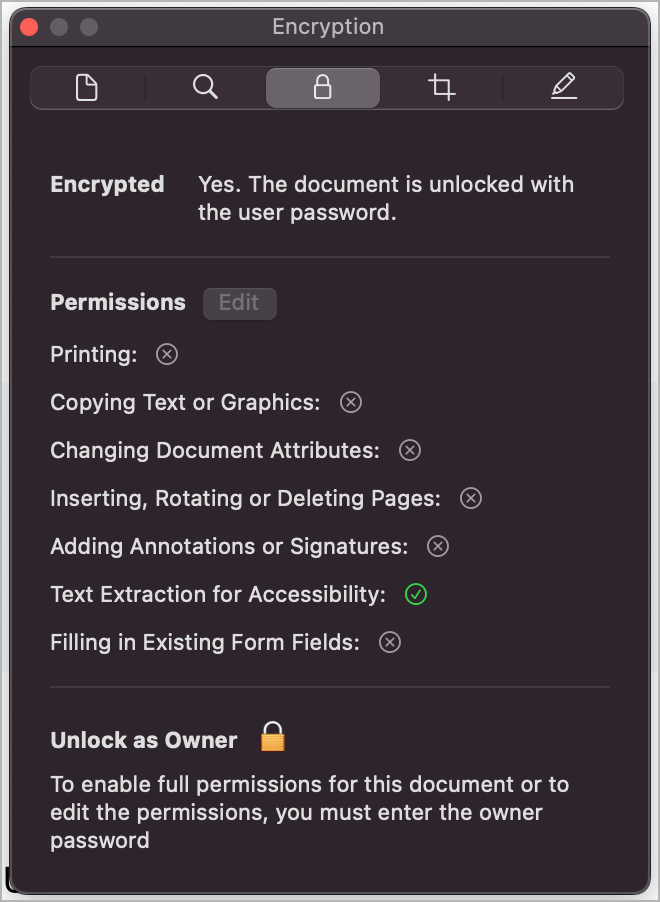
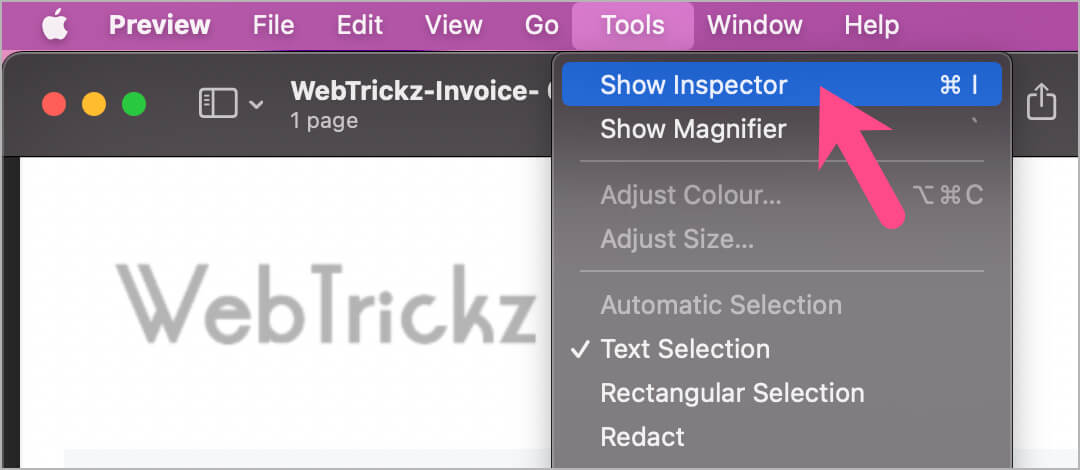
- To see what all permissions are available, go to Tools > Show Inspector in the menu bar.
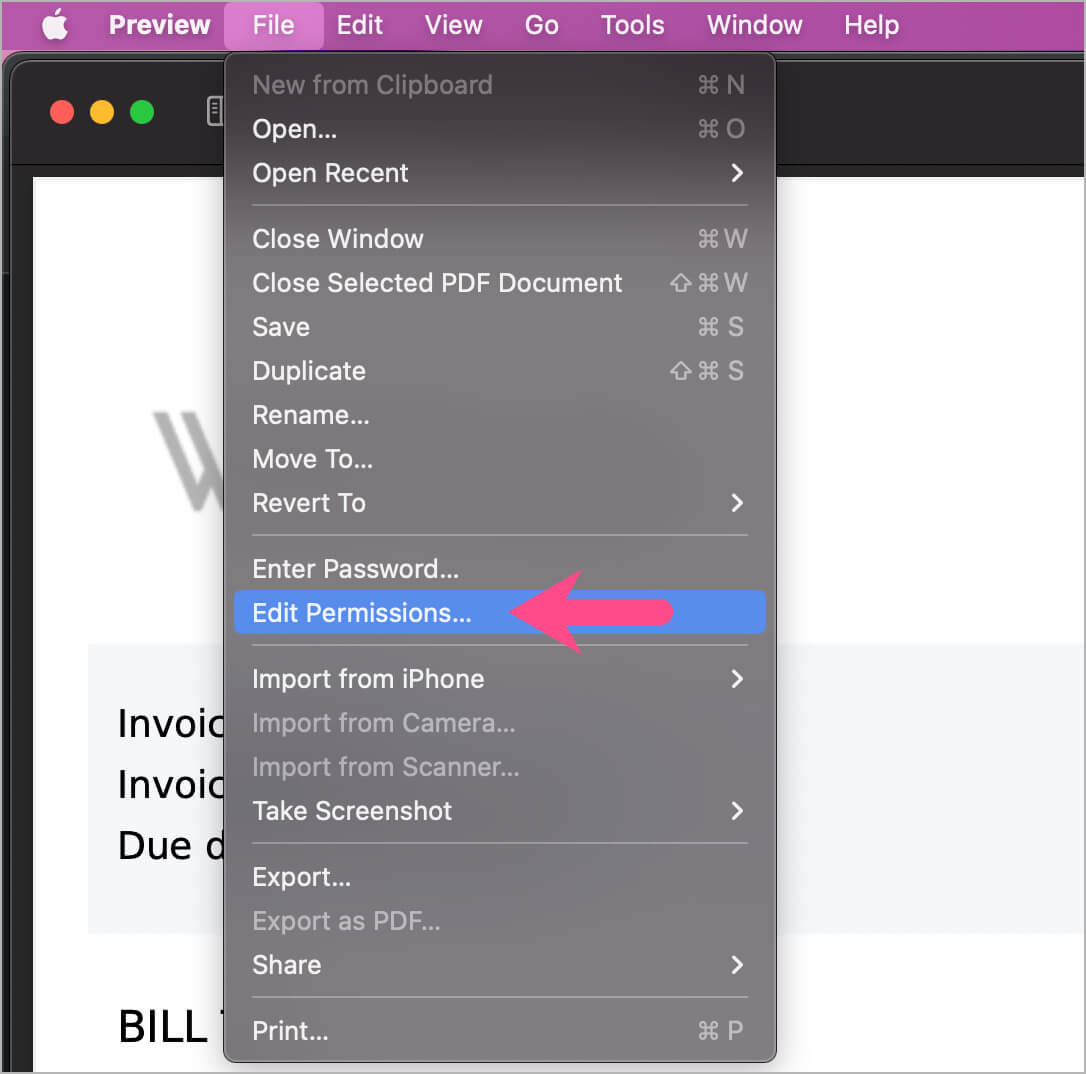
- To change permissions of the document, navigate to File > Edit Permissions.
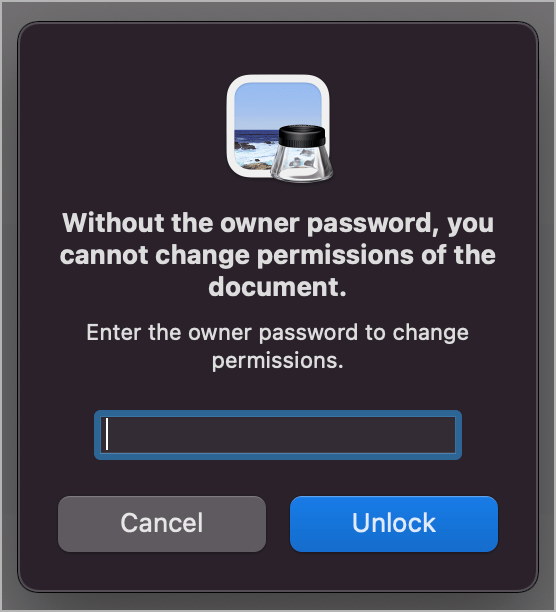
- Enter the Owner Password and click ‘Unlock’.
- Under ‘Permissions’, enable the desired actions so that anyone can make those changes without entering the owner password. For example, tickmark ‘Printing’ to allow printing of a PDF.
- Hit ‘Apply’ and then close the file.
You can verify the PDF restrictions anytime using the ‘Show Inspector’ option.
You may also like:


