You can’t pause a live video and ask the person to record. Missing out on the piece of attention is distracting and you won’t be able to connect with the remaining content. Instead of asking those around you for the information, you can record the live stream and take notes later. Wondering which is the best software to record streaming video?
Well, there are many but Movavi Screen Recorder is one of the best software to perform this task. You can use it to record screens, podcasts, and online radio along with the live streams. All live streams are recorded at 60 fps speed. It works well on both Windows and Mac.
How to record a live stream using a screen recorder
Step 1. Download the software
Download the right version of the screen recorder software depending on your computer’s operating system – Windows and iOS. Install it on your computer. Follow the instructions correctly and enter your login details.
Step 2. Make adjustments
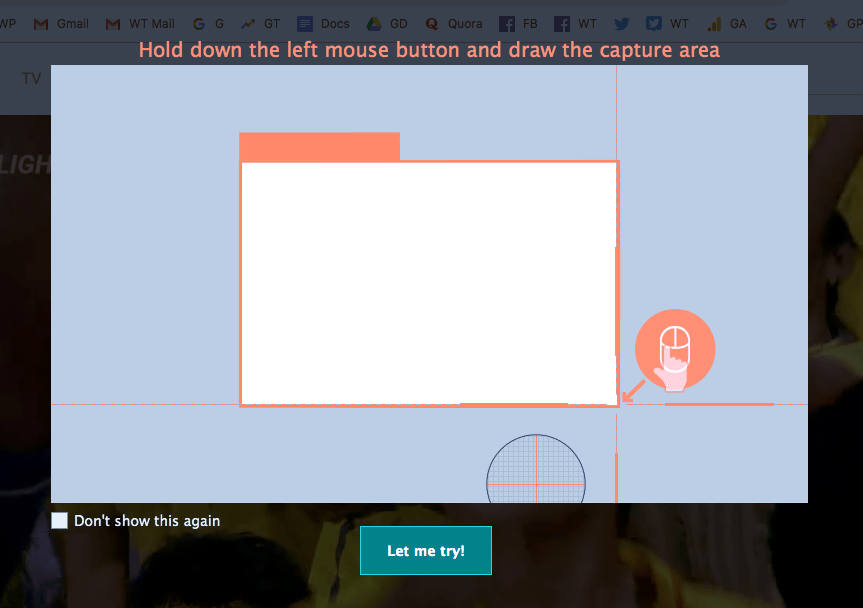
Launch the software’s screen recording feature and open the website where the live stream is being hosted. Take measurements of the screen or section you want to record. You can either choose Full-Screen record, enter the measurements manually, or select from the mentioned measurements. Most screen recorders have the sound recorder off by default, so make sure to switch it on before you start the actual recording. You might want to run a test once to check if you have got all the adjustments correct.
Step 3. Start the live stream
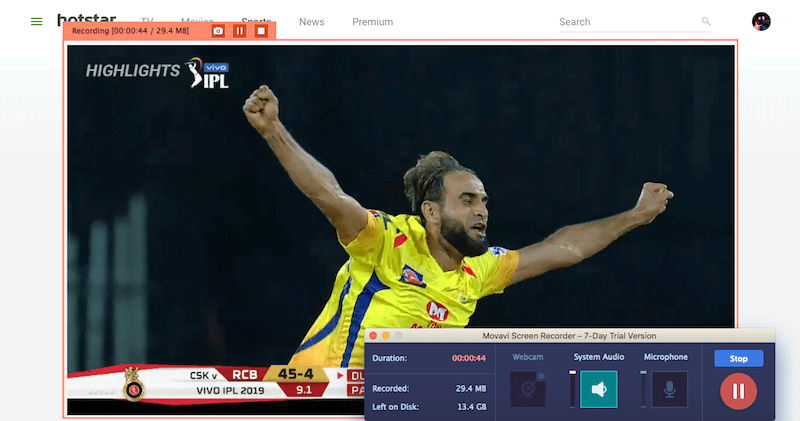
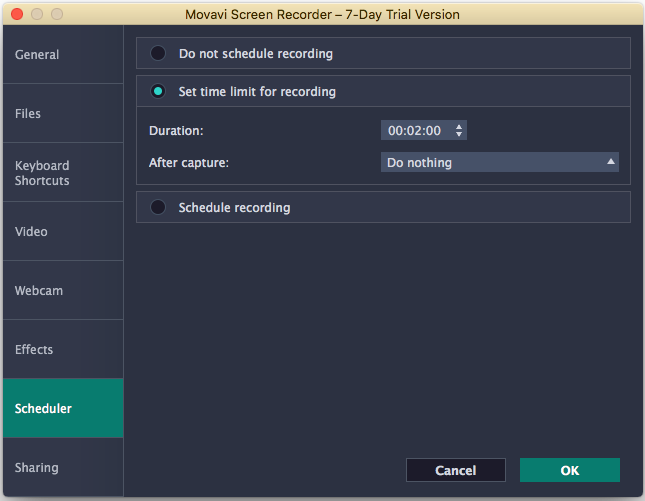
The next step is recording the video. You don’t have to do anything other than hitting the REC button. If you plan to go out during the live stream, you can use the capture timer. To set the time, select the Alarm Clock option and change the timings. You will have to specify the exact time and for how long you want to record. We recommend you to set the time a couple of minutes before the live stream begins as the recording begins after a 3-second countdown.
Step 4. Save the recording
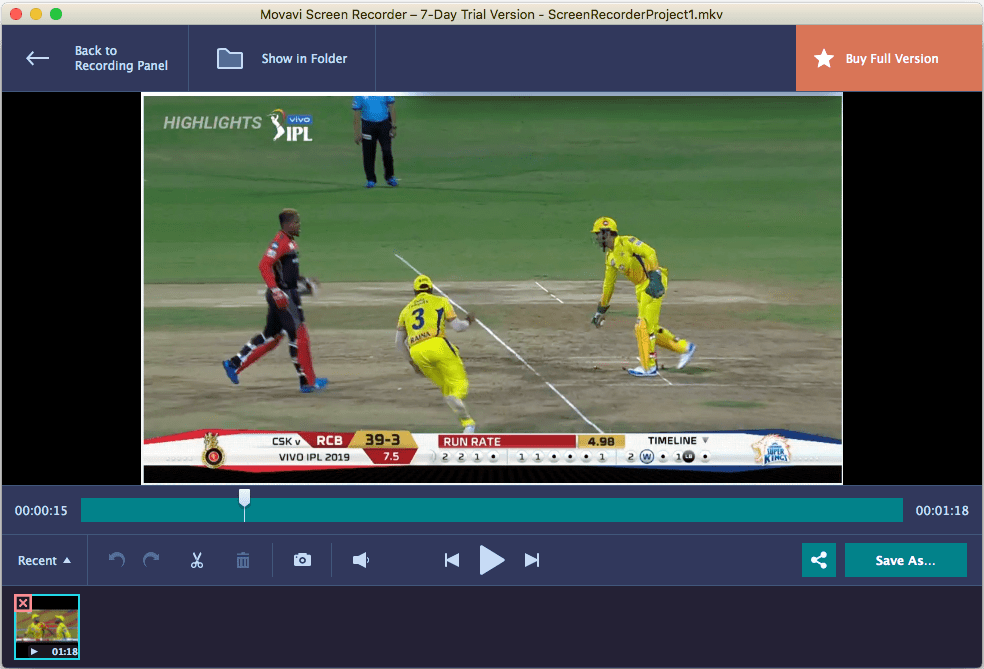
After you finish recording, hit STOP and the software will automatically save the video in MKV format on your hard drive. The preview of the live stream recording continues to appear on your screen. You can either close it or click Save As to save it in another format. The options you can select from include MP4, AVI, GIF, and MOV. You can also trim the video and add animations to it the way you like.
Mistakes to avoid while capturing a live stream
If you have recorded a live streaming video earlier, you might have noticed that the screen lags sometimes or the audio doesn’t go with the video. There’s nothing wrong with the software but with the computer.
Here are five mistakes you should avoid while recording a live stream:
- Too many applications running in the background
If you have too many tabs open on the browser or too many applications running in the background, the live stream browser will lag and you will get a poor quality video.
- Keep notifications on
It is irritating if multiple notifications appear on the screen when you are recording a live stream. When you get a notification, it lowers the sound of the video, which can make you miss an important point.
- Start the screen recorder when the live stream begins
All screen recorders take at least three to five seconds to start because of which you can’t capture the very beginning of the video. Start recording at least one minute before, so you get everything.
- Record the entire screen
Recording the entire screen might blur out the video a little, so capture only the part of the screen you want. Save it at 60 frames per second speed for the best quality and in MP3 format as it works on all devices.
- Forget to turn on the audio recorder
Screen recorders have the audio recording function off by default. If you forget to switch it on, the whole live stream recording has no meaning. It is always good to check all features before you start recording and run a couple of tests.
Tip: Save the captured videos on your computer and cloud as well, so if you delete one, you always have a backup.


