WebTrickz
TRENDING
  • How to Turn Off and Restart iPhone 15
No Result
View All Result
  • Reviews
  • Editorials
  • Social Media
    • Facebook
    • Twitter
    • YouTube
    • Messenger
    • Instagram
    • Snapchat
    • WhatsApp
    • TikTok
  • Apps
  • How To’s
  • Apple
  • iPhone
  • Google
  • Android
  • Mac
  • Security
  • About Us
    • About Us
    • Contact Us
    • Privacy Policy
No Result
View All Result
WebTrickz
No Result
View All Result
Home How To's

Link Aadhaar card with Bank of Baroda online without Net Banking

Mayur Agarwal by Mayur Agarwal
March 9, 2022
in How To's

If you’re an Indian citizen then you must be aware of the Aadhaar card, a unique 12-digit identification number issued by the Government of India through the Unique Identification Authority of India (UIDAI). The Aadhaar issued to all Indian residents is based on their biometric and demographic information, thereby serving as a valid proof of identity and proof of address. As you might be aware, the Government of India has made it mandatory to link Aadhaar with your mobile number, PAN, and bank accounts before 31st March 2018, in order to continue the services and avail benefit of many government schemes.

Perhaps, if you’re a Bank of Baroda account holder then you should link your bank account with your Aadhaar card now. While there are several ways to do so such as offline by visiting the bank branch, online using net banking (requires a user ID and password), and through SMS. Personally, I tried both the online and SMS method to link my BOB account with Aadhaar but both these methods failed for me. Today, I’ll be stating the easiest way to link Aadhaar with Bank of Baroda online using OTP-based verification and without requiring your Net banking details. This is an official method and seems to be introduced by the bank recently.

Before proceeding, keep your Aadhaar card number and bank account number handy. Also, make sure your mobile number is registered both with your bank account and Aadhaar to receive OTP.

How to link Aadhaar with Bank of Baroda Online

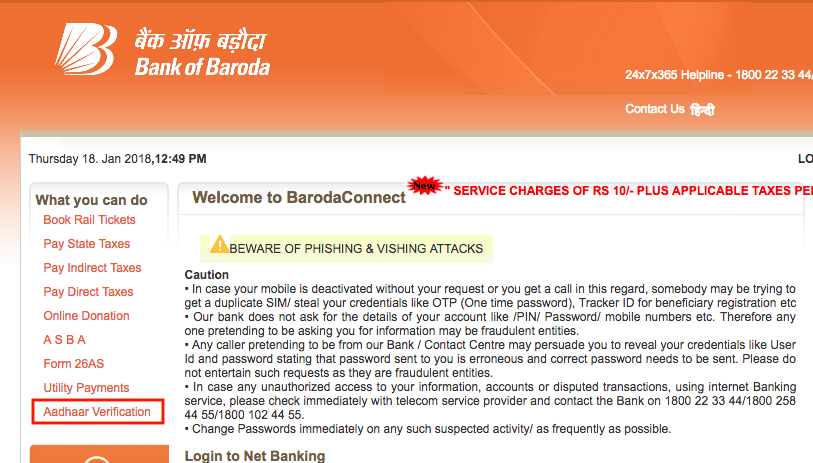
1. Visit bobibanking.com and click on the “Aadhaar Verification” option in the left sidebar. Alternatively, you can directly visit this link: eserve.bankofbaroda.com/kycupdate

2. On the KYC Verification page, carefully enter your 14-digit Bank of Baroda account number and mobile number.

Link Aadhaar with Bank of Baroda Online

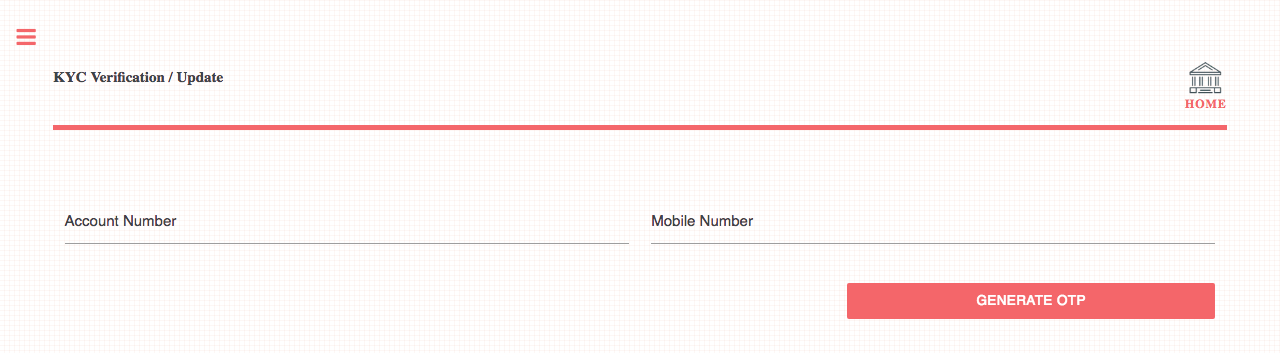
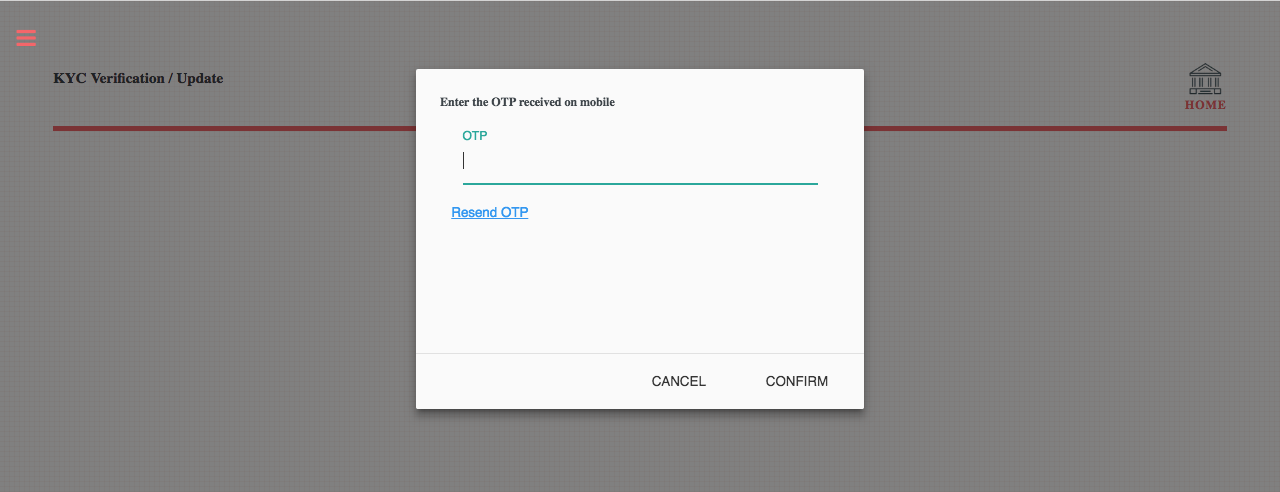
3. Then click on the “Generate OTP” tab. Enter the OTP received from the bank and click confirm.

4. A new webpage will open. Select your customer ID from the drop-down menu and enter your Aadhaar number.

Note: On the same page, you need to choose the purpose for Aadhaar seeding/authentication. You can select either between Authenticate my Aadhaar with UIDAI and link my Aadhaar to my account for AEPS transaction purpose or for both DBT and AEBS transaction or for non-transaction purpose. For those unaware, AEPS refers to Aadhaar Enabled Payment System while DBT refers to Direct Benefits Transfer.

5. Click the confirmation checkbox and click on the “Get Aadhaar OTP” tab. After entering the OTP received from Aadhaar, you’ll be shown your details from UIDAI.

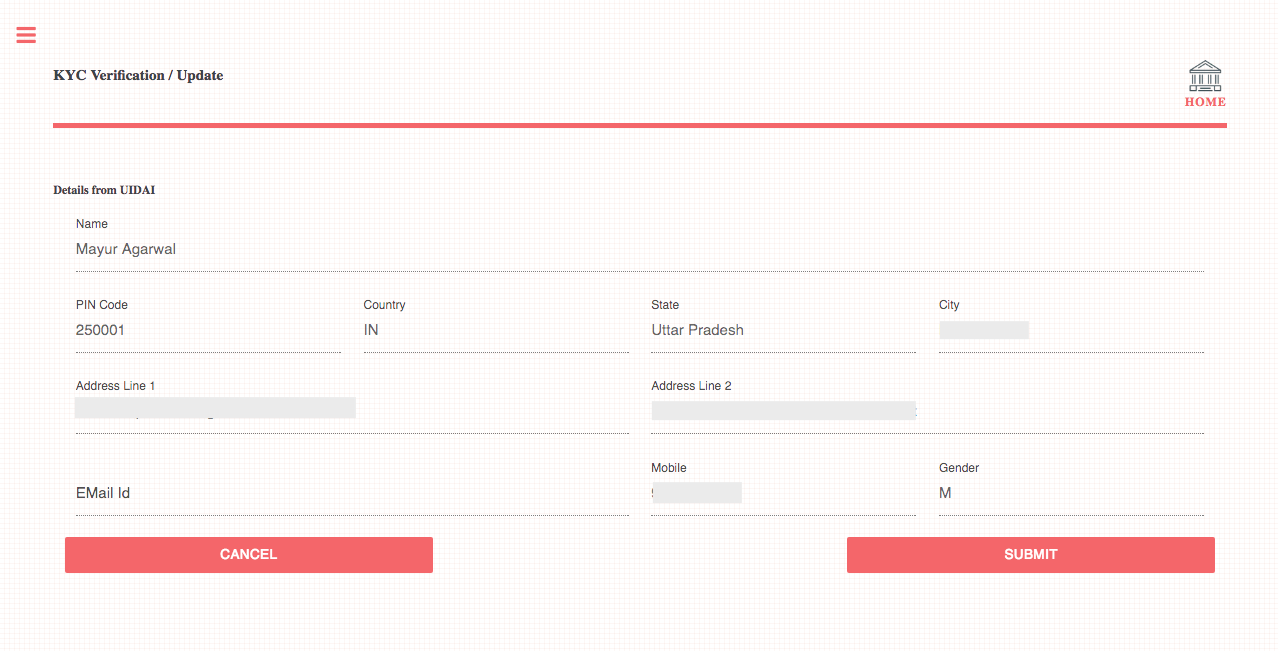
6. Click on the Submit tab. The page will now state that “Your request for Aadhaar linking/authentication has been submitted successfully…”.

That’s it! It should be noted that the verification process may take a few days.

Tags: Aadhaar CardTips
ShareTweetSend
Previous Post

Centric A1 Review – A worthy performer in its segment

Next Post

Why Explainer Videos are Good to Promote your Products and Services

Mayur Agarwal

Mayur Agarwal

Mayur Agarwal, the founder and editor of WebTrickz, is a tech enthusiast with a Bachelor's degree in Computer Applications and over a decade of writing experience. His passion for technology and gadgets inspires him to create insightful How To's and troubleshooting guides.

Next Post

Why Explainer Videos are Good to Promote your Products and Services

Leave a Reply Cancel reply

Your email address will not be published. Required fields are marked *

Latest Stories

ios 18

iOS 18: How to Add Screen Record to Control Center on iPhone

March 30, 2025
ios photos logo

iOS 18: How to Clear Recently Viewed Photos on iPhone

December 27, 2024
ios photos logo

How to Find Your Favorite Photos in iOS 18 on iPhone

December 30, 2024
ios 18

How to Reset Control Center to Default in iOS 18.1 on iPhone

April 2, 2025
iphone 16 pro max always-on display

How to Turn Off Always-On Display on iPhone 16 Pro & 16 Pro Max

November 11, 2024
ios 18

How to Find Recently Deleted Photos in iOS 18 on iPhone

December 30, 2024
apple iphone 16 pro

How to Close Apps on iPhone 16, 16 Pro, and 16 Pro Max

October 22, 2024

Trending Stories

  • Apple iphone 16

    How to Turn Off and Restart iPhone 16, 16 Pro, and 16 Pro Max

  • How to Put Your iPhone 16 on Vibrate or Silent Mode

  • How to Turn Off & Restart iPhone 15, 15 Pro, and 15 Pro Max

  • How to Turn Off Most Relevant Comments on Facebook

  • 4 Ways to Remove the Floating Home Button on iPhone

  • About Us
  • Contact Us
  • Privacy Policy
  • Advertise

© 2025 WebTrickz. All Rights Reserved.

No Result
View All Result
  • Reviews
  • Apps
  • How To’s
  • Android
  • Google
  • iPhone
  • Mac
  • About Us
  • Contact Us
  • Privacy Policy

© 2025 WebTrickz. All Rights Reserved.