Losing your precious video files can be very upsetting and frustrating. This usually happens when your storage device has some issues, or your computer is a victim of a malware attack. Whatever causes the corruption of MP4 files, the only way to save your important moments is to find an effective solution.
There are many apps and tools for video repair, but most are a waste of time. Don’t worry as this article covers a promising solution that can help you easily fix this mess.
What to look for in a good video repair tool?
What should one consider while looking for an app to repair MP4 videos? Let’s find out.
1. Preview Option
Every good video repair app should have an option to preview the repaired file. It’s indeed convenient and time-saving if you can view your fixed video before saving it. This way, you can check whether the video is repaired properly or if you need to repair it again.
2. Batch Processing
Having the choice of batch processing gives the app an edge over others. Always look for batch processing in file repair apps because this feature will allow you to handle multiple files at once. With batch processing, you can save time and handle all your corrupted MP4 videos in one go.
3. Advance Repairing Feature
The advanced repair feature is extremely important and very useful for repairing a corrupt MP4 file. If you want to fix your video using another MP4 sample file, you need such advanced features to complete the task. This repair option can fix your corrupted MP4 file in a much better way.
4. File Format
Apps that only support specific formats such as MP4 are not a good choice. Such apps bound you to one or two video formats. And it’s a waste of time if the corrupted video isn’t in the same format as supported by the app. Look for an app that supports widely used file formats.
5. Pricing
All such apps offer different plans and packages. Check the pricing of the apps you have shortlisted. Choose the package that works for you, but don’t go for the cheapest solution. Some apps that offer cheap or free services fail to provide the desired results. So, go for a program that provides a host of features at an affordable price.
Meet Wondershare Repairit: A perfect MP4 repair tool
Wondershare Repairit is one such software that you should definitely try. Featuring a user-friendly UI, the app offers the ability to quickly repair corrupted and unplayable videos in a few clicks.
Repairit supports a wide range of video formats, including MP4, AVI, MOV, MKV, and many more. It also lets you preview the entire repaired video before processing and provides high-quality results. The built-in ‘Advanced Repair’ feature further allows users to repair severely damaged videos with sample files. These and many other unique features make Repairit a wise choice for repairing corrupted files.
Pricing: Available for Windows and Mac, Repairit – Video Repair is a paid application but those interested can try it for free. To remove any limitations, you can buy a 1-month, 1-year, or lifetime license that costs $29.99, $39.99, and $59.99 respectively.
How to repair corrupted video files with Repairit
Follow the steps below to easily fix corrupted MP4 files using Wondershare Repairit.
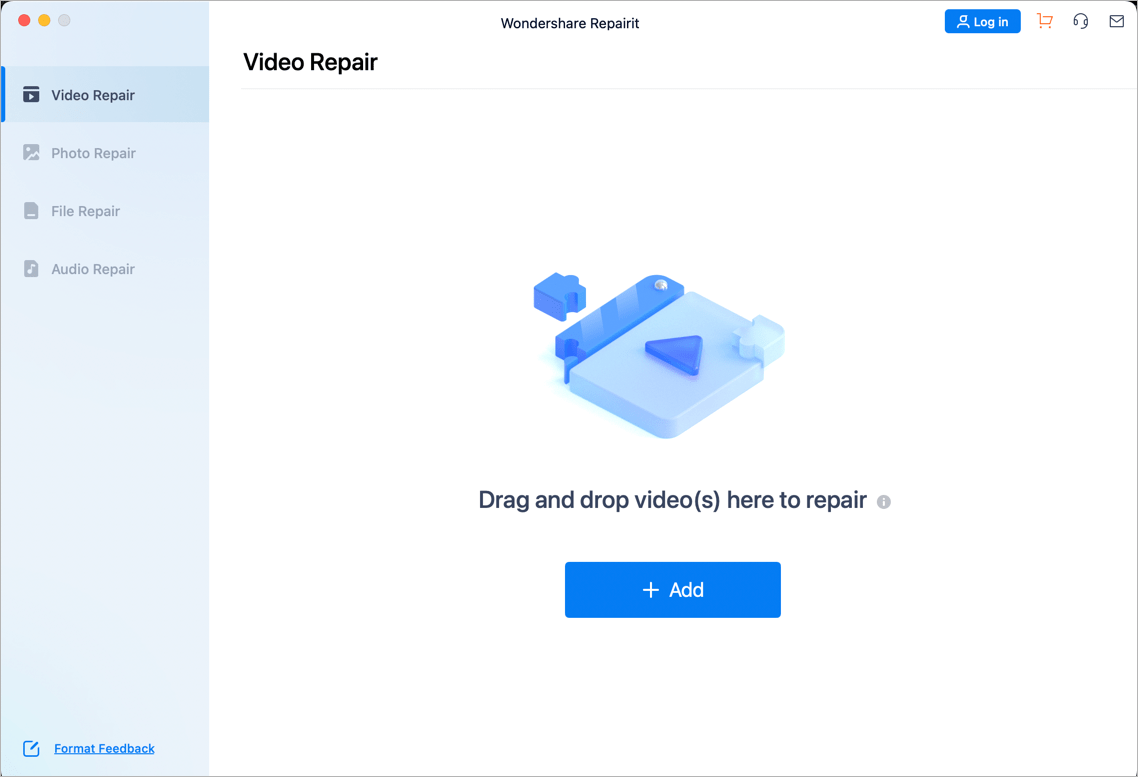
Step 1: Add Corrupted Video
Launch the program and click on “Video Repair“. Then select and add the video you want to repair. You can also choose multiple videos at once. After adding, the media file information will be shown such as the video size and duration, video resolution, and the filming equipment.
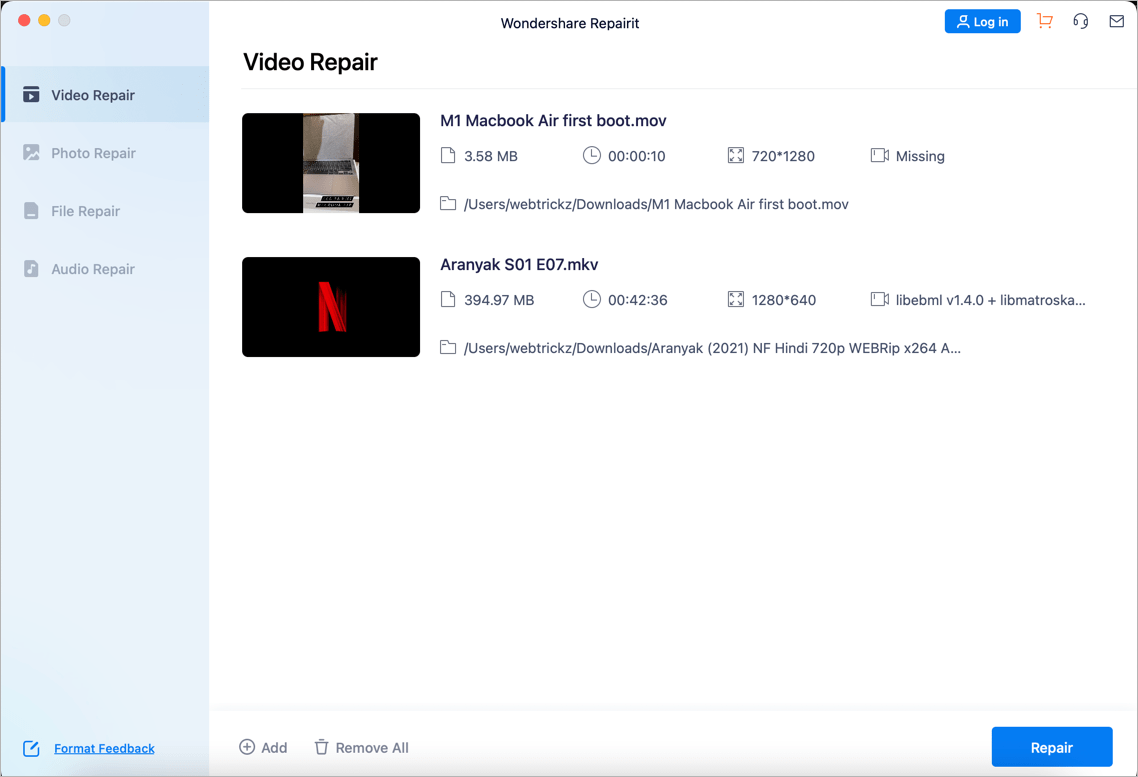
Step 2: Begin Repairing Video
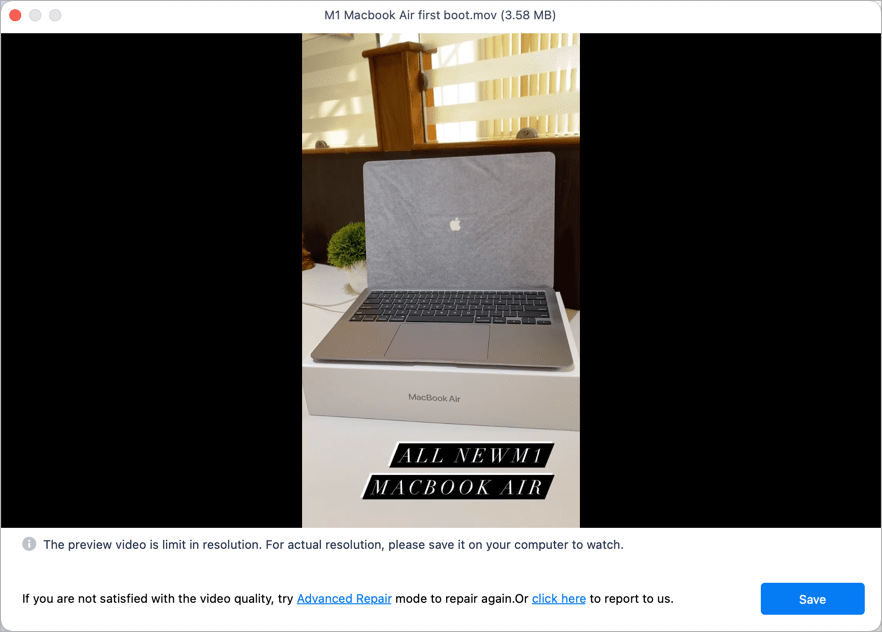
After importing the corrupted video files, click the “Repair” button to start the process. Once the video is repaired, you will get the option to preview and save the video. Click the ‘Preview’ button to watch and ensure the video has been repaired successfully.
Step 3: Advanced Repair
If the results are not satisfying in the preview, you can choose the “Advanced Repair” option. For this, add a sample file that has been taken from the same device as the corrupt video file. The program will then use the information from the sample file to repair the corrupt video.

Step 4: Save the video file
After the video is repaired, click the ‘Save‘ button and select a location to save the repaired files. Make sure to choose a location different from the path where you lost them. Note that any videos that failed to repair will not be saved.


