Live Photos on iOS adds life to a traditional photo by capturing a 3-second short video instead of a still image. This is a native feature of the iPhone camera that captures both movement and sound to revive the moment. One can add effects to a Live Photo and even share Live Photos on Messenger after converting them into a video.
Can’t save a Live Photo as a Video?
The Photos app (in iOS 13 or later) includes a one-click option to convert a Live Photo to a video. However, the “Save as Video” option in Photos is missing on iOS 16 and iOS 17. Therefore, saving Live Photos as videos on an iPhone running iOS 16 or iOS 17 seems no longer possible.
Worry not, you can still turn a Live Photo into a video without using a third-party app. The fact is, this process has changed in iOS 16 and later. Unlike in iOS 15 and earlier, the ‘Save as Video’ option no longer appears in the Share menu of the Photos app. Similarly, the procedure to hide photos in iOS 16 has also changed.
Now let’s see how you can save Live Photo as video in iOS 16 and iOS 17 on iPhone.
Converting Live Photos to Videos on iOS 16 and iOS 17
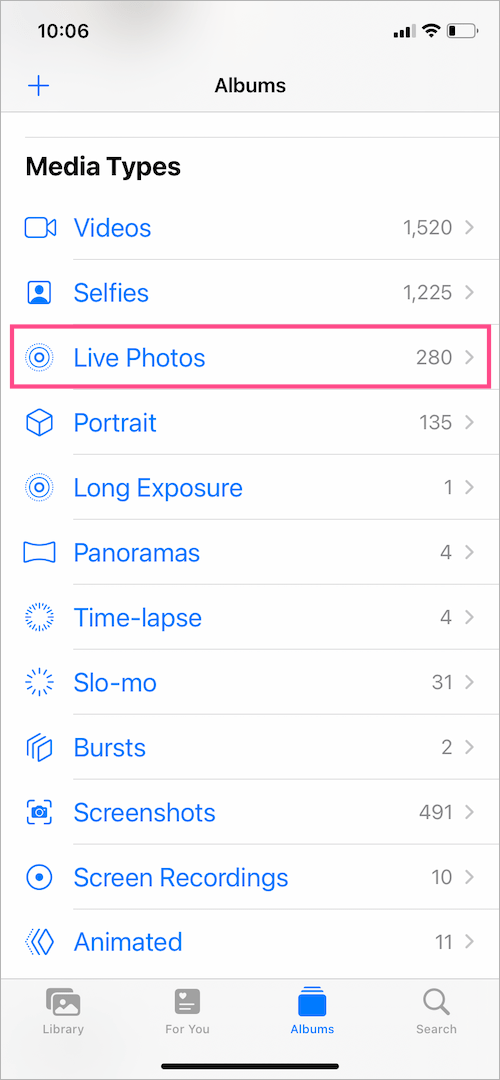
- Find and open a Live Photo in the Photos app. Tip: Go to Albums > Live Photos (under Media Types) to quickly see all of them.
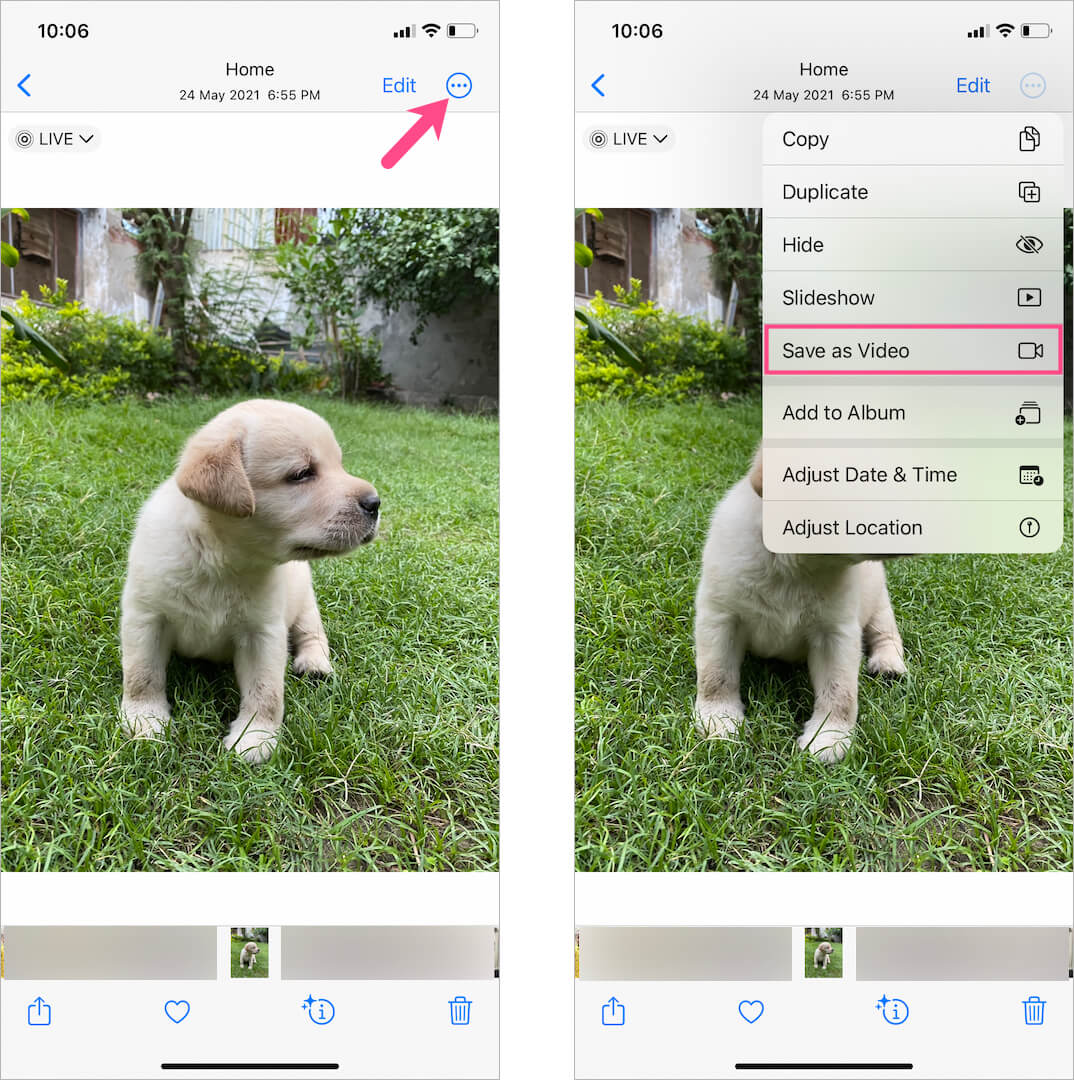
- Tap the More button (3 dots) at the top-right corner and select ‘Save as Video‘.
- Go to the Recents or Videos album to see the saved video.
The saved video is exported in either HEVC or H.264 format and includes audio, which can be muted.
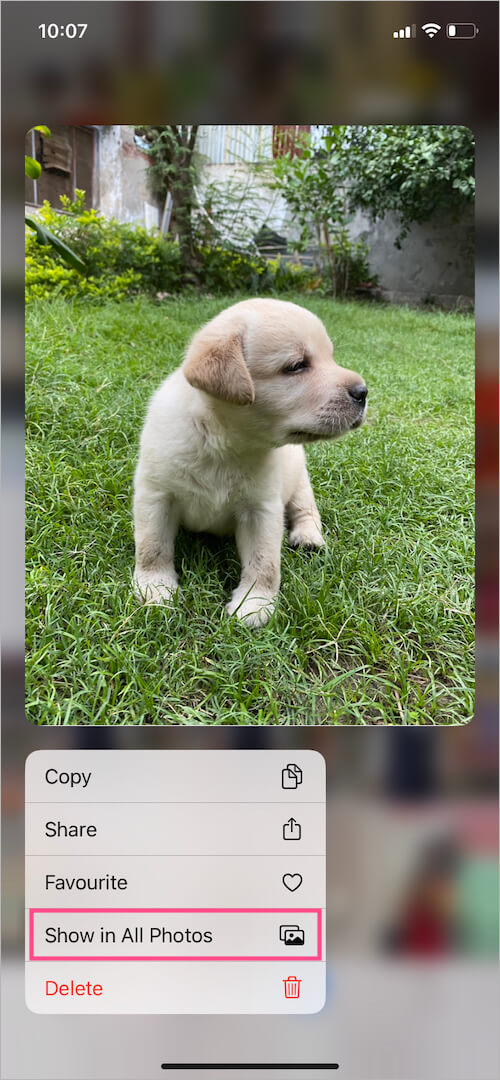
TIP: To quickly find the converted video, long-press the particular Live Photo while it appears in a grid view in Photos. Then select ‘Show in All Photos‘. You can now see the exported video alongside the Live Photo in its original location.
Fix: Save to Video still not appearing?
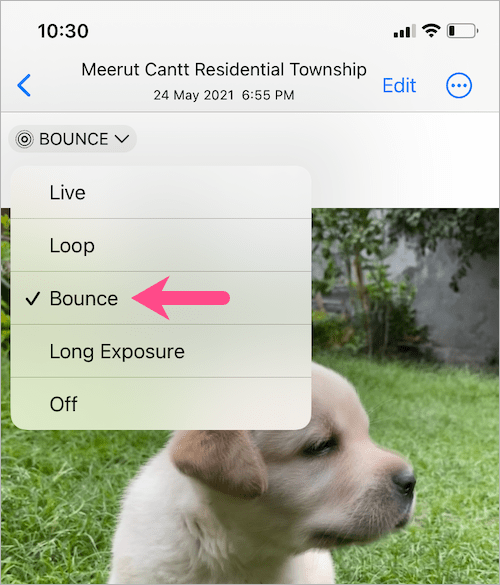
Is the ‘Save as Video’ option still not showing up? The ‘Save as Video’ option doesn’t appear when you apply Live Photo effects (Loop, Bounce, or Long Exposure) to a Live Photo. To get back the ‘Save as Video’ option, simply re-enable the Live effect or follow the below workaround.
To save a Live Photo with a Loop or Bounce effect as a video:
- Go to Photos and open the Live Photo you want to export as a video.
- Select the Bounce or Loop effect.
- Tap the “Share” button at the bottom left.
- Scroll down and select “Save to Files“. Then save the video file in your preferred location.

BONUS TIP: To save the video from Files to the Photos app, open the Files app and find the particular video. Then tap the Share button and select ‘Save Video’.
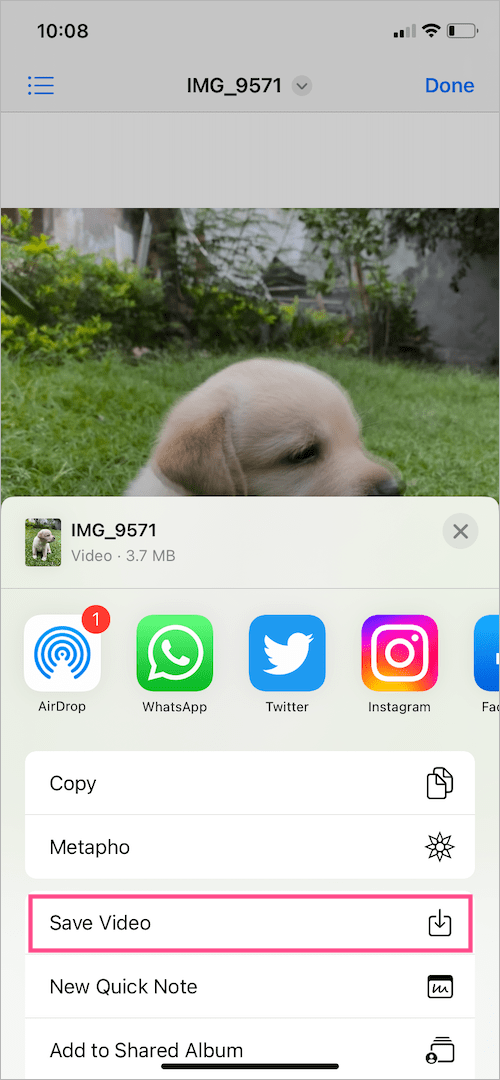
Go ahead and find your video in the Recents album.
Why convert Live Photos into videos?
Since Live Photos are exclusive to iPhone and iPad, non-iOS users cannot view them directly. That’s because a Live Photo is sent as a still image when you share it via email or social media platforms (excluding WhatsApp).
Hence, if you want to post them on Instagram, Twitter, or Facebook or add a Live Photo to a video during editing then you first need to convert it to a video.


Hi there,
Thank you for this! I can now save a live photo as a video. My question is:
Is it possible to save more than one live photo to video?
Thanks again!