With the invention of the smartphone and the rapid advancements in smartphone technology, almost anybody can take a semi-professional photo with the touch of a button.
But for those who are very interested in photography, the iPhone 13 or iPhone 12 camera won’t suffice. To take professional photos that are sharp, detailed, and high-quality, you need to switch out the phone for a DSLR camera.
DSLR cameras come in all shapes and sizes. You can find a camera that costs upwards of a few thousand dollars and have a wide variety of complex settings.
Even the cheaper DSLR cameras have a few different settings that enable you to take the perfect picture. So, if you’re just starting out in photography and you don’t want to spend too much money on your first DSLR camera, you don’t need to worry about limiting yourself.
Once you’ve got your camera, that’s where the fun starts. It’s time to play with your new toy and explore the wonderful world of photography. Whether you plan on selling your images or you want to keep photography as a hobby.
Basic Photography Tips For Beginners
Here are some top tips for all of the beginner photographers out there.
Download a Background Remover
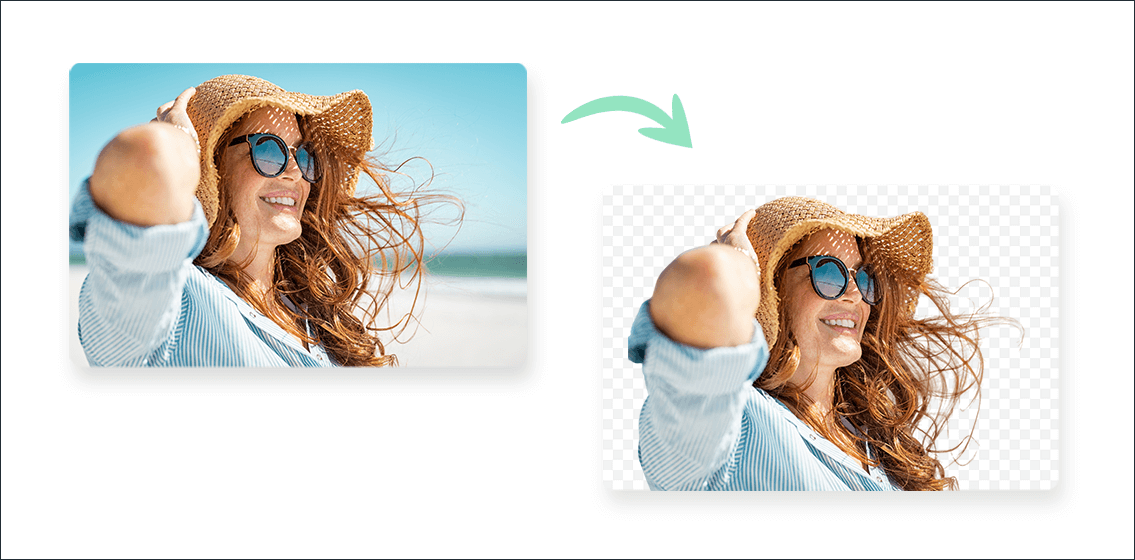
One of the most frustrating things for many photographers is getting the perfect close-up shot of a subject and spotting an unwanted object in the background. This is where your editing software will come in handy.
A background remover program or software will make it simple to get rid of unwanted objects in the background of your photos. So, if you get the perfect shot, you don’t need to worry about your image being ruined by the background area.
Edit Your Photos After Each Session
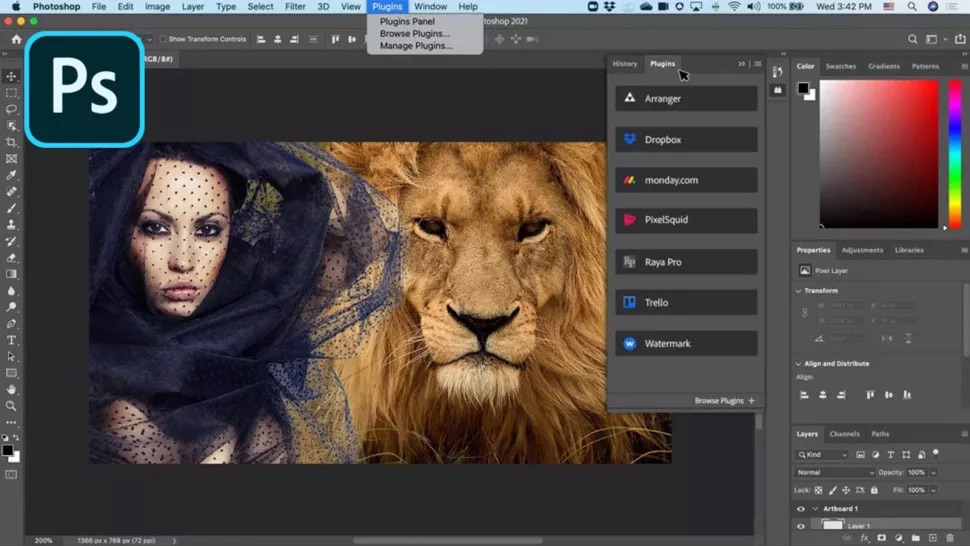
When you head out for a photo shoot, you will probably take tens or hundreds of photos in one session. Instead of trying to edit them there and then, wait until you’re back at home to start editing your images.
This will save you a lot of time during the photo shoot so that your subject isn’t waiting too long between shots (if your subject is a human or animal).
Most editing software makes it easy for you to import all of your images and edit them quickly and easily. They have several settings that enable you to adjust the brightness, contrast, sharpness, and color gradient of your images so that you can get the perfect end products.
Depending on the style of photography that you choose, you might prefer to use specific software that has all of the necessary settings. It’s worth trying out a few different options before you commit to just one so that you can find the best for your needs and preferences.
Back-Up All of Your Photos
As soon as you import your photos from your camera’s SD card onto your computer, save them onto an external hard drive. Even before you have edited them, save the raw files and JPEG images.
This safety precaution ensures that you don’t lose any of your precious shots if your SD card corrupts or your computer breaks down. The last thing you don’t want after spending hours on an amazing photo shoot is to lose all of your images and have no way of retrieving them at all.
Most photographers keep at least three copies of their photos, one of which is completely digital, just in case anything goes seriously wrong with the physical technologies that they use. Alongside using an external hard drive, save the images on a cloud-based storage device so that there is a digital copy of your photos and you can easily retrieve them.
Once you have edited your photos, save them as a second file on your storage drives and in the cloud. Never delete your original photo files as you never know when you might need them. Your clients might want to see the originals and they might want you to re-edit them using different settings.
Get to Know the Exposure Triangle

When you first get a camera, it can be a little intimidating trying to figure out all of the different settings. However, if you focus on the exposure triangle, you should be able to create some amazing photos without ever touching any of the other settings on your camera.
The three most important elements that contribute to the exposure of every photo are the ISO, shutter speed, and aperture. The ISO refers to the camera’s sensitivity to light. Your shutter speed is the length of time that the shutter remains open when you take a photo. Aperture is how open the lens is and influences the amount of light that can enter the camera.
By adjusting each of these elements, you can find the perfect balance to create well-lit, sharp images.
We hope you found these quick tips helpful.


