Are you looking to capture screencasts, record video tutorials, or record gameplays on your Samsung smartphone? For this, you generally have to install a screen recording app. Thankfully, Samsung Galaxy A52 and Galaxy A72 running One UI 3.1 offer native functionality to record the screen. The built-in screen recorder works well and also eliminates the need to install a third-party app.
With the integrated Samsung Screen Recorder, you can easily record the video and audio on your Samsung device. The tool lets you record internal as well as external audio from the microphone. Customization options include setting to set the video recording quality and change the audio source. Besides, it is possible to pause the recording.
Perhaps, if you’re new to Samsung’s One UI then you might be unable to find the screen recorder app. To make it easier, here’s a quick guide to use the built-in screen recorder in One UI 3.1. Follow the steps below to record the screen on Galaxy A52, Galaxy A72, and other newer Galaxy phones.
How to screen record on Galaxy A52 & Galaxy A72
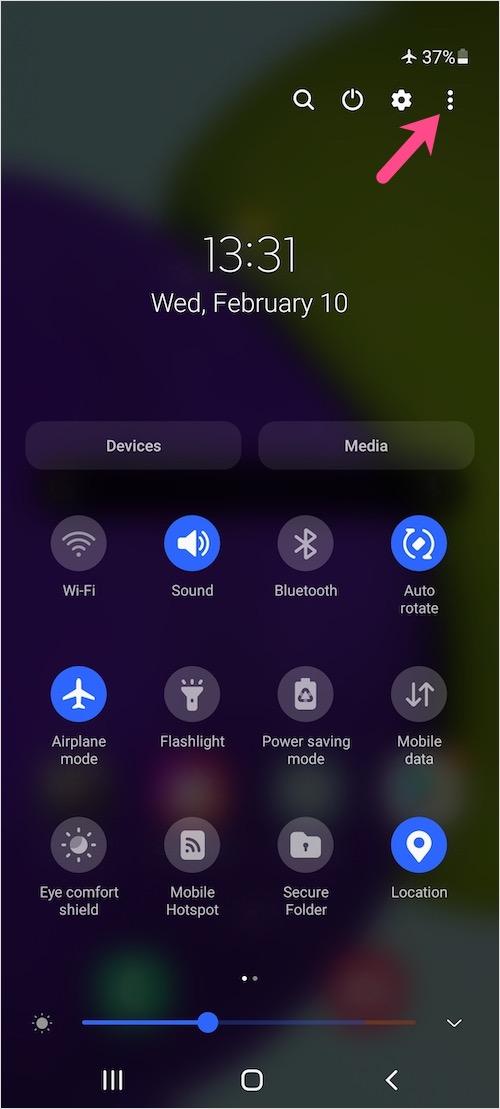
- Swipe down with two fingers from the top of the screen to open the Quick Settings panel in an expanded view.
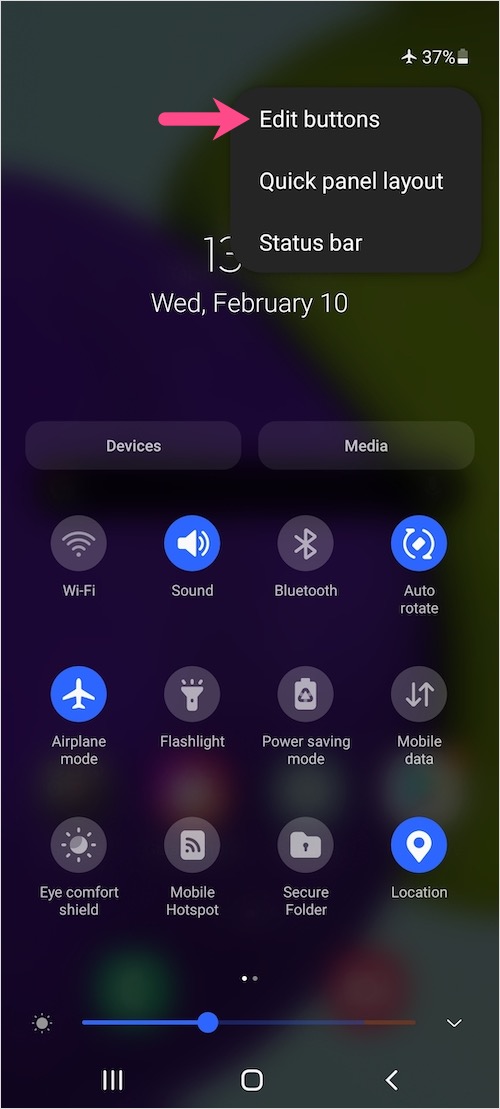
- Tap the 3-vertical dots at the top right and select “Edit buttons”.
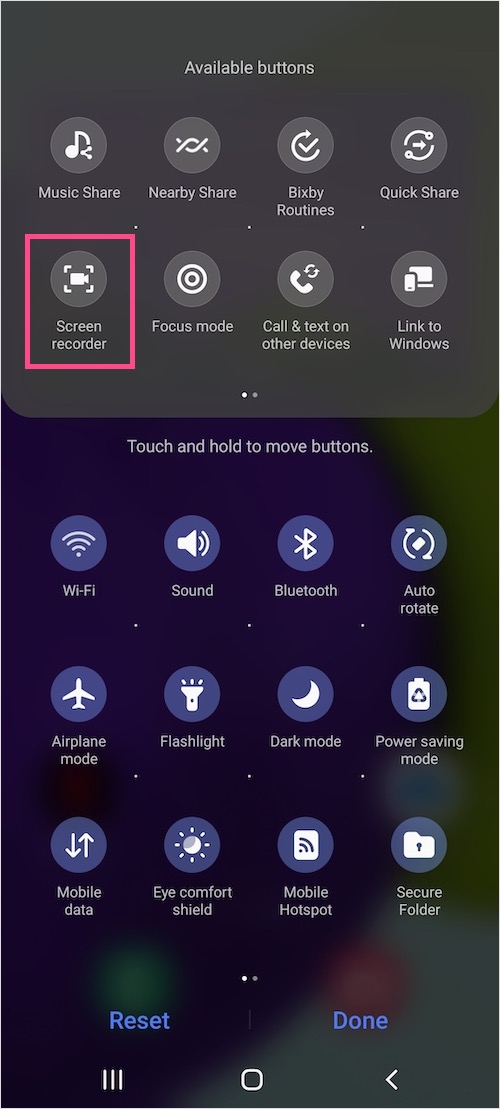
- Under the Available buttons, press and hold the “Screen recorder” tile and drag it to the active Quick settings buttons. Optionally, you can hold and move the button to your preferred position.
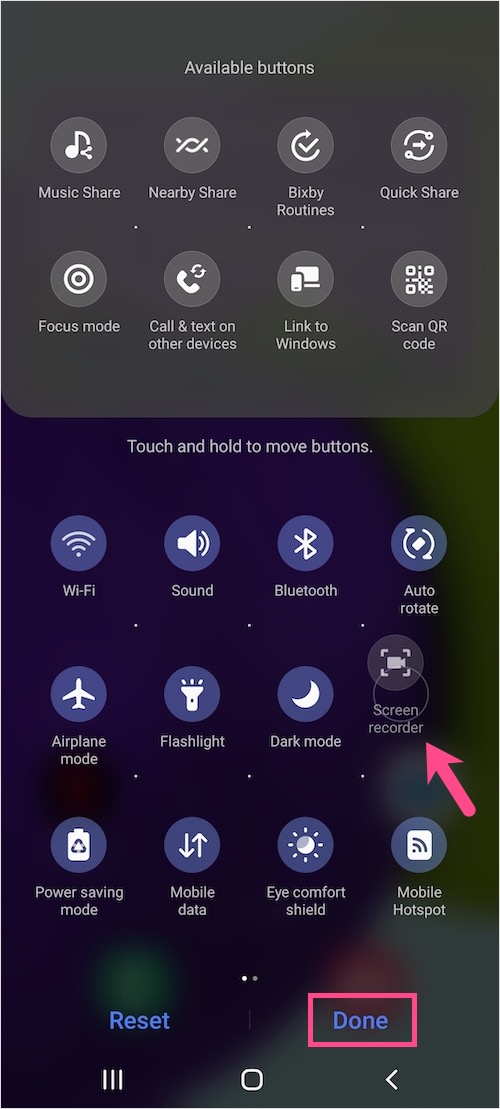
- Tap Done.
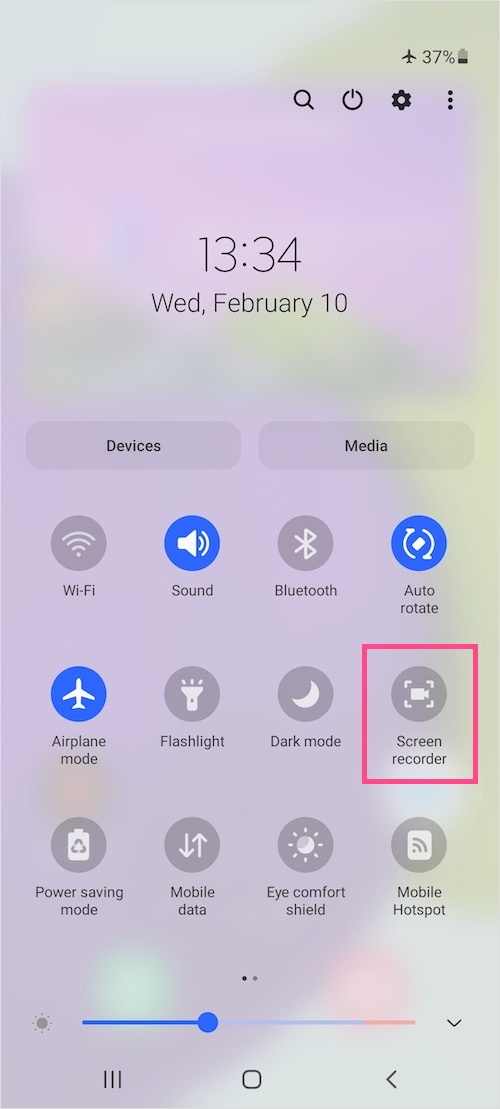
- To record the screen, go to Quick Settings and tap the “Screen recorder” button you just added.
Screen recorder in Quick Settings panel on One UI - Allow Samsung Capture the permission to record video and audio. Select “While using the app” if you don’t want to see this pop-up every time you record the screen.
- Select the required sound settings. You can either choose No sound, Media sounds, or Media sounds and mic.
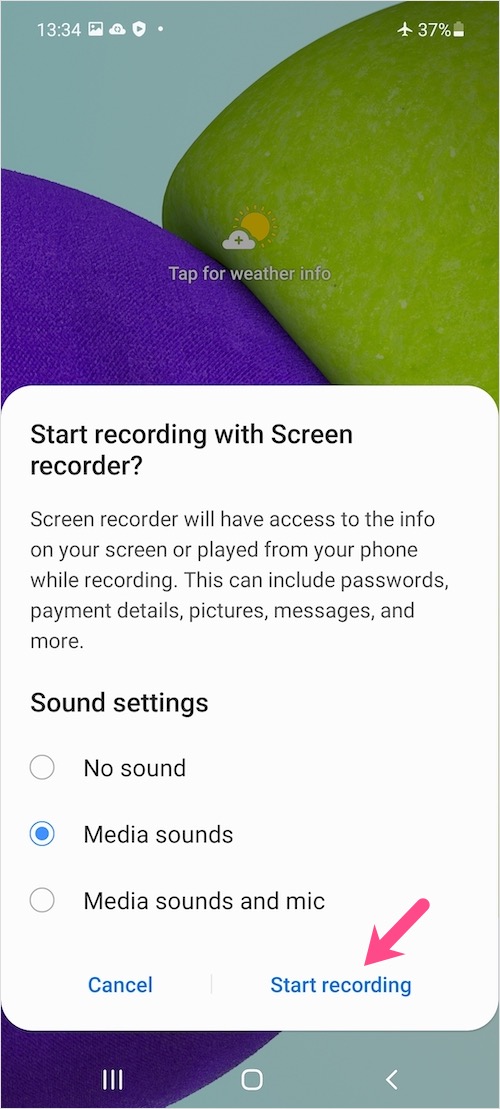
- Tap on “Start recording”. The screen recording will start automatically after a 3-second countdown.
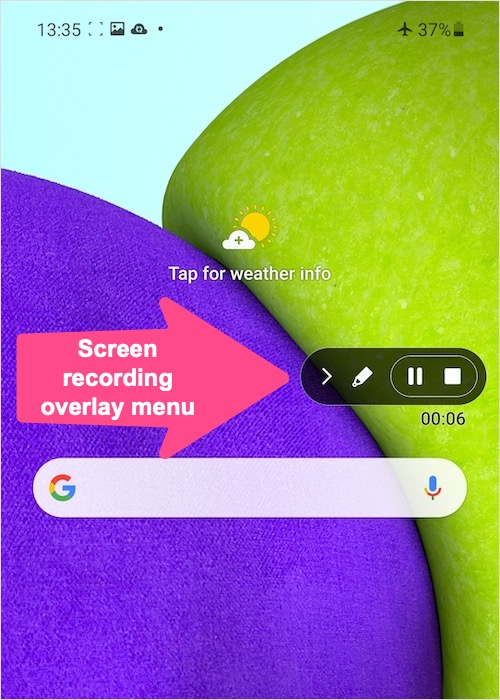
An overlay menu with real-time recording time will appear on the screen but it won’t be visible in the output video. You can drag the floating box across the screen and use it to pause/resume or stop the recording. Alternatively, you can stop the screen recording from the notifications shade.
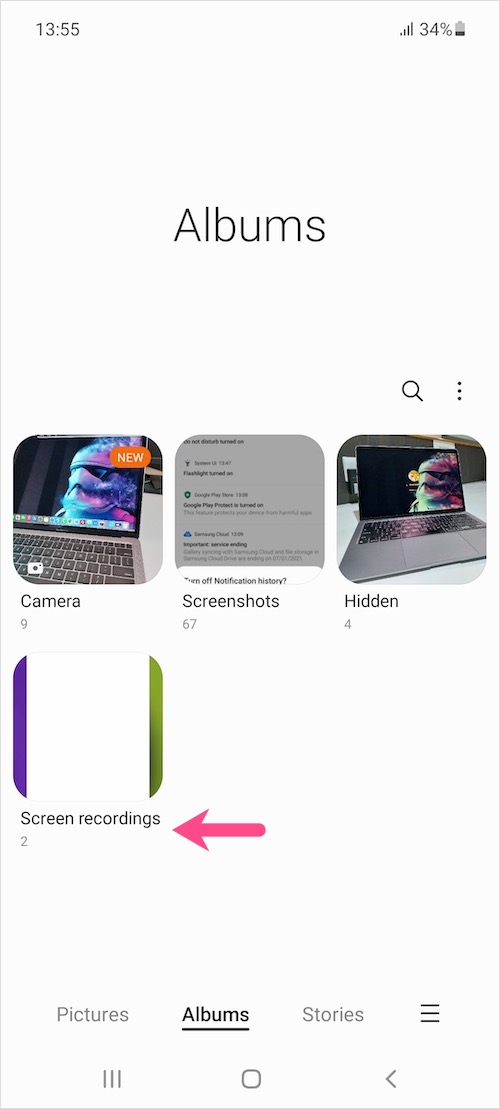
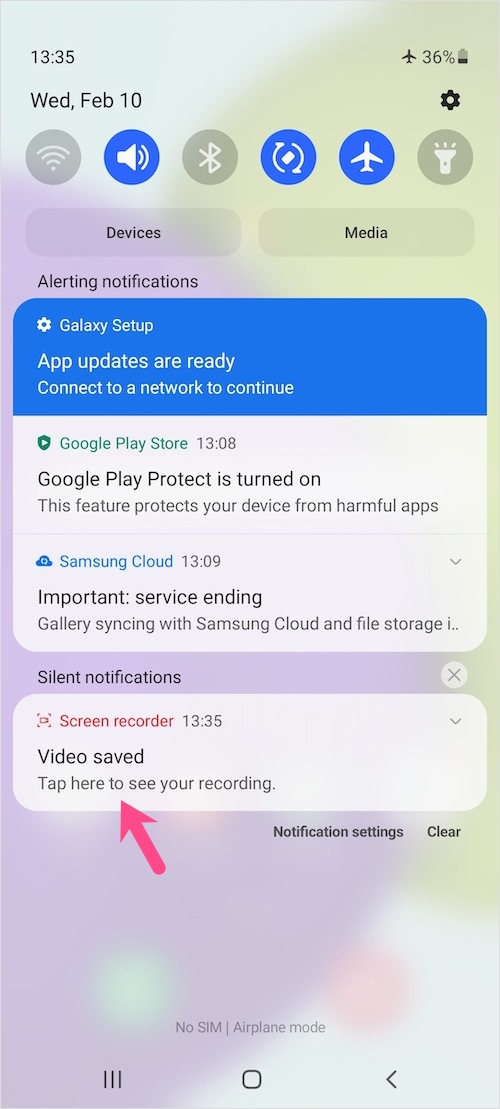
To view the screen recordings, either go to Gallery > Albums > Screen recordings or the Files app (Internal storage > DCIM folder). You can also see the recorded video from the notifications pane itself right after the recording.
NOTE: The screen record quick setting isn’t available on Galaxy A32 even though the device runs on Android 11-based OneUI 3.1.
Tip: Customize Screen Recorder settings
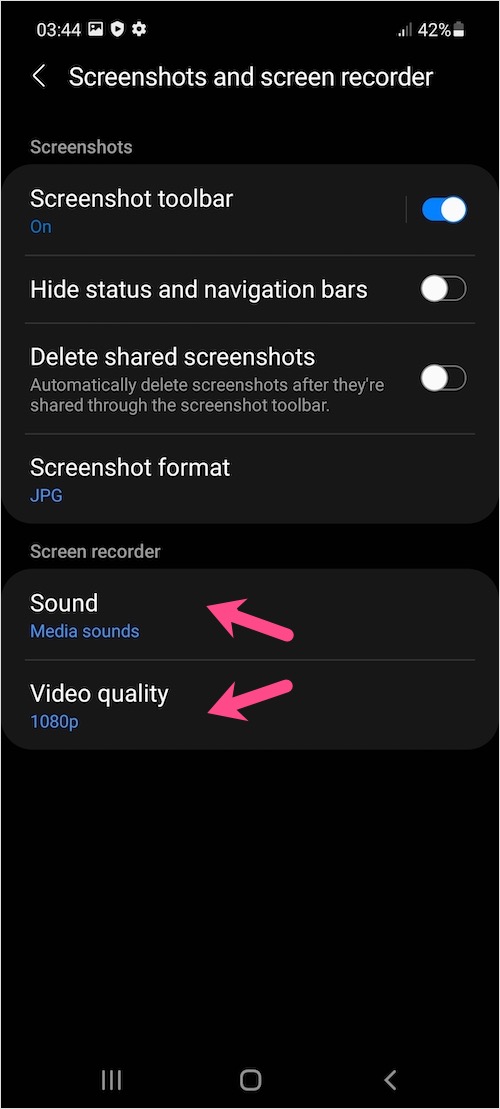
One UI also lets you change the default settings for the screen recording function. To customize that, head to Settings > Advanced features > Screenshots and screen recorder. Under the Screen recorder, select the default source for input audio and the video quality (1080p, 720p, or 480p).
Video Tutorial
ALSO READ: How to power off and restart Samsung Galaxy A52


