A few days back, Apple launched the second-generation iPhone SE which is also Apple’s most affordable iPhone. At a starting price of $399, the iPhone SE 2 is the cheapest iPhone you can buy. The iPhone SE (2020) is actually the successor to the original iPhone SE introduced back in 2016.
Despite being the latest iPhone, the SE 2 is a lot identical to the iPhone 8. The phone still packs large bezels at the top and bottom and includes the home button with Touch ID support. It is essentially an iPhone 8 that runs on Apple’s A13 Bionic processor, the same chipset that powers iPhone 11 series.
Perhaps, if you are new to iPhones then you may get stuck while taking a screenshot on iPhone SE 2. However, if you’ve already used an iPhone 8 or older then the process to capture screenshots will remain unchanged. That’s because the new iPhone SE uses the older combination of power and home buttons to take screenshots. On the other hand, newer iPhones such as iPhone 11 and XR with Face ID use a slightly different approach to take a screenshot as they don’t have a home button.
New: iPhone SE 2020 FAQ (Top 12 Queries Answered)
Let’s now see how you can take screenshots on the new iPhone SE (2020 edition).
How to screenshot on iPhone SE 2 (2020)
Method 1 – Using Hardware buttons
- Go to the screen or page that you want to capture.
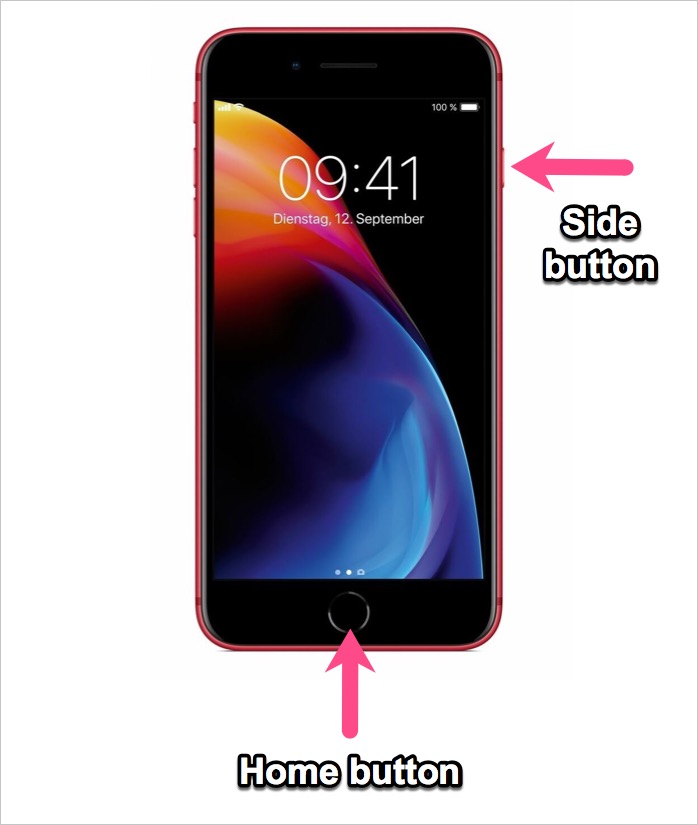
- Press and hold the Side button (located on the right side) + Home button at the same time.
- The screen will flash momentarily and you will hear a camera shutter sound (if the iPhone is not in silent mode). This indicates that the screenshot is taken.
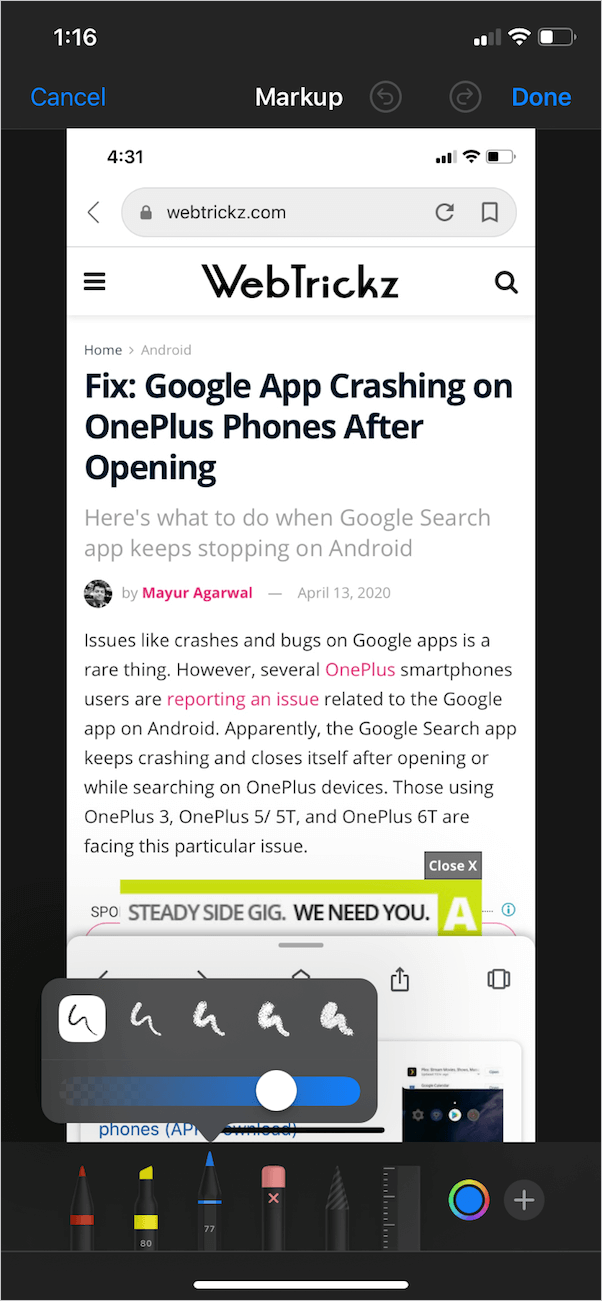
- A preview of your screenshot will now appear at the bottom left side of the screen.
- You can tap it to either annotate the screenshot with new markup tools in iOS 13, delete or share it directly.
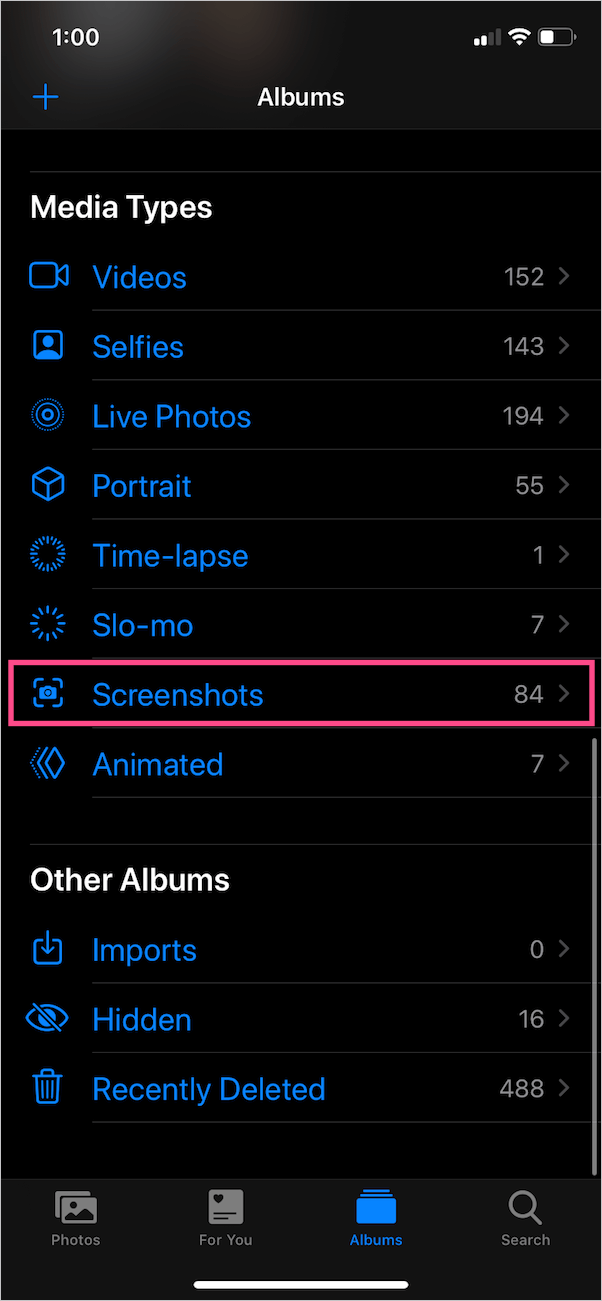
To view the captured screenshots, navigate to the Photos app > Albums. Then scroll down and open the ‘Screenshots’ album under Media Types. Alternatively, you can access them from ‘All Photos’ in the Photos tab.
ALSO READ: How to take screenshot on iPhone 11
Method 2 – Using Assistive Touch
Assistive Touch is an Accessibility feature that enables an easier way to take screenshots on the iPhone or iPad. People who often capture their screen and are afraid of wear and tear of physical buttons will find it handy. You can also use this alternative way in case your device has an unresponsive home or side button.
To get this working, you first need to enable AssistiveTouch on your iPhone if it isn’t enabled already.
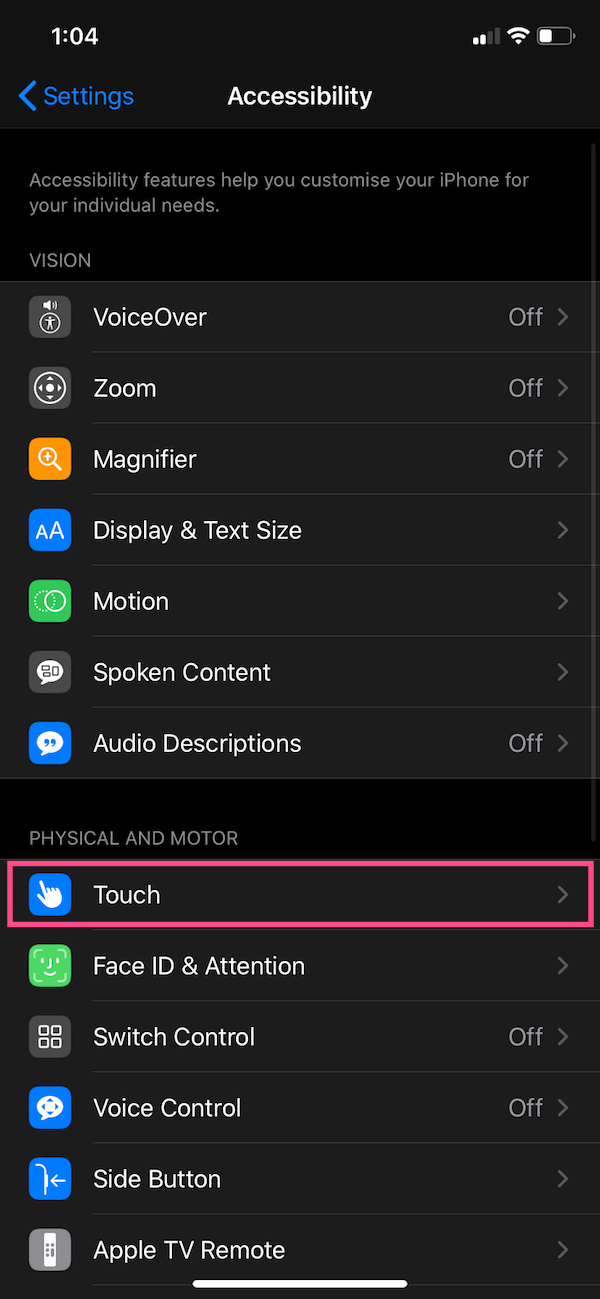
- Go to Settings > Accessibility > Touch.
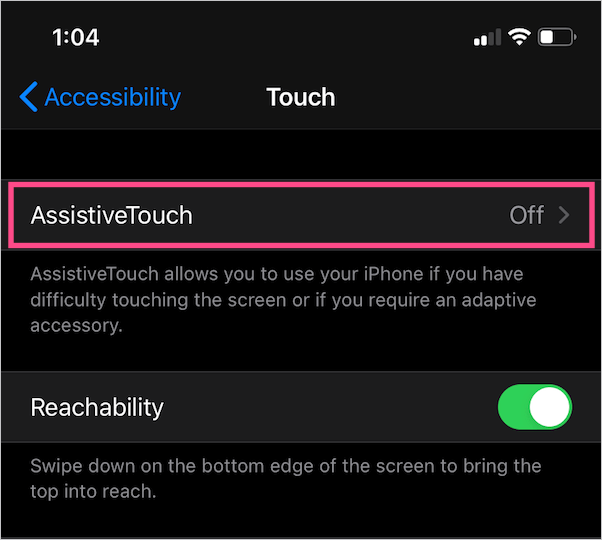
- Tap on ‘AssistiveTouch’ at the top.
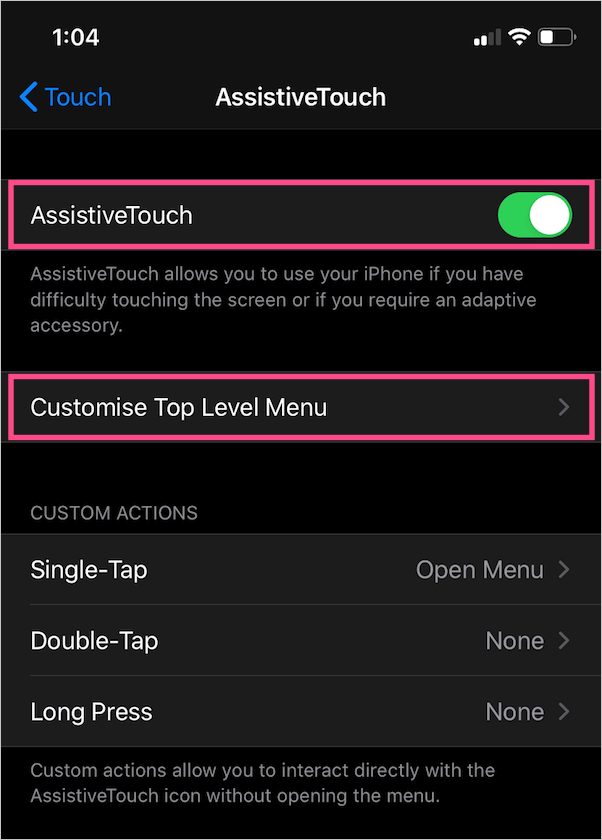
- Now turn on the toggle for “AssistiveTouch”.
After enabling AssistiveTouch, a translucent button will appear on the screen that you can drag around.
TIP: You can also ask Siri to “Turn on AssistiveTouch.”
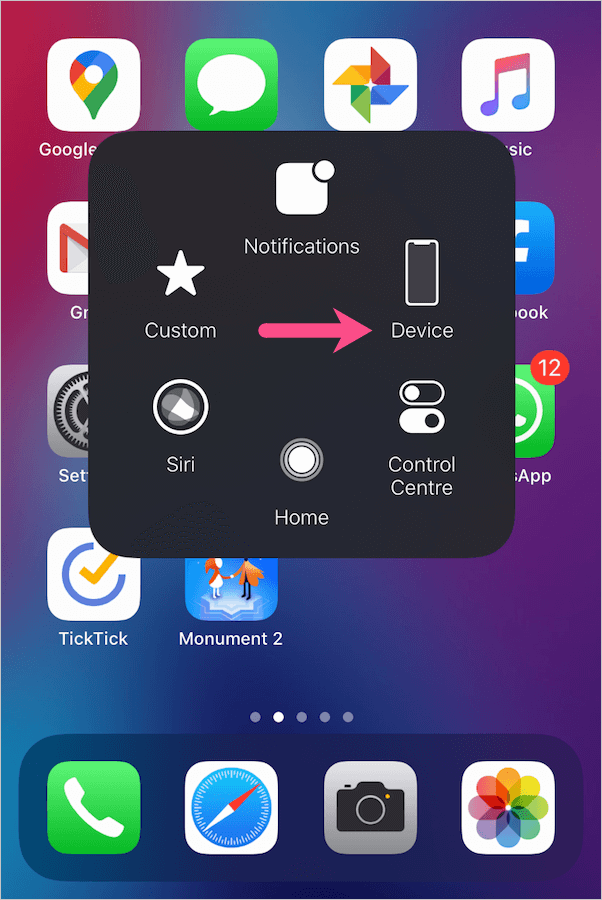
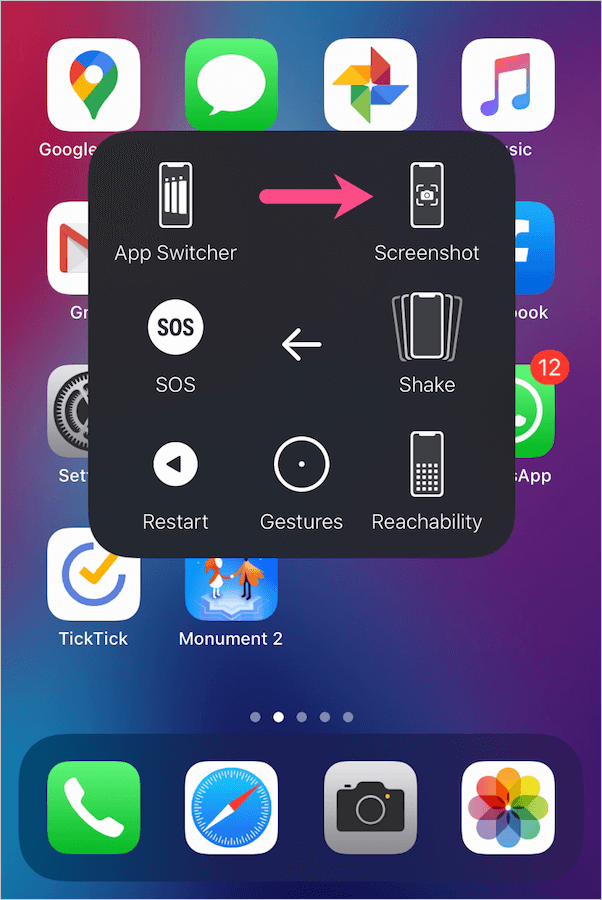
To take a screenshot using Assistive Touch, tap the floating button. Then navigate to Device > More and tap the ‘Screenshot’ option from the menu.
You can also customise the top-level menu (from AssistiveTouch settings) and add the screenshot icon to the primary menu of AssistiveTouch for quick access.


