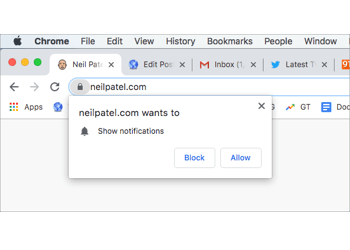
While browsing, you must have come across websites that prompt you to show notifications. These notification prompts are certainly annoying as they appear frequently, regardless of the browser you’re using. Though one can always allow or block a website from sending push notifications. However, the push notification prompt will still appear the next time you visit any other site with such an integration. That said, you won’t get notifications while you’re browsing in Incognito Mode on Chrome.
If the notification requests seriously bother you, then you can stop any websites from requesting permission to show notifications. Yes, you can do this by simply turning off a particular setting that you will find in all modern browsers. Likely, you might not be aware of this great feature as it’s hidden deep inside the browser settings.
How to Stop “Show notifications’ prompt in your browser
Without further ado, follow the step-by-step instructions to stop websites from asking to send notifications. We’ve included the steps for Chrome, Firefox, Microsoft Edge (Chromium), and Safari.
In Chrome (On the desktop)
- Click the menu button (3-dot icon) at the top right and select “Settings”.
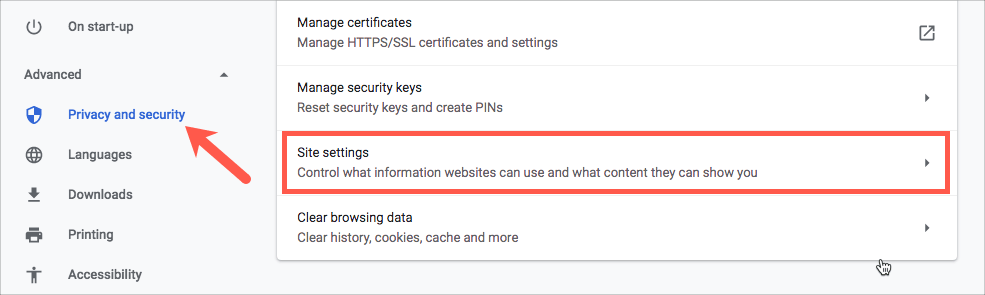
- In the sidebar on the left, go to Advanced > Privacy and security and click on “Site settings”.
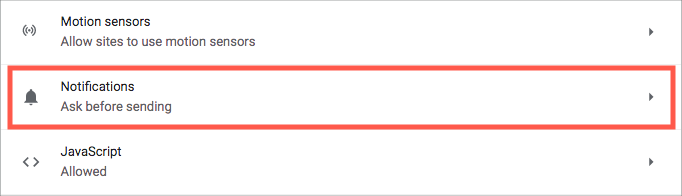
- Under Permissions, click on the “Notifications” tab.
- Turn off the toggle button next to “Ask before sending (recommended)”.
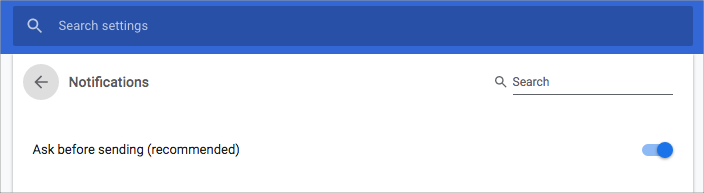
- You will see “Blocked” after disabling the setting.

Tip: You can whitelist specific websites, such as Gmail and Twitter, so that you can still receive notifications from them. For this, click the “Add” button next to “Allow” on the same screen. Enter the URL of the site that you want to whitelist and click “Add”.
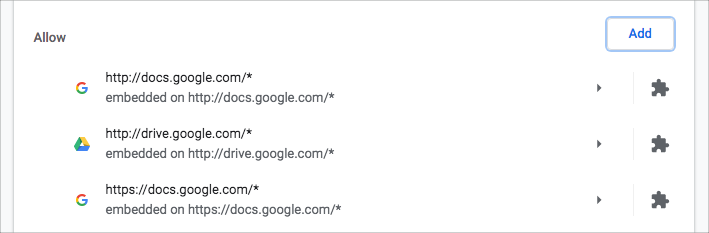
It’s worth noting that any sites listed under the Allow section will continue to send you notifications, irrespective of the default setting. In case you want to block or remove a site from the whitelisted sites, then click the 3-dot menu next to it and choose the desired option.
In Chrome for Android
- Open Chrome and tap the 3 dots in the top-right corner.
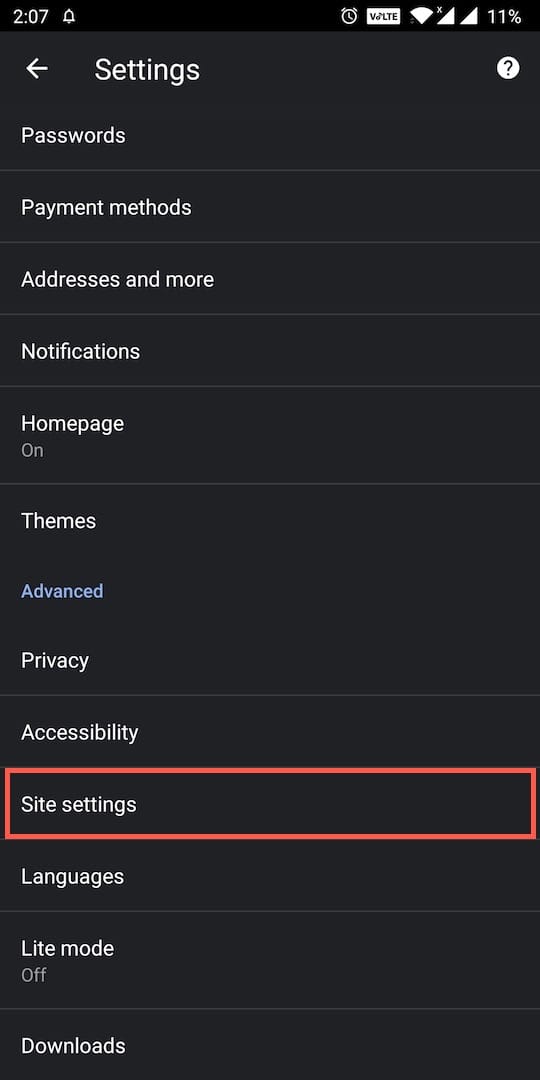
- Select “Settings” and go to “Site settings” under Advanced.
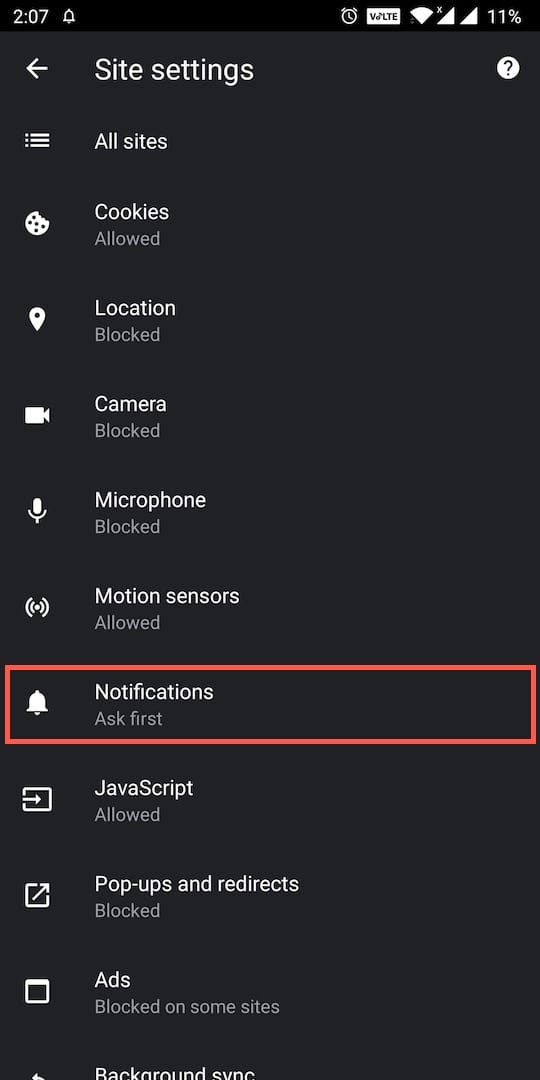
- Tap the “Notifications” option.
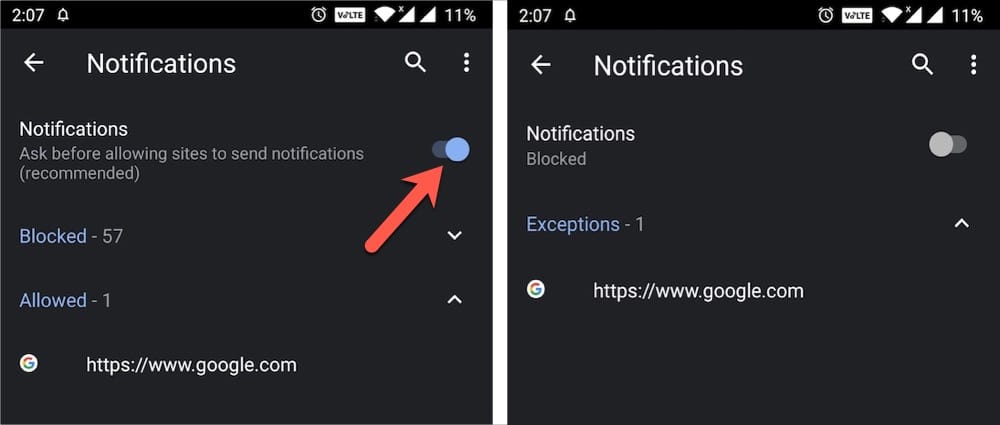
- Turn off the toggle next to “Notifications – Ask before allowing sites to send notifications”. It should then read “Blocked”.
In Firefox
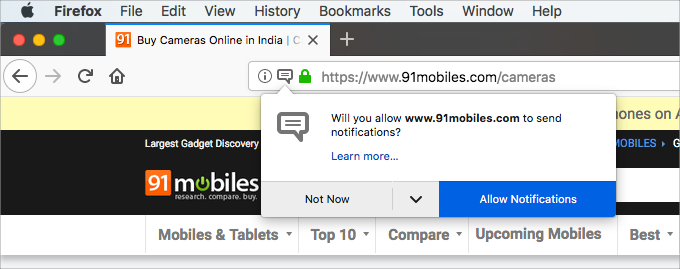
Since the release of Firefox 59, Mozilla has added this much-needed setting as well. Similar to Chrome, you can allow certain websites to send you notifications while blocking new requests asking to send notifications. Here’s how to block notification requests by default in Firefox.
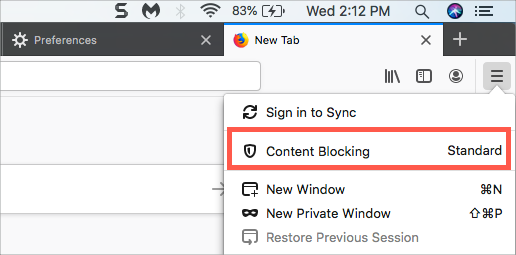
- Click the menu (hamburger icon) from the top-right and select “Content Blocking”.
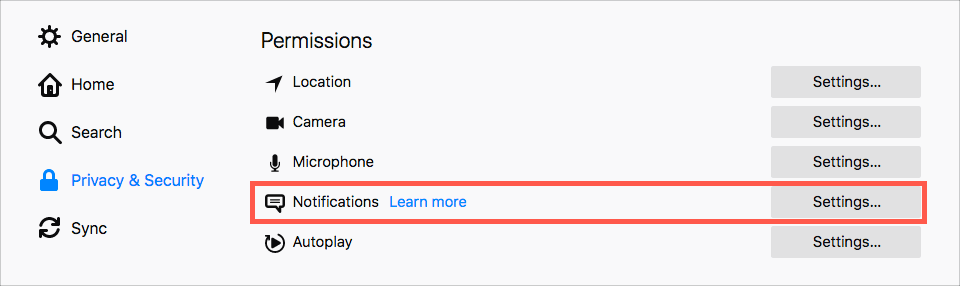
- Scroll down to the Permissions category.
- Click the “Settings” button shown next to the “Notifications”.
- Check the box next to “Block new requests asking to allow notifications” and hit “Save Changes”.
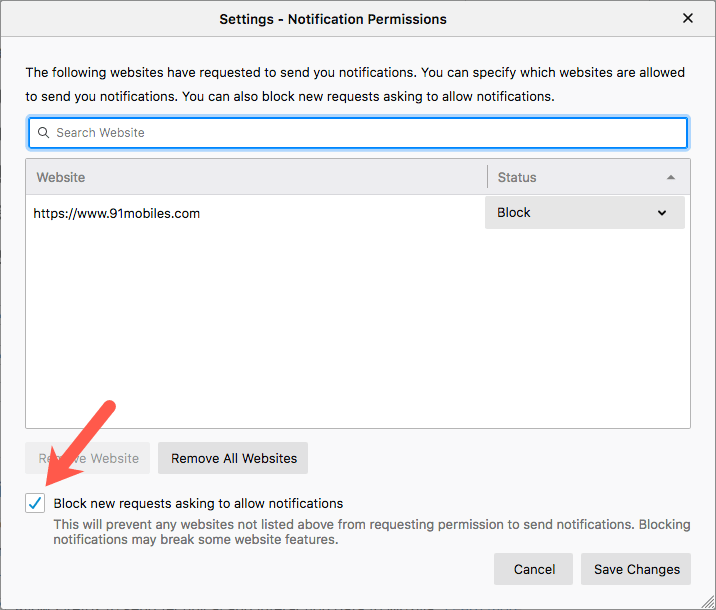
In case you’ve already allowed any websites to show notifications, you can remove them from the list. To do so, select the desired website(s) and click either “Remove Website” or “Remove All Websites”.
In Microsoft Edge (Chromium-based)
- Click the 3 horizontal dots from the upper-right corner and open “Settings”.
- Select “Site Permissions” from the left pane and go to “Notifications”.
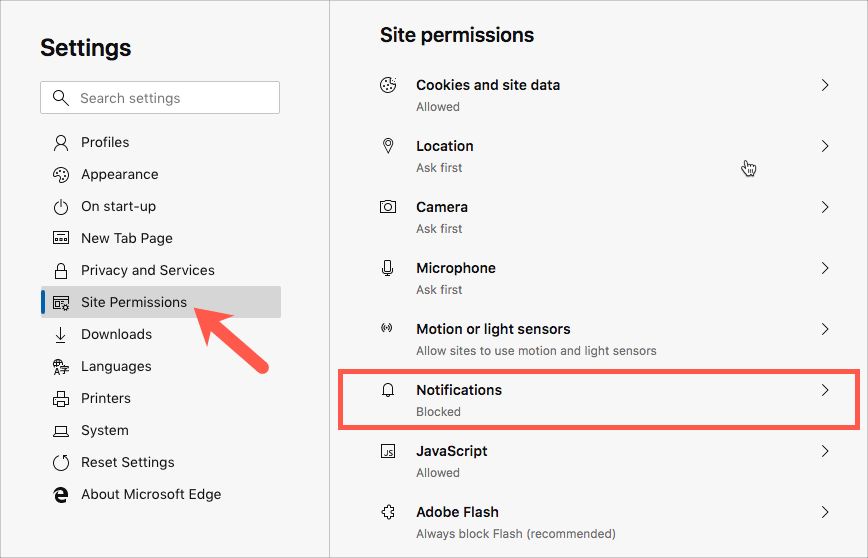
- Disable the slider next to “Ask before sending (recommended)”. Doing so will turn the toggle button color from blue to white.
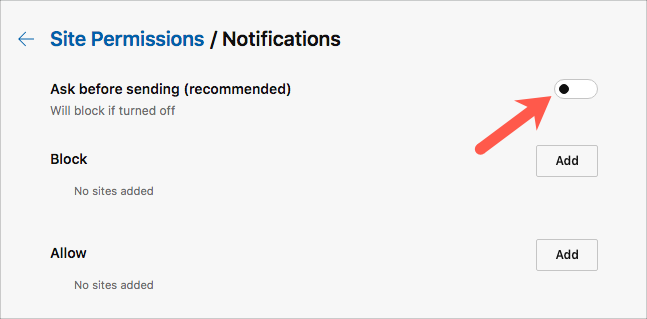
Just like Chrome, you can add your favorite websites to the Allow list in Edge, such as to whitelist them.
RELATED: How to disable website notifications in Microsoft Edge
In Safari on macOS
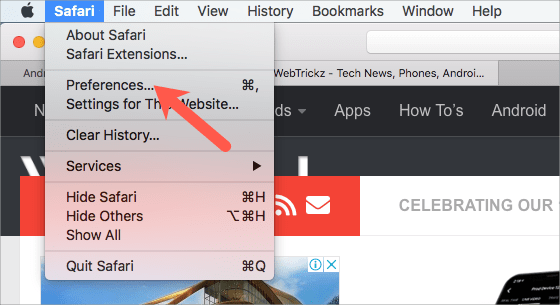
- Navigate to Safari > Preferences from the menu bar at the top.
- Click on “Websites” and then “Notifications” from the left-side column.
- Uncheck the box that says “Allow websites to ask for permission to send notifications”.
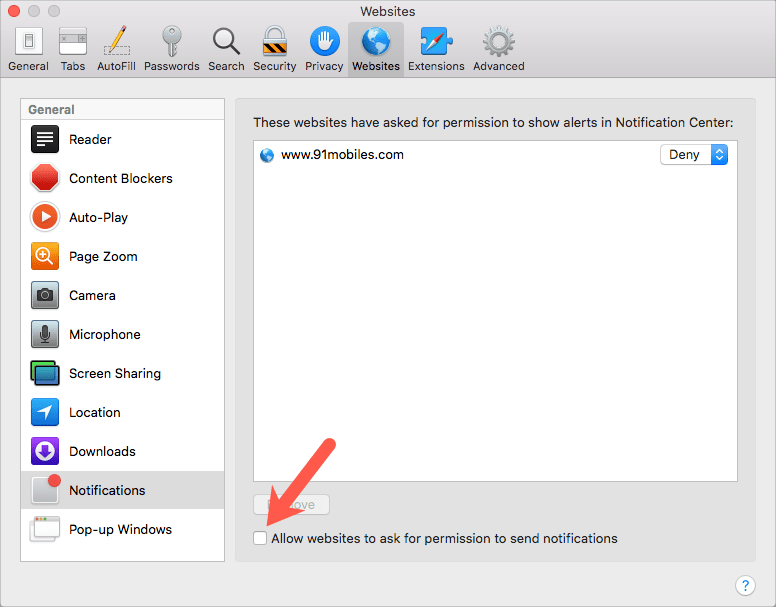
Note: Websites that have already asked for permission to show alerts will be listed right above. You can either block them (if allowed before) or select and remove them from the list if you don’t wish to get notifications from them anymore.
If you wish to allow push notifications in the future, you can always revert to the original setting.
Hat Tip via [Owen Williams]


