The need to boot your iPhone into recovery mode may arise when the device stops working as intended. Recovery Mode helps iOS users troubleshoot various issues on their iPhone and iPad, including frozen or unresponsive screen, iPhone stuck on Apple logo or loading screen. One can also use recovery mode to recover an iPhone stuck in a boot loop after a failed software update. It comes in handy when a hard reset won’t help and even if you forgot the Guided Access password.
How to enter recovery mode on iPhone 12 and 12 Pro
Whatever the reason may be, you must know how to put iPhone into recovery mode in order to fix it. To ease the process here’s a quick guide to enter the recovery mode on iPhone 12 and get out of recovery mode on iPhone 12, both with and without iTunes.
Requirements: A PC or a Mac and Lightning cable.
Method 1: Using iTunes or Finder
Note: This method is only applicable for iPhone 8 and iPhones with Face ID support.
- Connect your iPhone to a computer or Mac with the Lightning cable.
- A “Trust This Computer” pop-up will prompt if you are connecting your iPhone for the first time. Tap “Trust” and enter your iPhone passcode to proceed.

- Press and quickly release the Volume Up button.
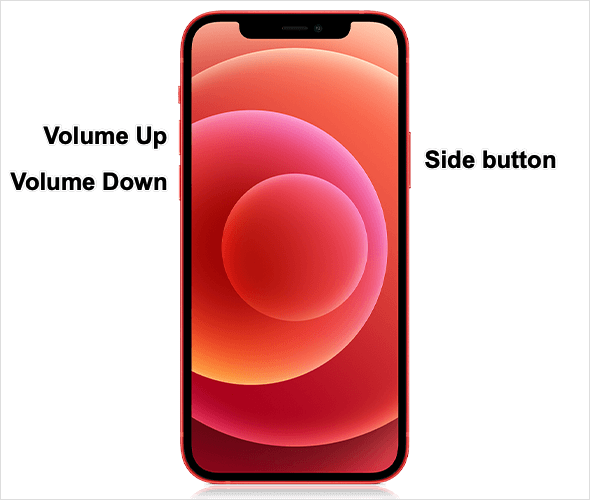
- Press and quickly release the Volume Down button.
- Press and hold the Side button. Important: Continue holding the Side button when the black screen appears and even when you see the Apple logo.
- Release the Side button when you see the ‘Connect to computer or iTunes’ screen on your iPhone. This indicates that the device is in recovery mode.
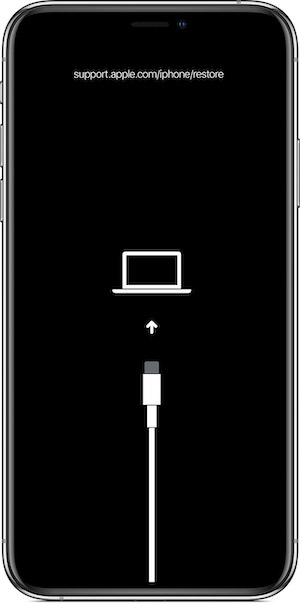
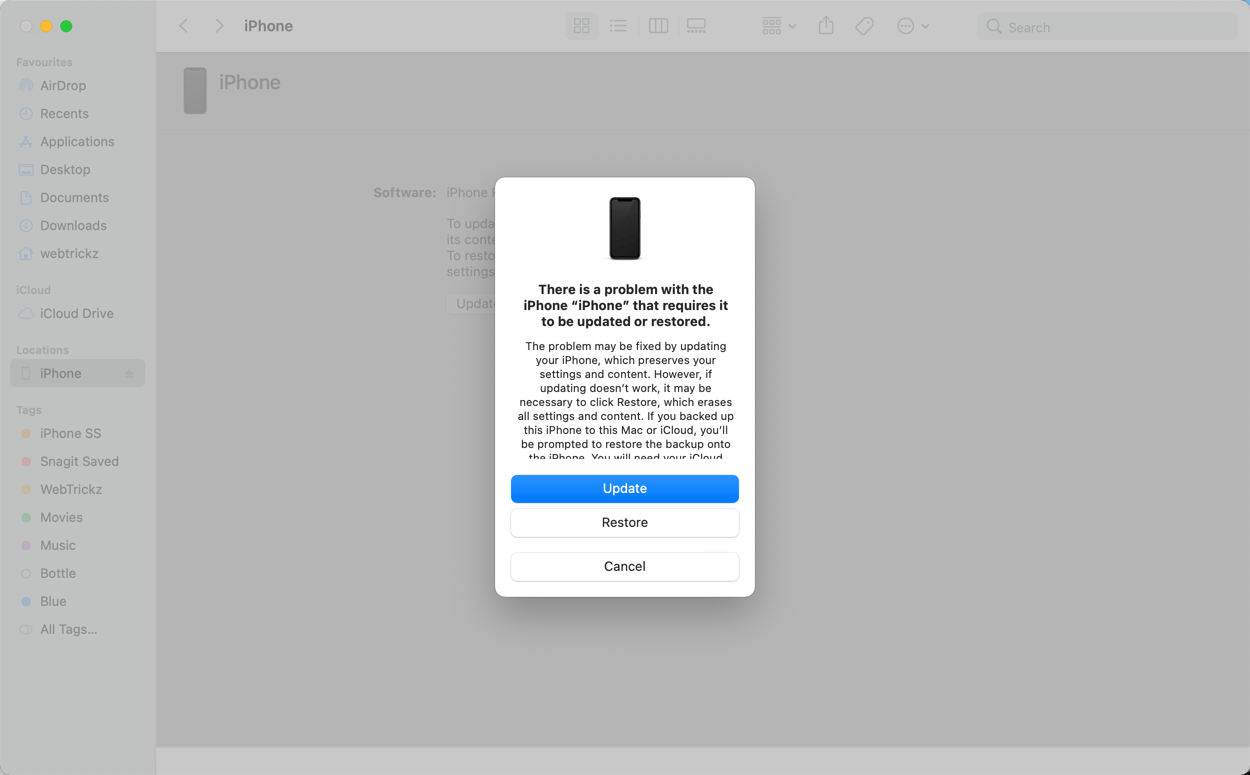
That’s it. iTunes or Finder (on macOS Catalina and Big Sur) will now show a prompt to either Update or Restore your iPhone. Choose the option that suits your need.
NOTE: Make sure to press and release the volume buttons in quick succession as failing to do so will open up Siri instead of the power off menu.
To exit recovery mode on iPhone 12, press and hold the Side button until the recovery mode screen disappears. Release the Side button when you see a black screen and the device will boot normally. Then enter the passcode to unlock and access the home screen.
Method 2: Using ReiBoot without physical buttons (Easy Way)
This method works on all iPhones having Face ID as well as Touch ID.
- Download ReiBoot and install it on your PC or Mac.
- Run the program, connect the iPhone to your computer using a Lightning cable and unlock it.
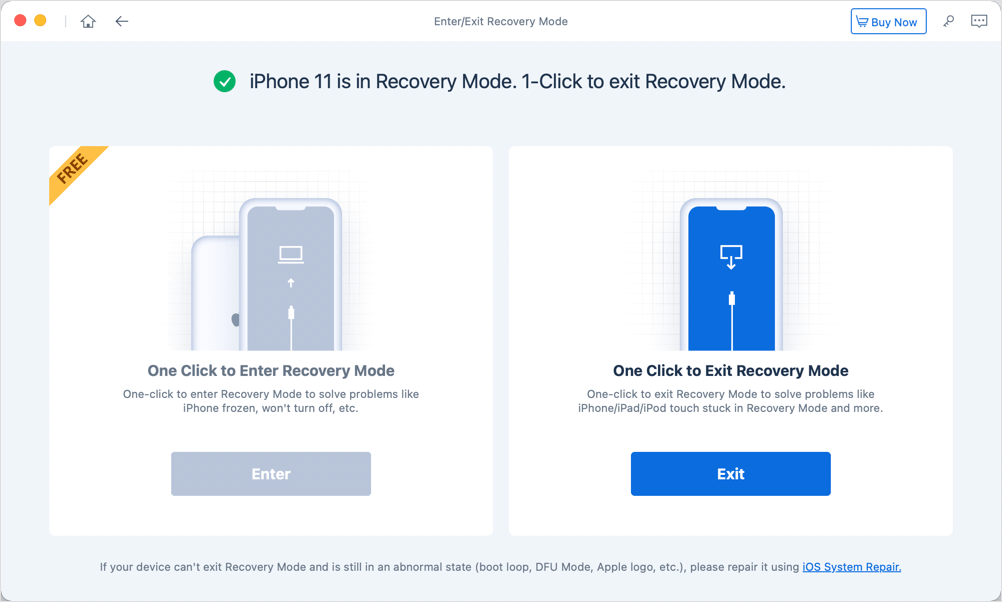
- Click the ‘Enter/Exit Recovery Mode’ option.
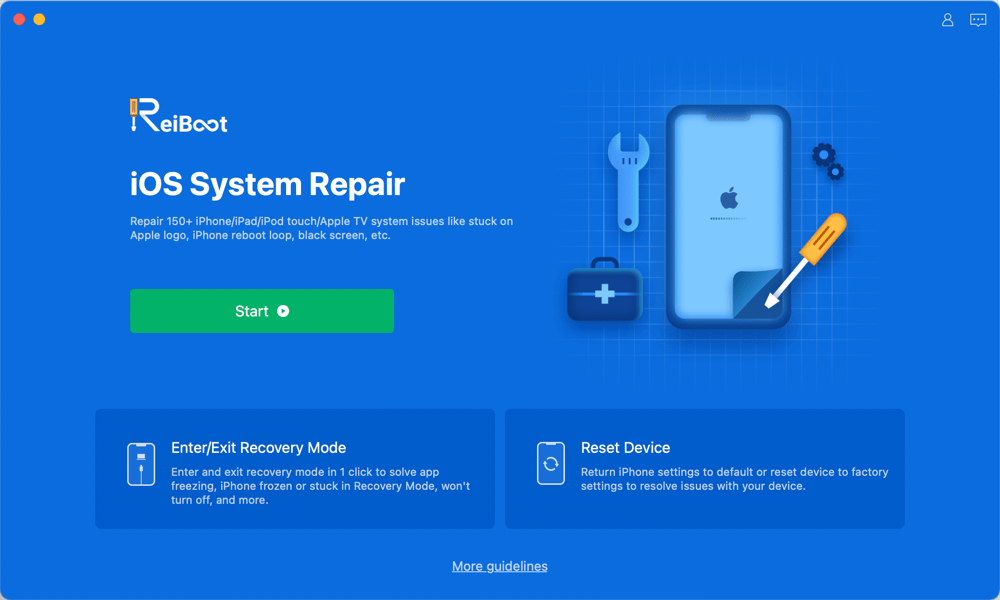
- Verify that your device is connected and recognized by ReiBoot.
- Click Enter under ‘One Click to Enter Recovery Mode’ to boot the device into recovery mode.
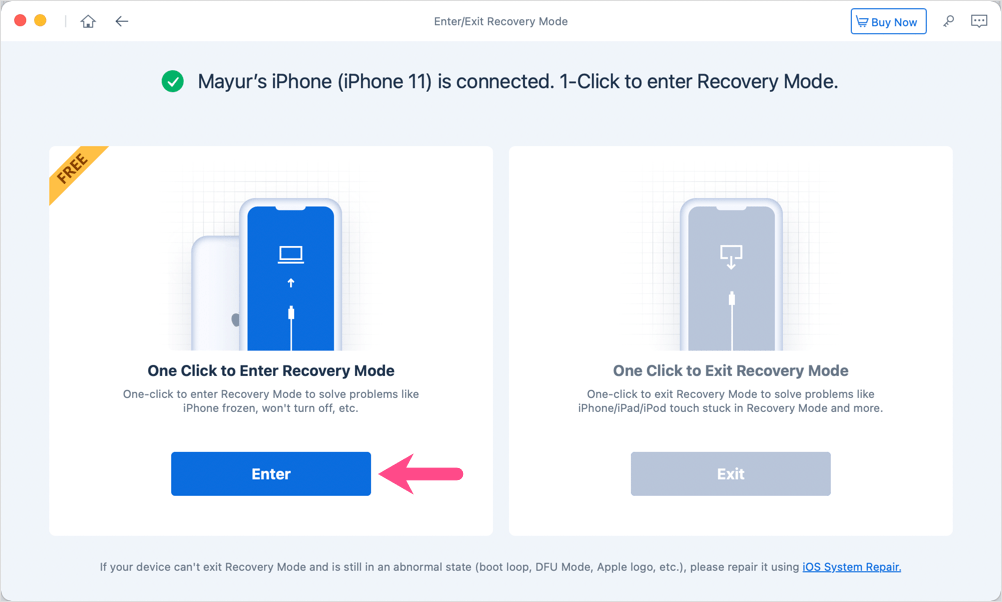
- Wait a moment until you see the Restore screen on your iPhone.
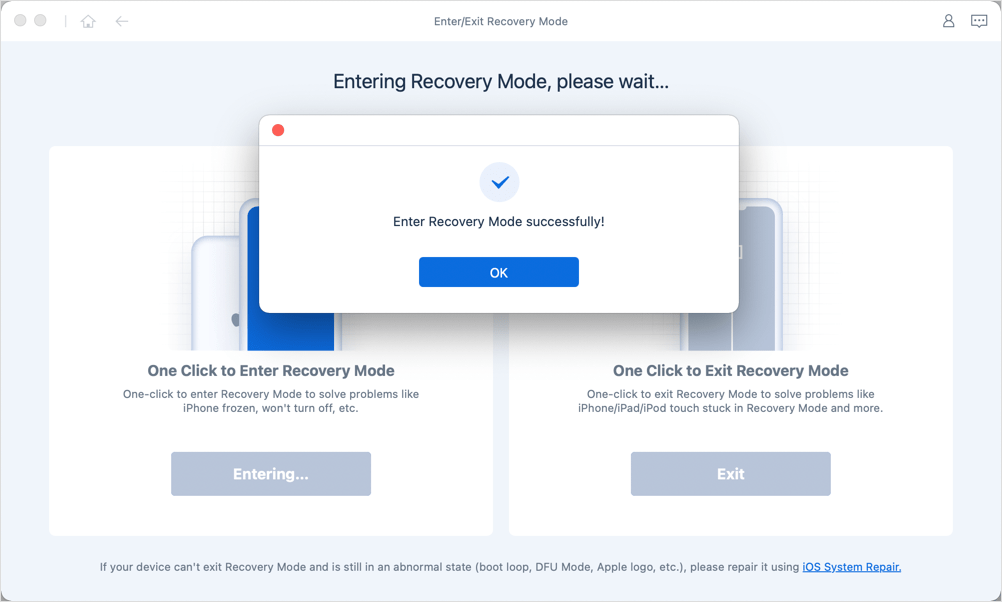
To exit recovery mode, follow the above steps and click ‘One Click to Exit Recovery Mode’ instead in step #5.
About ReiBoot
ReiBoot by Tenorshare provides a user-friendly way to repair and fix various software problems on iOS devices. This tool can be a lifesaver when the hardware buttons on your device aren’t working and you are stuck in recovery mode. Moreover, it is relatively easier and quicker to perform the above task with ReiBoot rather than the traditional way (Method #1).
The free trial of ReiBoot lets you enter and exit the recovery mode on all iOS devices without any limitation. However, you need to buy a Pro license ($45) to access other premium features offered by the tool. It is available for both Windows and Mac and is also compatible with iPhone 12 running iOS 14.4.
Key Features
- 1-click way to Enter/Exit Recovery Mode without iTunes (100% Free)
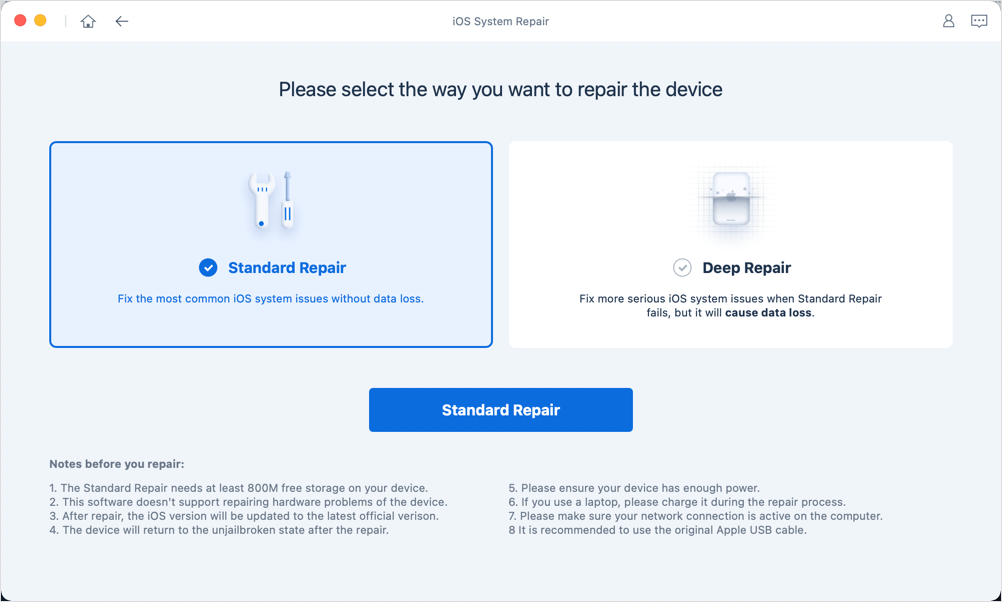
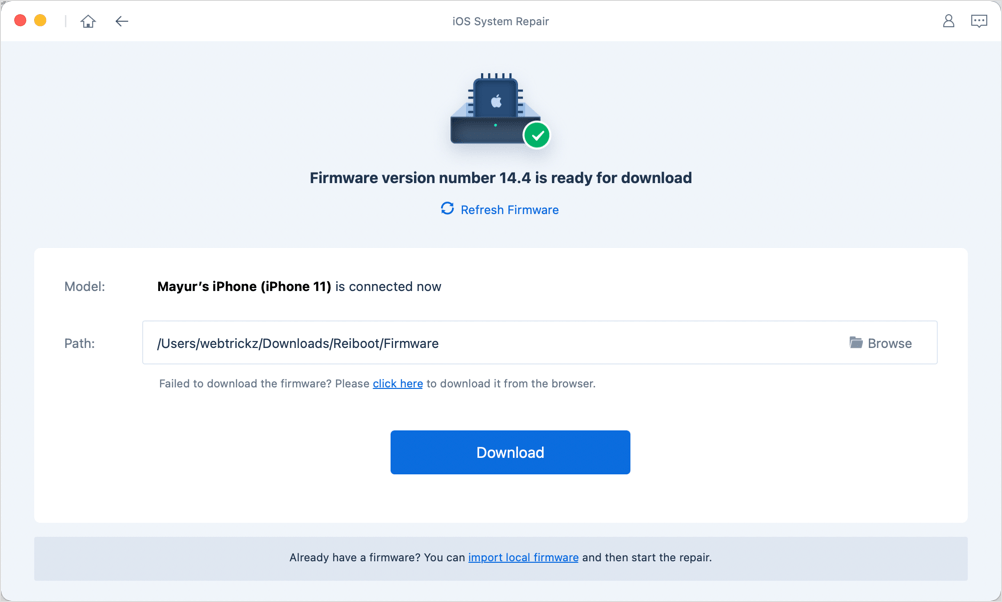
- Repair iOS System – Download and install the latest firmware or official version of the IPSW file.
- Downgrade iOS beta to the latest stable version and without data loss.
- Fix 4013/4005 errors when trying to update or restore your iOS device in iTunes.
- Reset the device to factory settings when the iPhone won’t turn on or you forgot the passcode.
- Supports tvOS – Fix Apple TV stuck on the Apple logo, Airplay mode, or recovery screen.
Do let us know which of the above method worked for you without any issue.
RELATED: How to factory reset iPhone when you forget the password


